
I can’t believe that I didn’t think of this before. I used inexpensive, plastic picture frames to display instructions for each math station today. They worked very well because they were so large. Students could easily find the next station they were supposed to go to. Also, the instructions were high up on the table so that everyone in the group could read them at the same time without leaning over and crowding. Students actually sat down in their seats and then read the instructions. The location also kept the instructions right in front of their eyes for easy reference. Plus, it preserved my handouts which can get ratty pretty fast after a couple of classes of kids use them.
The kids were so funny as I heard comments like, “Wow, this looks so professional!” I love them.
Tips:
- I color coded my station names to match my index card colors so I wouldn’t them mixed up. And of course, giant foam dice make even ordinary math problems more fun!
- I made 5 stations but only assigned students to 4 of the stations. Having an empty station really helped avoid any station overlap. As soon as one group was finished, there was always an empty station to go to. I like this better than timing stations and having everyone move at once because students can work at their own pace.
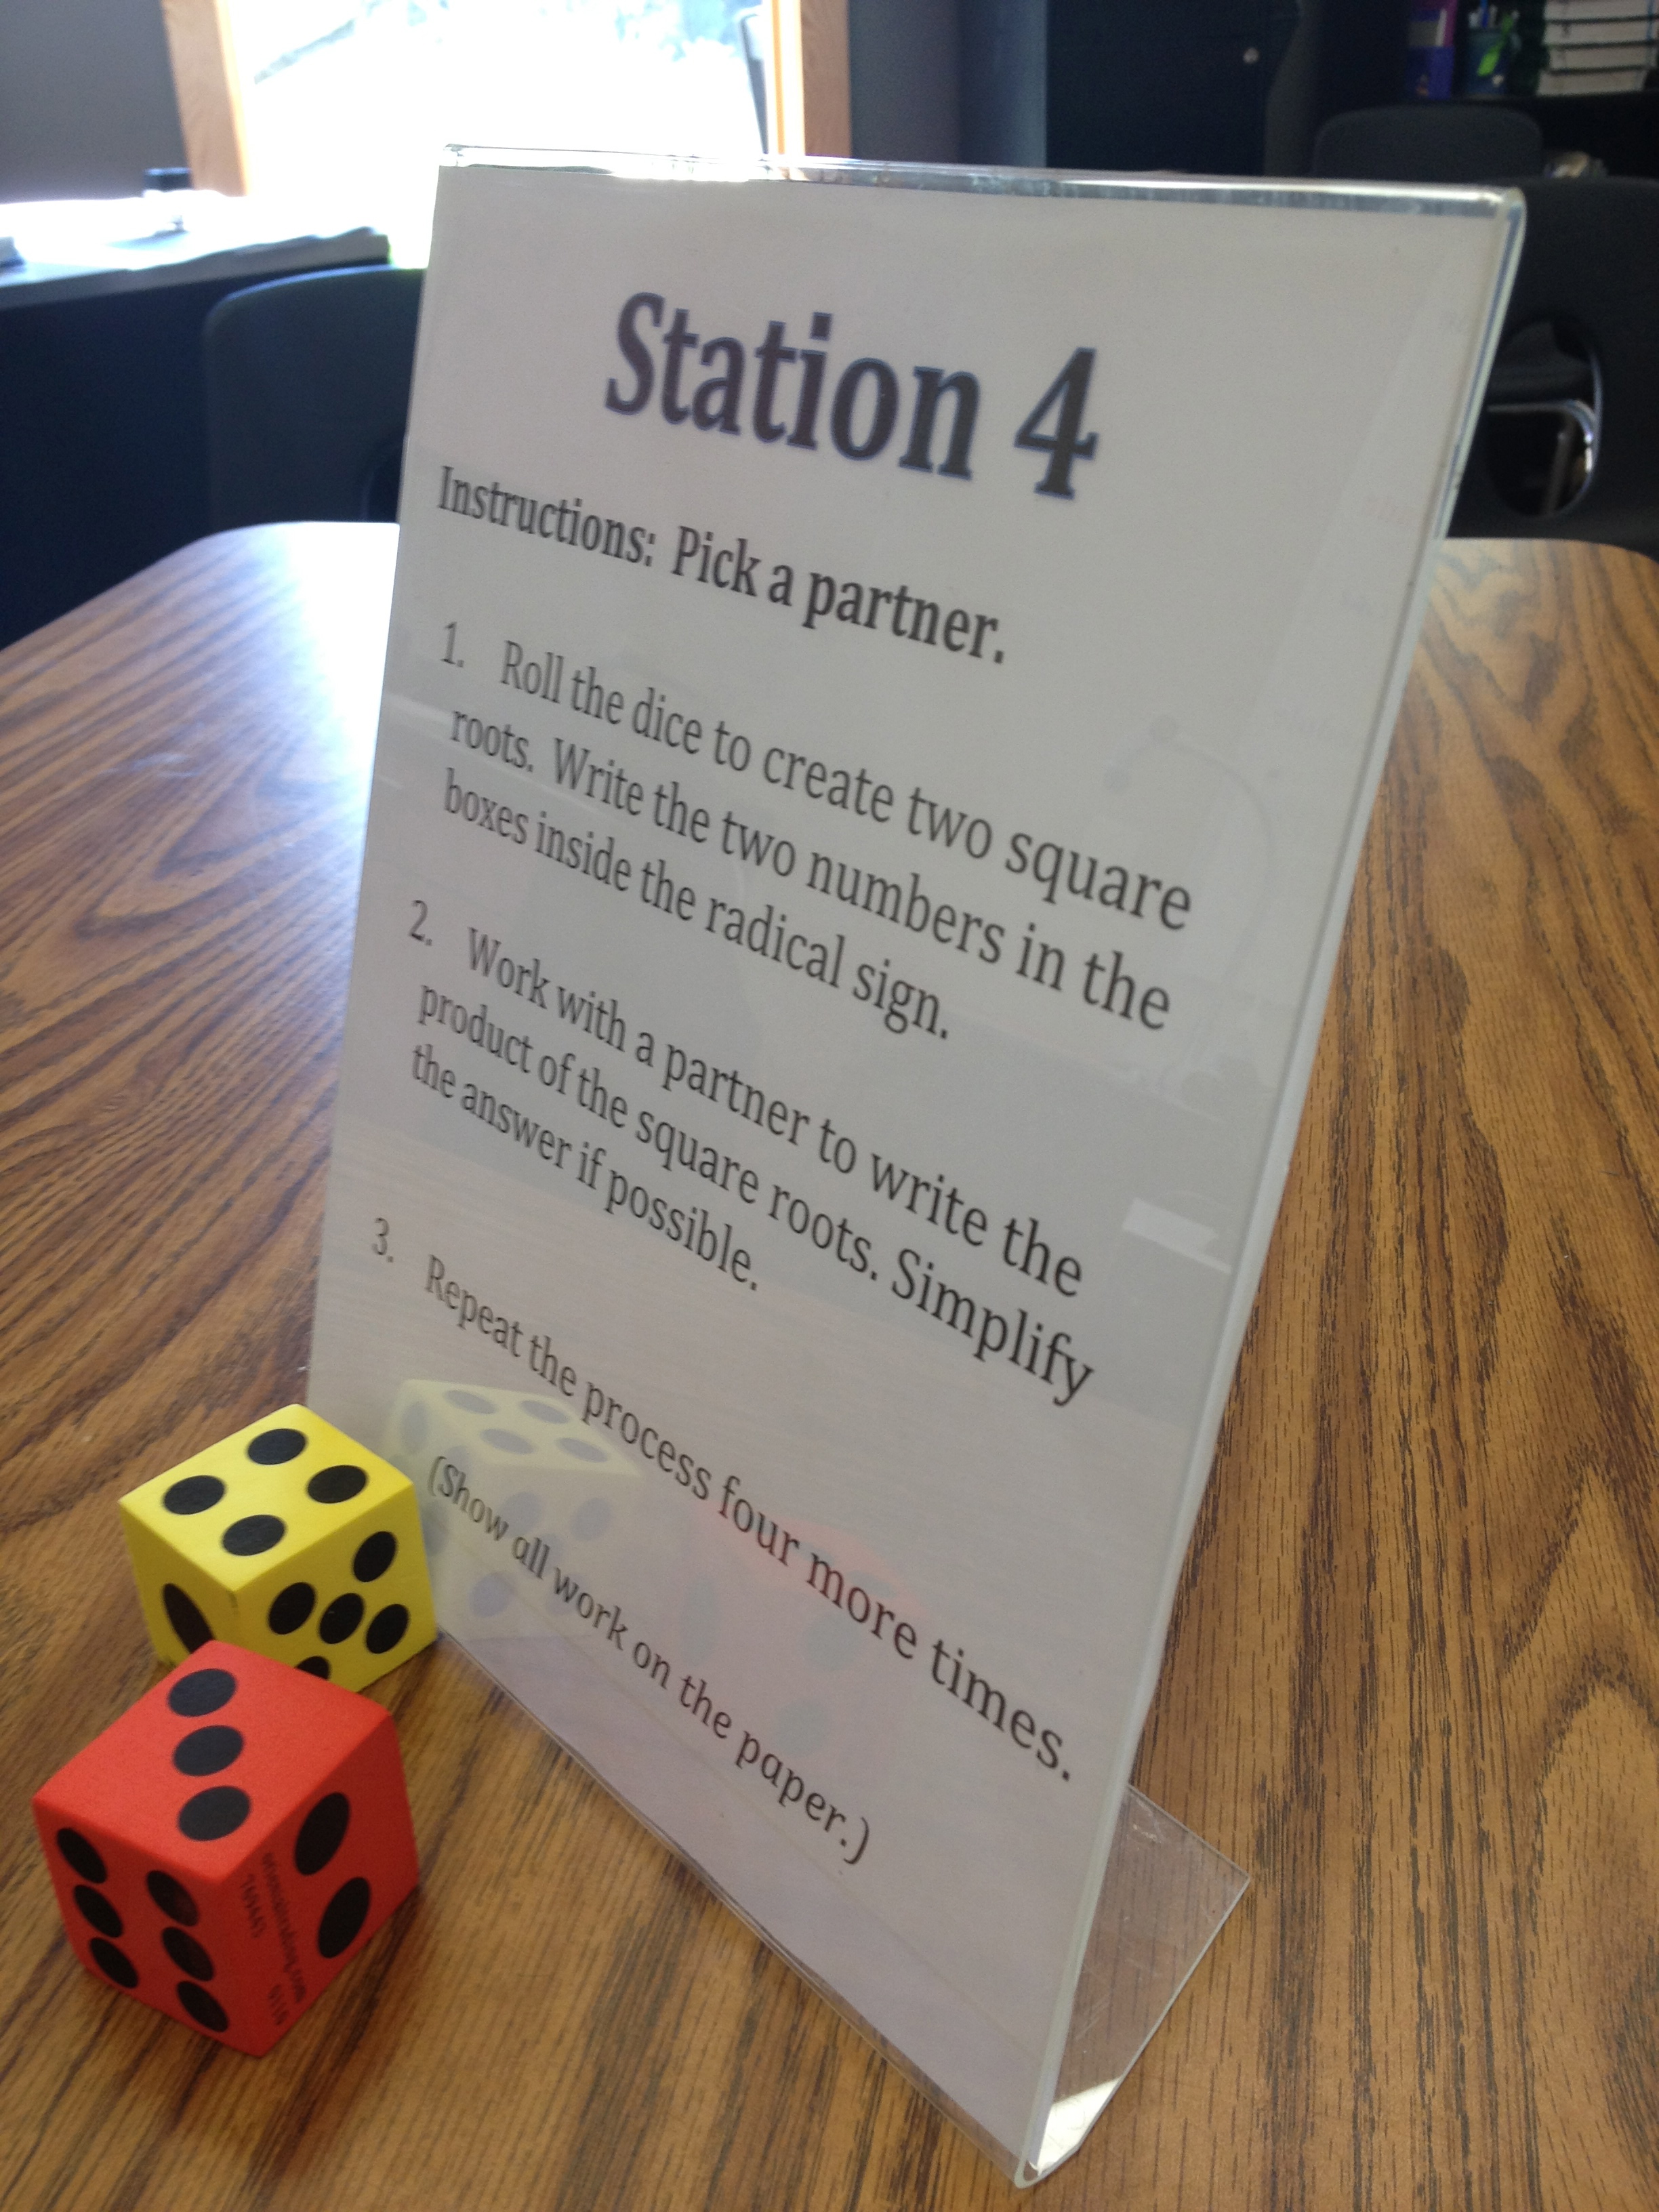


This station activity came from the book “Station Activities for Mathematics, Grade 8” by Walsch Publishing. I have included a document that contains the Station signs I made as well as a one page hand-out for the students (to conserve paper). I also combined two stations so that I had 5 stations instead of four.
Station Instructions – Simplify Square Roots Station Instructions – Simplify Square Roots PDF

I like the picture frame idea… may have to consider implementing that next year! We used stations three different days last week as we prepared for our state assessments. Topics covered were: fraction operations and applications; decimal operations and applications; and proportions and percents. We used your 8-station structure described in your post last year. Levels 1-6 were mainly progressive skill builders whereas 7 and 8 applied the math (level 1-simplifying fractions, level 2- improper to mixed number and vice versa, level 3- adding and subtracting w/ like denominator, level 4- adding and subtracting w/o like denominator, level 5- multiplying fractions, level 6- dividing fractions, levels 7 and 8- applied fraction problems). Ideally, we would’ve like applied problems sooner in our progression, but found that our kids’ fraction skills were relatively weak. Decimals and percents were stronger areas so applied problems appeared earlier.
Overall, I loved the structure and flow of stations. I had answer cards taped to my whiteboard where students sought out their answers. Only a few (I’m talking maybe 3 out of 120 students) abused the answer board. Those students had to check in with me for all further answer verifications 🙂 Many of my high level students LOVED stations because they were able to work at their own pace! A few of my lower level kids never made it to the applied problems, so I need to consider ways to fix that next time.
Thanks for sharing your knowledge, creativity and resources!
Thank you for sharing the station activity book. This is exactly what I was looking for. I created my own stations which will start in April, but was needing something for the common core. Thanks for all your idea!!
You’re welcome! That publisher has Station books for other grade levels as well, even for high school! They are great!
I love the picture frames and the math station ideas. Thanks so much for sharing!
You’re welcome! I’m so glad that I could help. 🙂
Pingback: Picture Frames to Jazz Up Station Work | I Speak Math - picture-frames
Stealing! The open station idea is particularly interesting. I *hate* timed stations because some groups *should* work faster than others. Were there any logistical nightmares?
Hey Megan,
Yes – I really hate timed stations too. Ever since I added an “empty” station I have not had any congestion. Also, they can go to a station where someone else is working as long as it is only one other group AND it is not a card sorting activity. So, I may have two groups at one station. That is rare however with the extra station available.
great technique, love that 🙂
Thanks! 🙂
Pingback: Made for Math Monday Project #2 « the radical rational…
Thanks for the post! Looking at the station guide for CCSS grade 6. How many activity sets are included in a booklet?
Pingback: Dry Erase Table Frames – Made 4 Math | I Speak Math
Pingback: Quick and Easy Math Stations (aka – Pimp Your Worksheet) | I Speak Math
What size are the frames? Do you have a copy of the exponent worksheet you used? We just finished this unit so I’d love to have it for my files next time.
Any size would do but I would recommend at least a 5×7. I usually use 8×10. For the exponents, I just cut up a couple of worksheets from my book so I don’t have a “file”. I’m sorry!
Also, what do you use for the “empty station”? Do you just put an extra from the original four?
Where did you get the picture frames? The only ones I can find are almost $10 each. Online I would have to pay $15 in shipping charges. I was looking at paying no more than $30 for ten.
I bought them at Walmart. The big ones were more expensive. But, it’s been a while and I don’t remember how much.
Pingback: Exam Review That Doesn’t Suck | Megan Hayes-Golding
Neat idea! Where did you purchase the frames and di?
I got them from Walmart. You can also get them at Michaels, but they are more expensive.