Not a Fan of “Threads” – First thoughts

I love to try all the new things. And, I miss my math teacher friends and conversations. So, when a friend asked me to join Threads with them, I immediately hopped on! I was encouraged when I first signed up, as sign up was seamless. Threads is attached to Instagram, so you can automatically follow your Instagram friends who have already signed up. This meant I started Threads with about 35 followers, and many of them were math teachers. I was encouraged, but then greatly disappointed in Threads.

I am not a fan of Threads

There are no hashtags in Threads. In Mastodon I can click on a hashtag (and even follow hashtags) when I want to learn things or follow/participate in a conversation. This is a deal breaker for me.

Your feed is full of garbage. I am looking for a feed full of math educators, not ads and verified celebrities and people and accounts that I never followed in the first place. I don’t want to have to parse through all of that garbage in order to find posts I want to read, and people that I am trying to interact with.

I opened my feed and read the few posts from my friends. And that is where the fun ended. Because after the 5 posts from my friends, my feed was full of verified posts from advertisers and celebrities, like Paris Hilton. I had not followed any of these people. So, I began muting these posts, hoping to get more posts from people I had actually followed, but the more I muted, the more that appeared. It is similar to Instagram, where when you are “all caught up”, you just get suggested posts. I’ve never been a huge fan of Instagram, and this is exactly what Threads feels like.

I am looking for a place for all of my math education conversations, and Threads is not where that is going to happen. I will stay on Threads for now, mostly to tell people to come over the mastodon, as I am having fabulous mathy conversations there! If you want to reconnect with math educators, come over to Mathstodon! We would love to see you there!

Listen to “Let’s Get Digital” on the Debate Math Podcast

Summer is here! I love listening to Podcasts while I am unwinding and cleaning up my at home life after a hectic school year.

In this podcast, I got to debate with Eli Luberoff, Patricia Vandenberg and Kathy Henderson about the merits of giving digital assessments versus paper assessments.

You can listen on Apple Podcasts, Spotify, or even watch while you listen on YouTube.

Debate Math, Let’s Get Digital on Apple Podcasts

Debate Math, Let’s Get Digital on Spotify

Debate Math, Let’s Get Digital on YouTube

https://www.youtube.com/channel/UCjk47IGz9UmBGYewHNrhF_g/videos

And, you can find many more amazing debates on the Debate Math Website!

20 Minute Assessments

Last year, I decided to make all of my assessments 20 minutes or less, even in my AP Calculus classes.

My school created a post covid schedule, to reduce stress for students and teachers. In this schedule, students had three 70-minute periods a day. Since we had 6 total periods and a “drop day” each rotation, some weeks I saw my students three days, and some weeks I only was able to see them twice for class. The schedule was wonderful for everyone’s mental health, but it did significantly cut down class days. As an AP Calculus teacher, this was concerning. Because, excluding the month of April for review, I only had 58, 70-minute class periods to teach 126 days of AP content!

This meant that I needed to teach two lessons every single class period to teach all of the required AP material in. In order to not waste a single class day, I decided to make all of my assessments 20 minutes or less. I had been doing this in my non-honors classes for years, but I had been afraid to try it with AP Calculus. However, our schedule left me no choice.

I am so glad that I tried it, as 20 minute assessments changed my classroom. Shorter assessments took me less time to make and to grade, so my students got my feedback much more quickly after an assessment. Students who needed extra time could finish their entire assessment in less than one class period. This was so helpful for these students, who often have to schedule finishing multiple assessments during lunch and after school.

Giving shorter assessments meant that I never lost an entire day of instruction due to testing. Instead, I gained back time for my students to practice mathematics during class time! In addition to practice, we also had extra time to learn and even experience more mathematics together.

I spent less time on assessments, and more time teaching students effective study strategies for math. One of their favorites was working together to create One Sheets.

Additionally, with short assessments I had time to give immediate feedback during class time! After all students were finished, I had them put away their pencils and I gave them colored pens. I then went over all of the answers with them, while they took notes right on their test paper. Not only did they get immediate feedback in their own handwriting, but this saved me time grading, as I did not have to write as many comments and corrections on their papers. I did not do this for every assessment, but students really liked this, and often asked to do “colored pen corrections”.

I have always heard that long exams prepare students for the rigor of the AP test at the end of the year. So, I was a bit concerned that my AP students would not be prepared to take a four hour exam after having only 20 minute assessments all year. But my AP students pass rate actually increased by almost 15% from the previous year! In order to prepare them, after a year of 20 minute assessments, I gave them a timed, full length practice test a few weeks before the AP test. I broke this exam down into three days, so that students who were taking too much time on one day would be able to realize that and adjust for subsequent days. I had a couple of students who went over time on the first day, but were able to be aware of that and adjust on subsequent practice assessment days. I checked in with these students after the exam, and they told me they were all able to finish. I truly feel that they did better because we spend more time learning math and less time taking assessments.

Using Delta Math to See 3D Volumes

Delta Math has incredible sets for seeing volume of cross-sections and solids of revolutions. If you instruct your students to click on “show solution“, they can pull a slider to see the region become a solid! For the cross-section set, it shows the shape (square, rectangle, or triangle) growing along the base. For the disks, it includes the radius with the 3D shape. The washer set shows the washer inside the 3D shape. There is also a matching set, where students can practice matching up the 2D region with a resulting 3D shape, and vice versa.

The five sets I use are in the image below. I have also included videos of the volumes being created when you drag the slider so you can see how cool it is! Delta Math is free for teachers!

Delta Math – Volumes of Known Cross-sections
Delta Math – Volume, Solids of Revolution, Disks
Delta Math – Volume, Solids of Revolution, Washers

Discovering Volumes of Known Cross Sections Using Play-Doh

My AP Calculus students had a tough time with volume last year. So this year I wanted an activity where they could actually see the cross sections. I have seen many awesome activities where students actually measure the base between curves, and then create cross sections using paper, like the ones from Bowman and Rebacka. I would love to do these with my students, but unfortunately we are very short on time this year because of our school schedule.

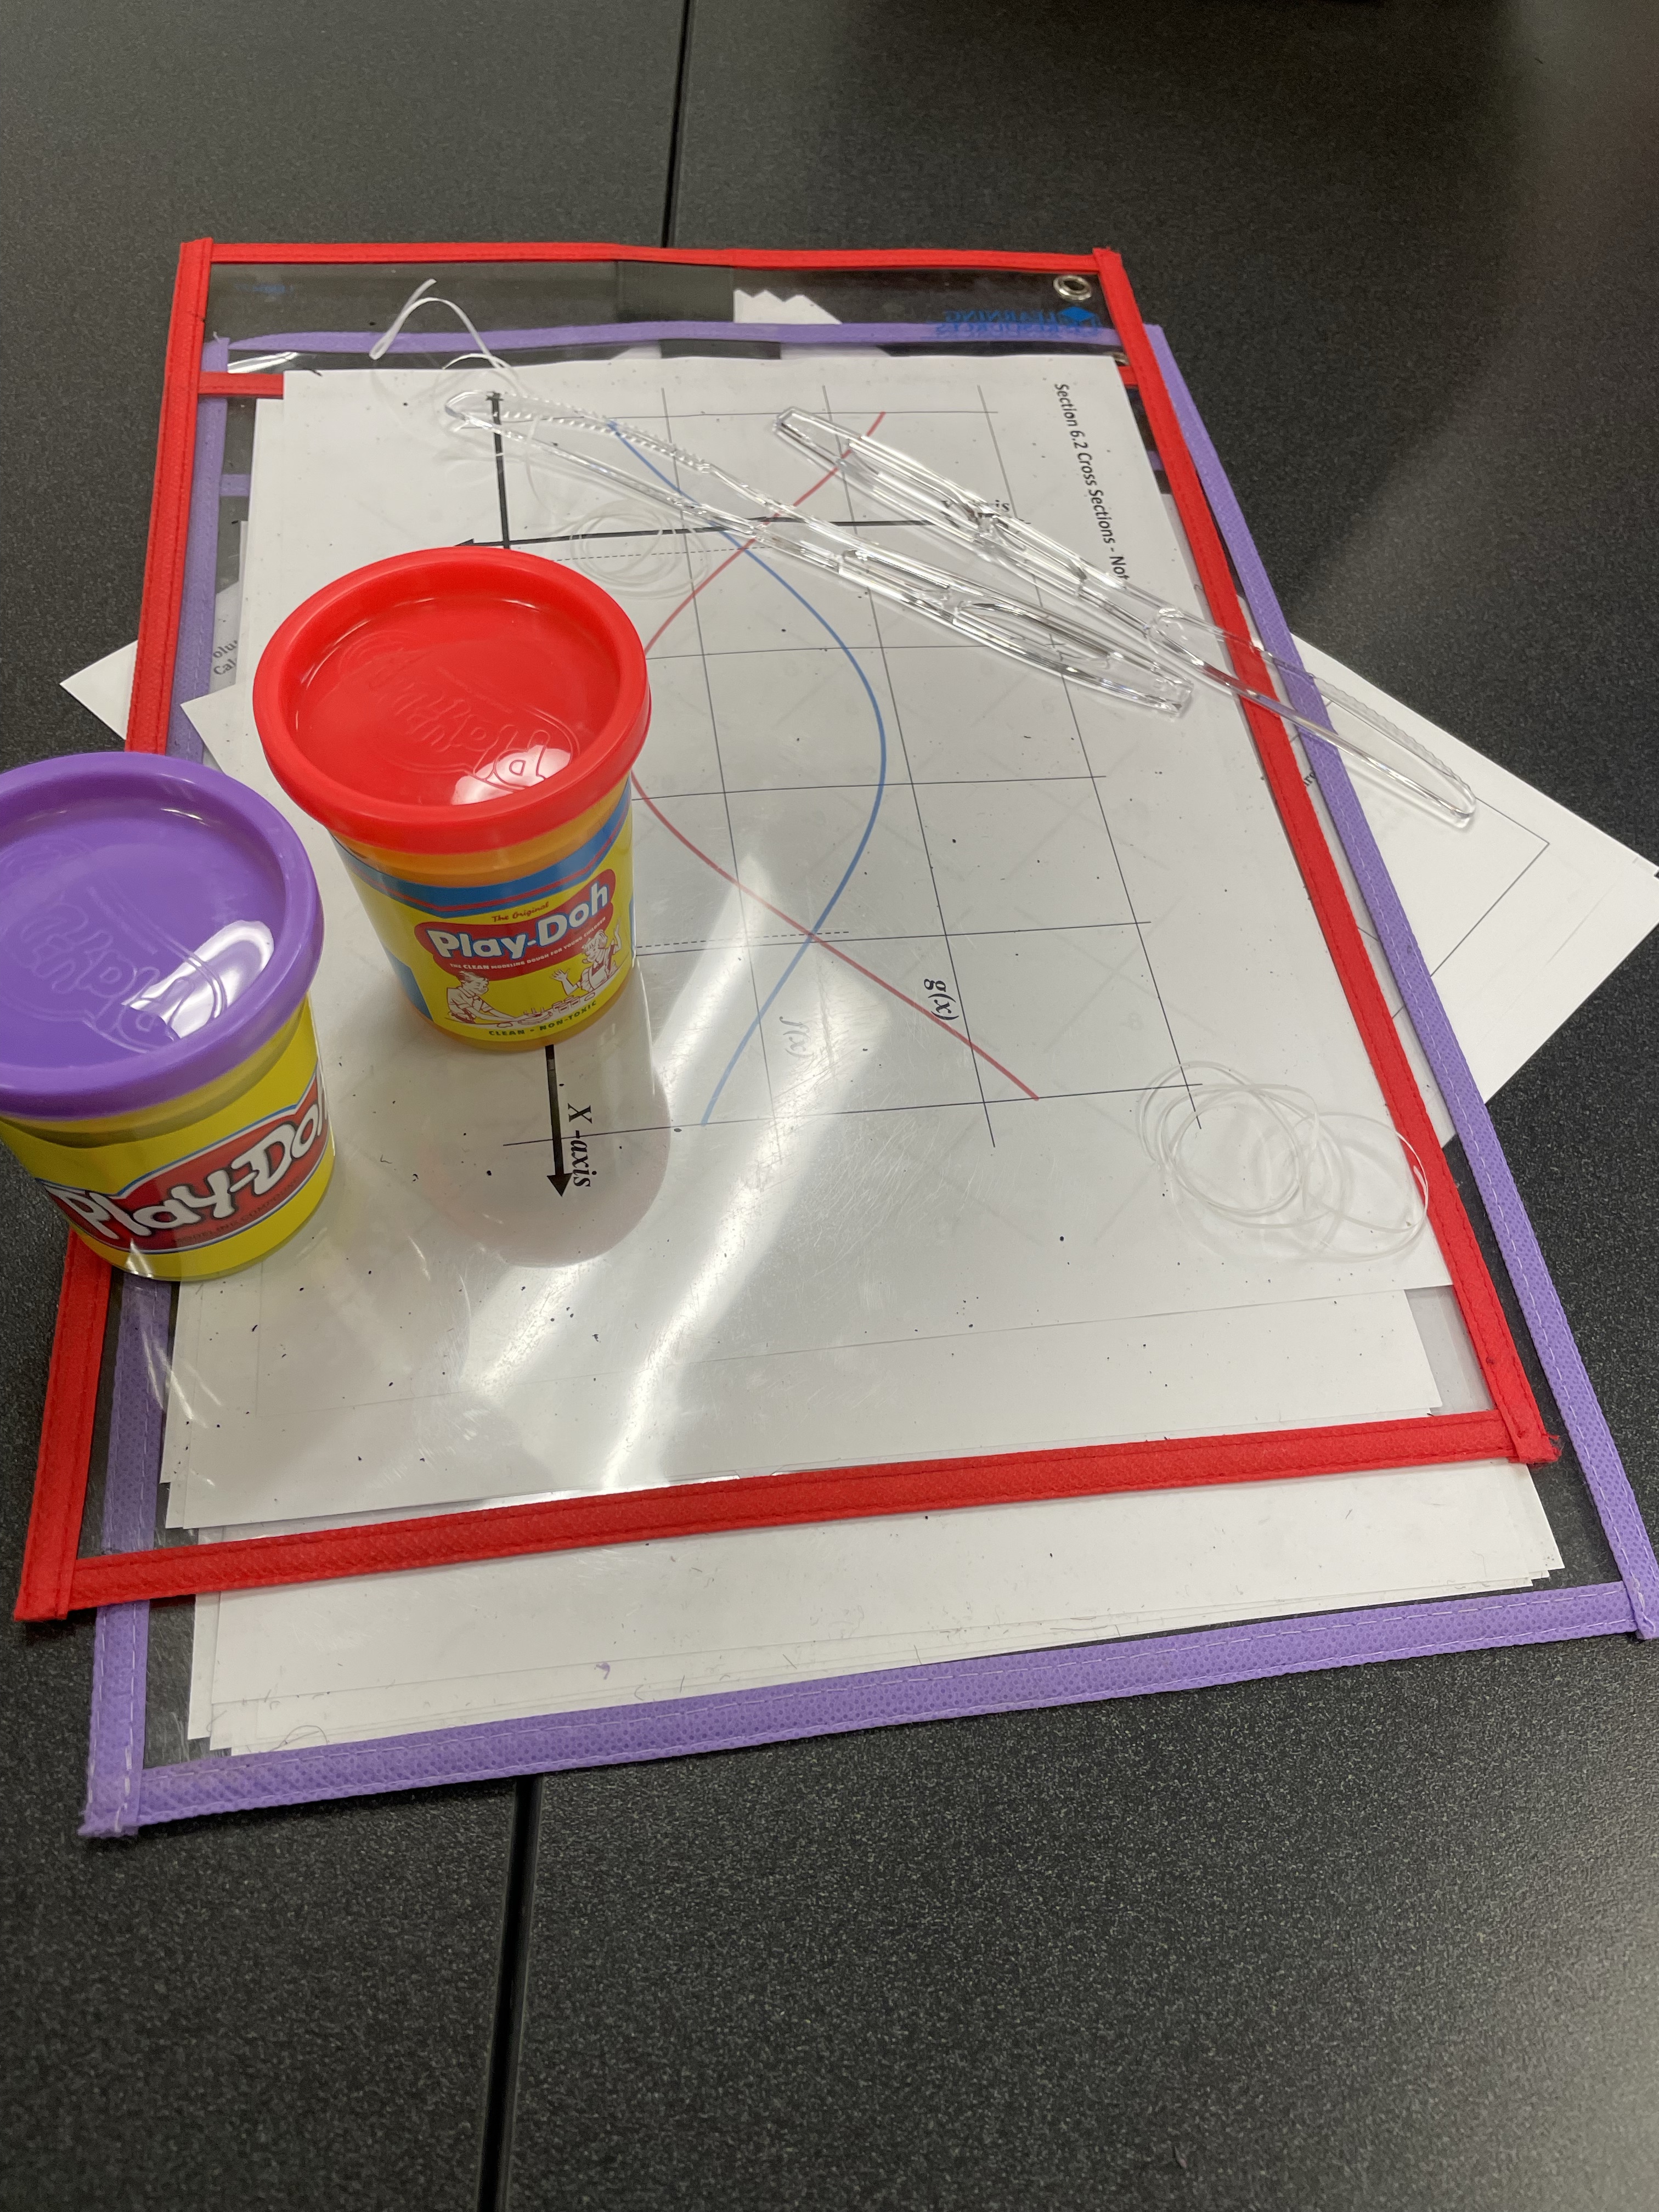
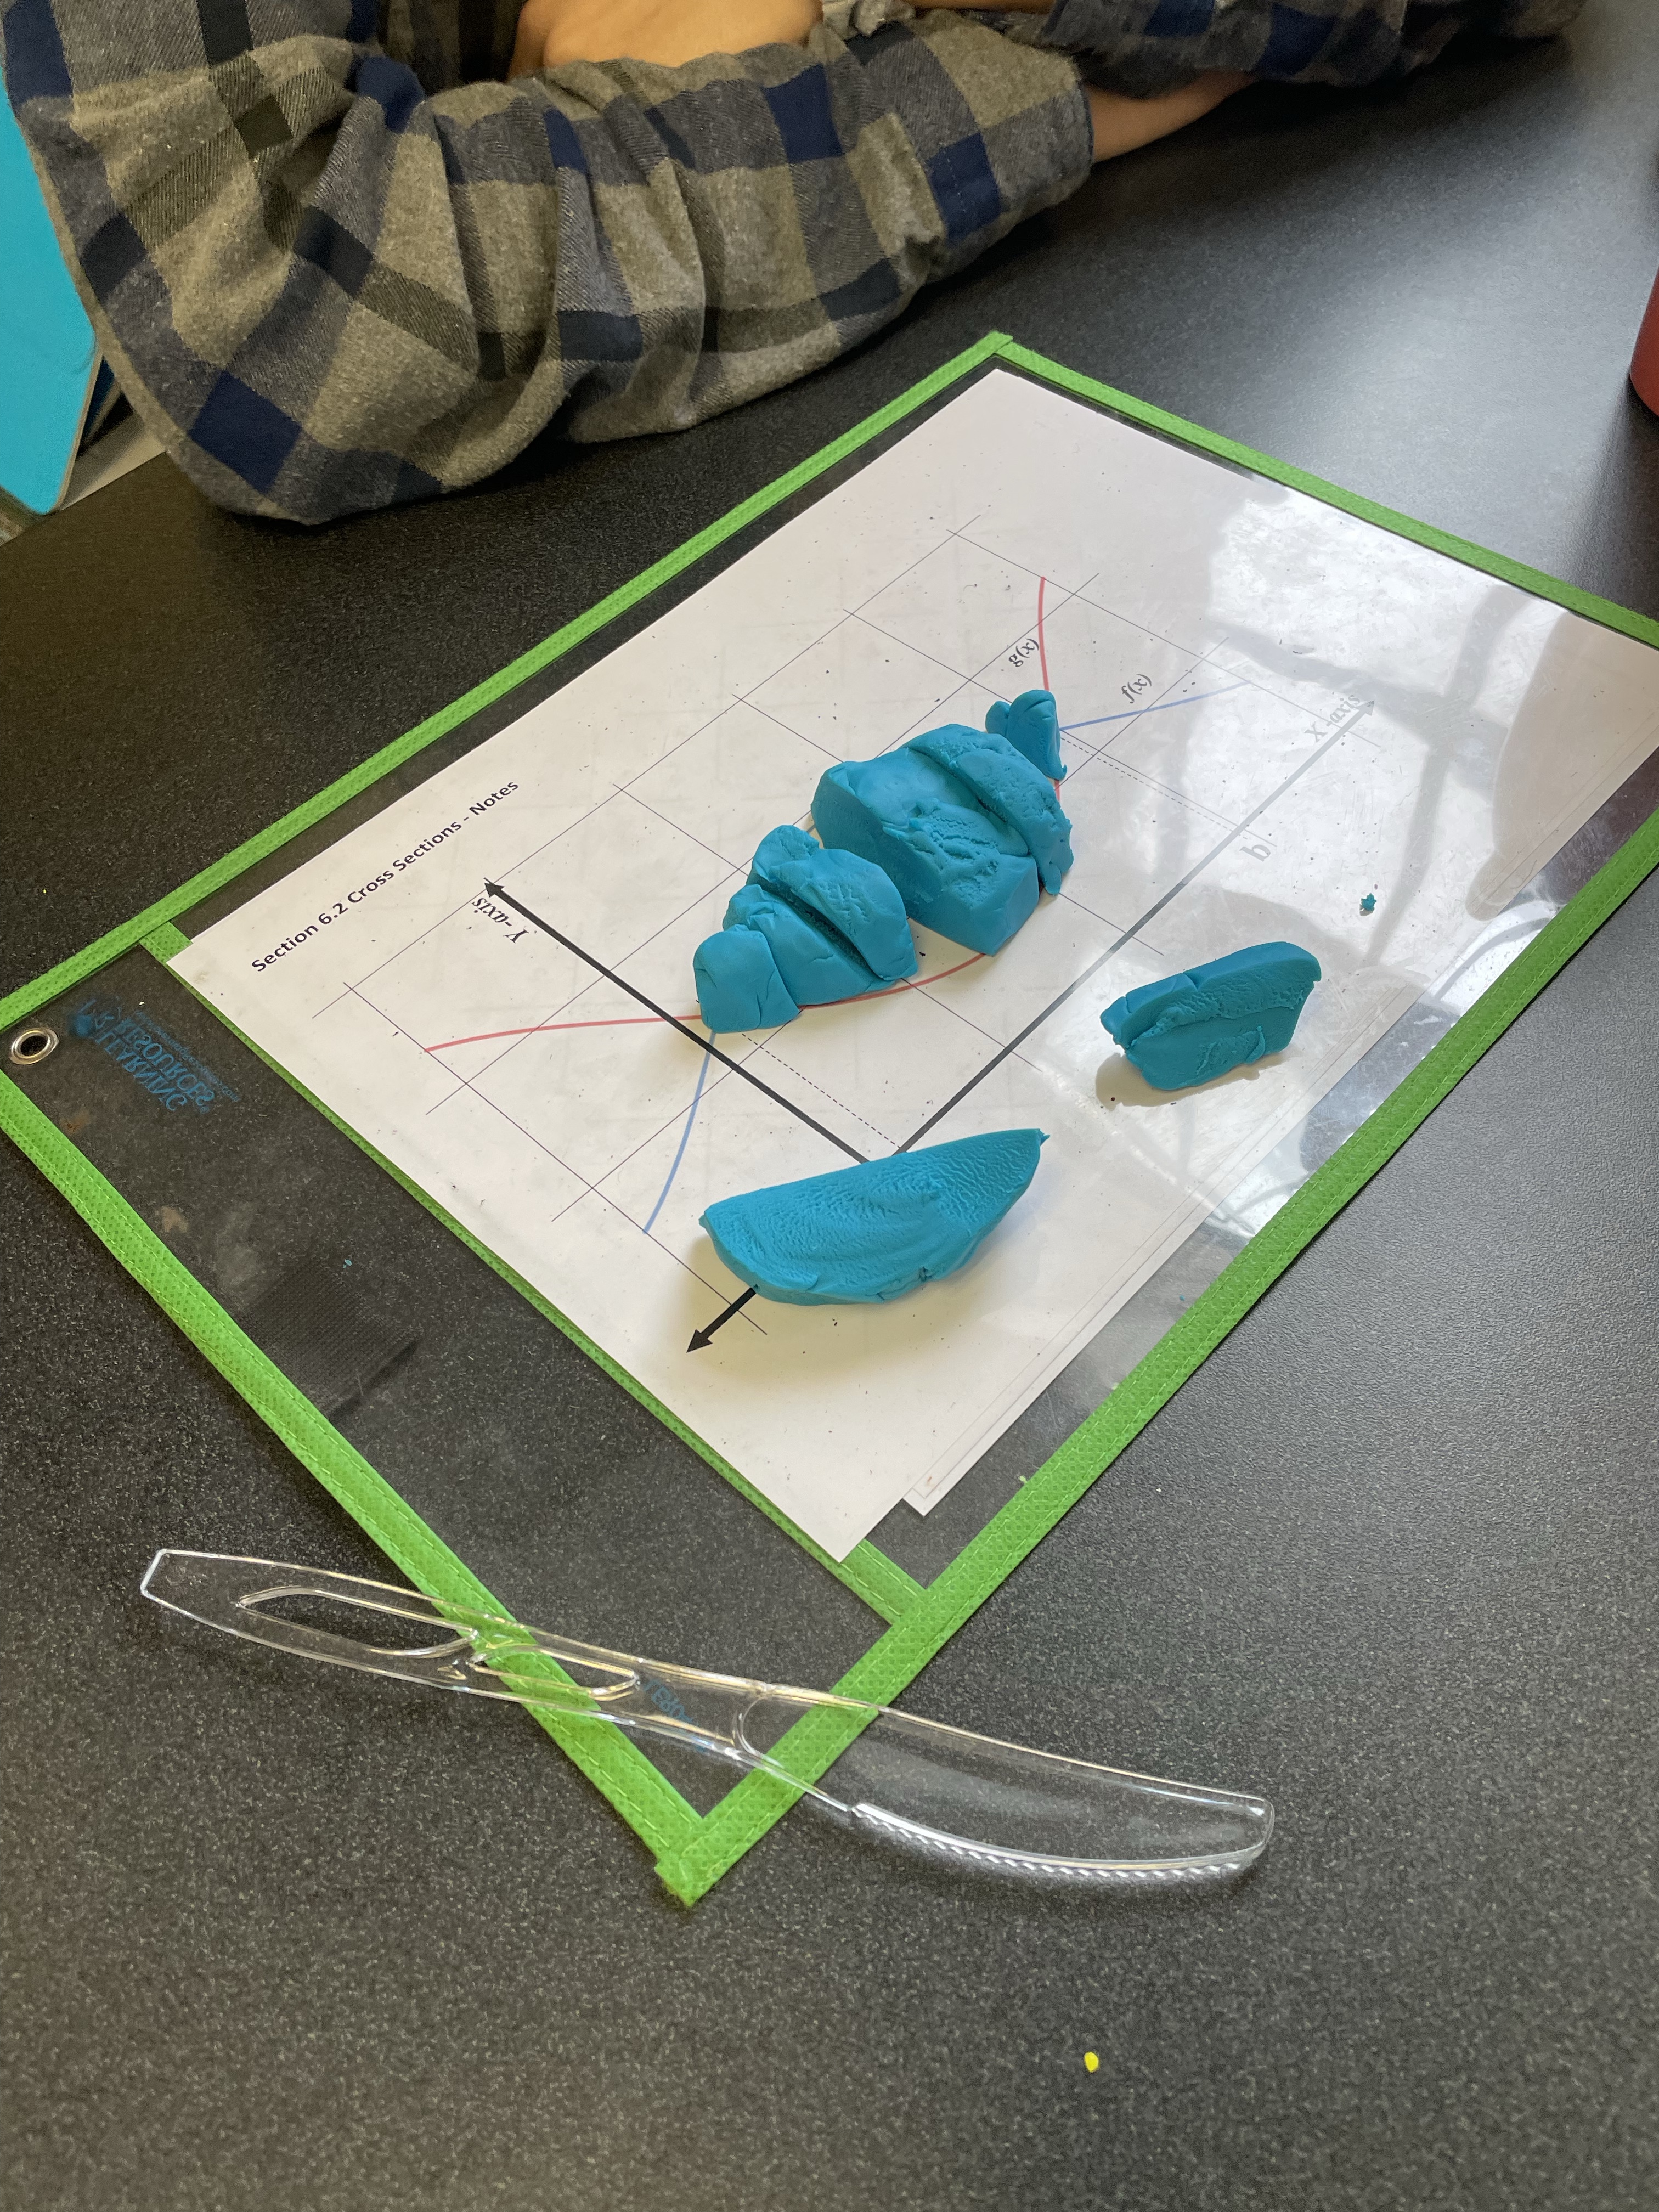
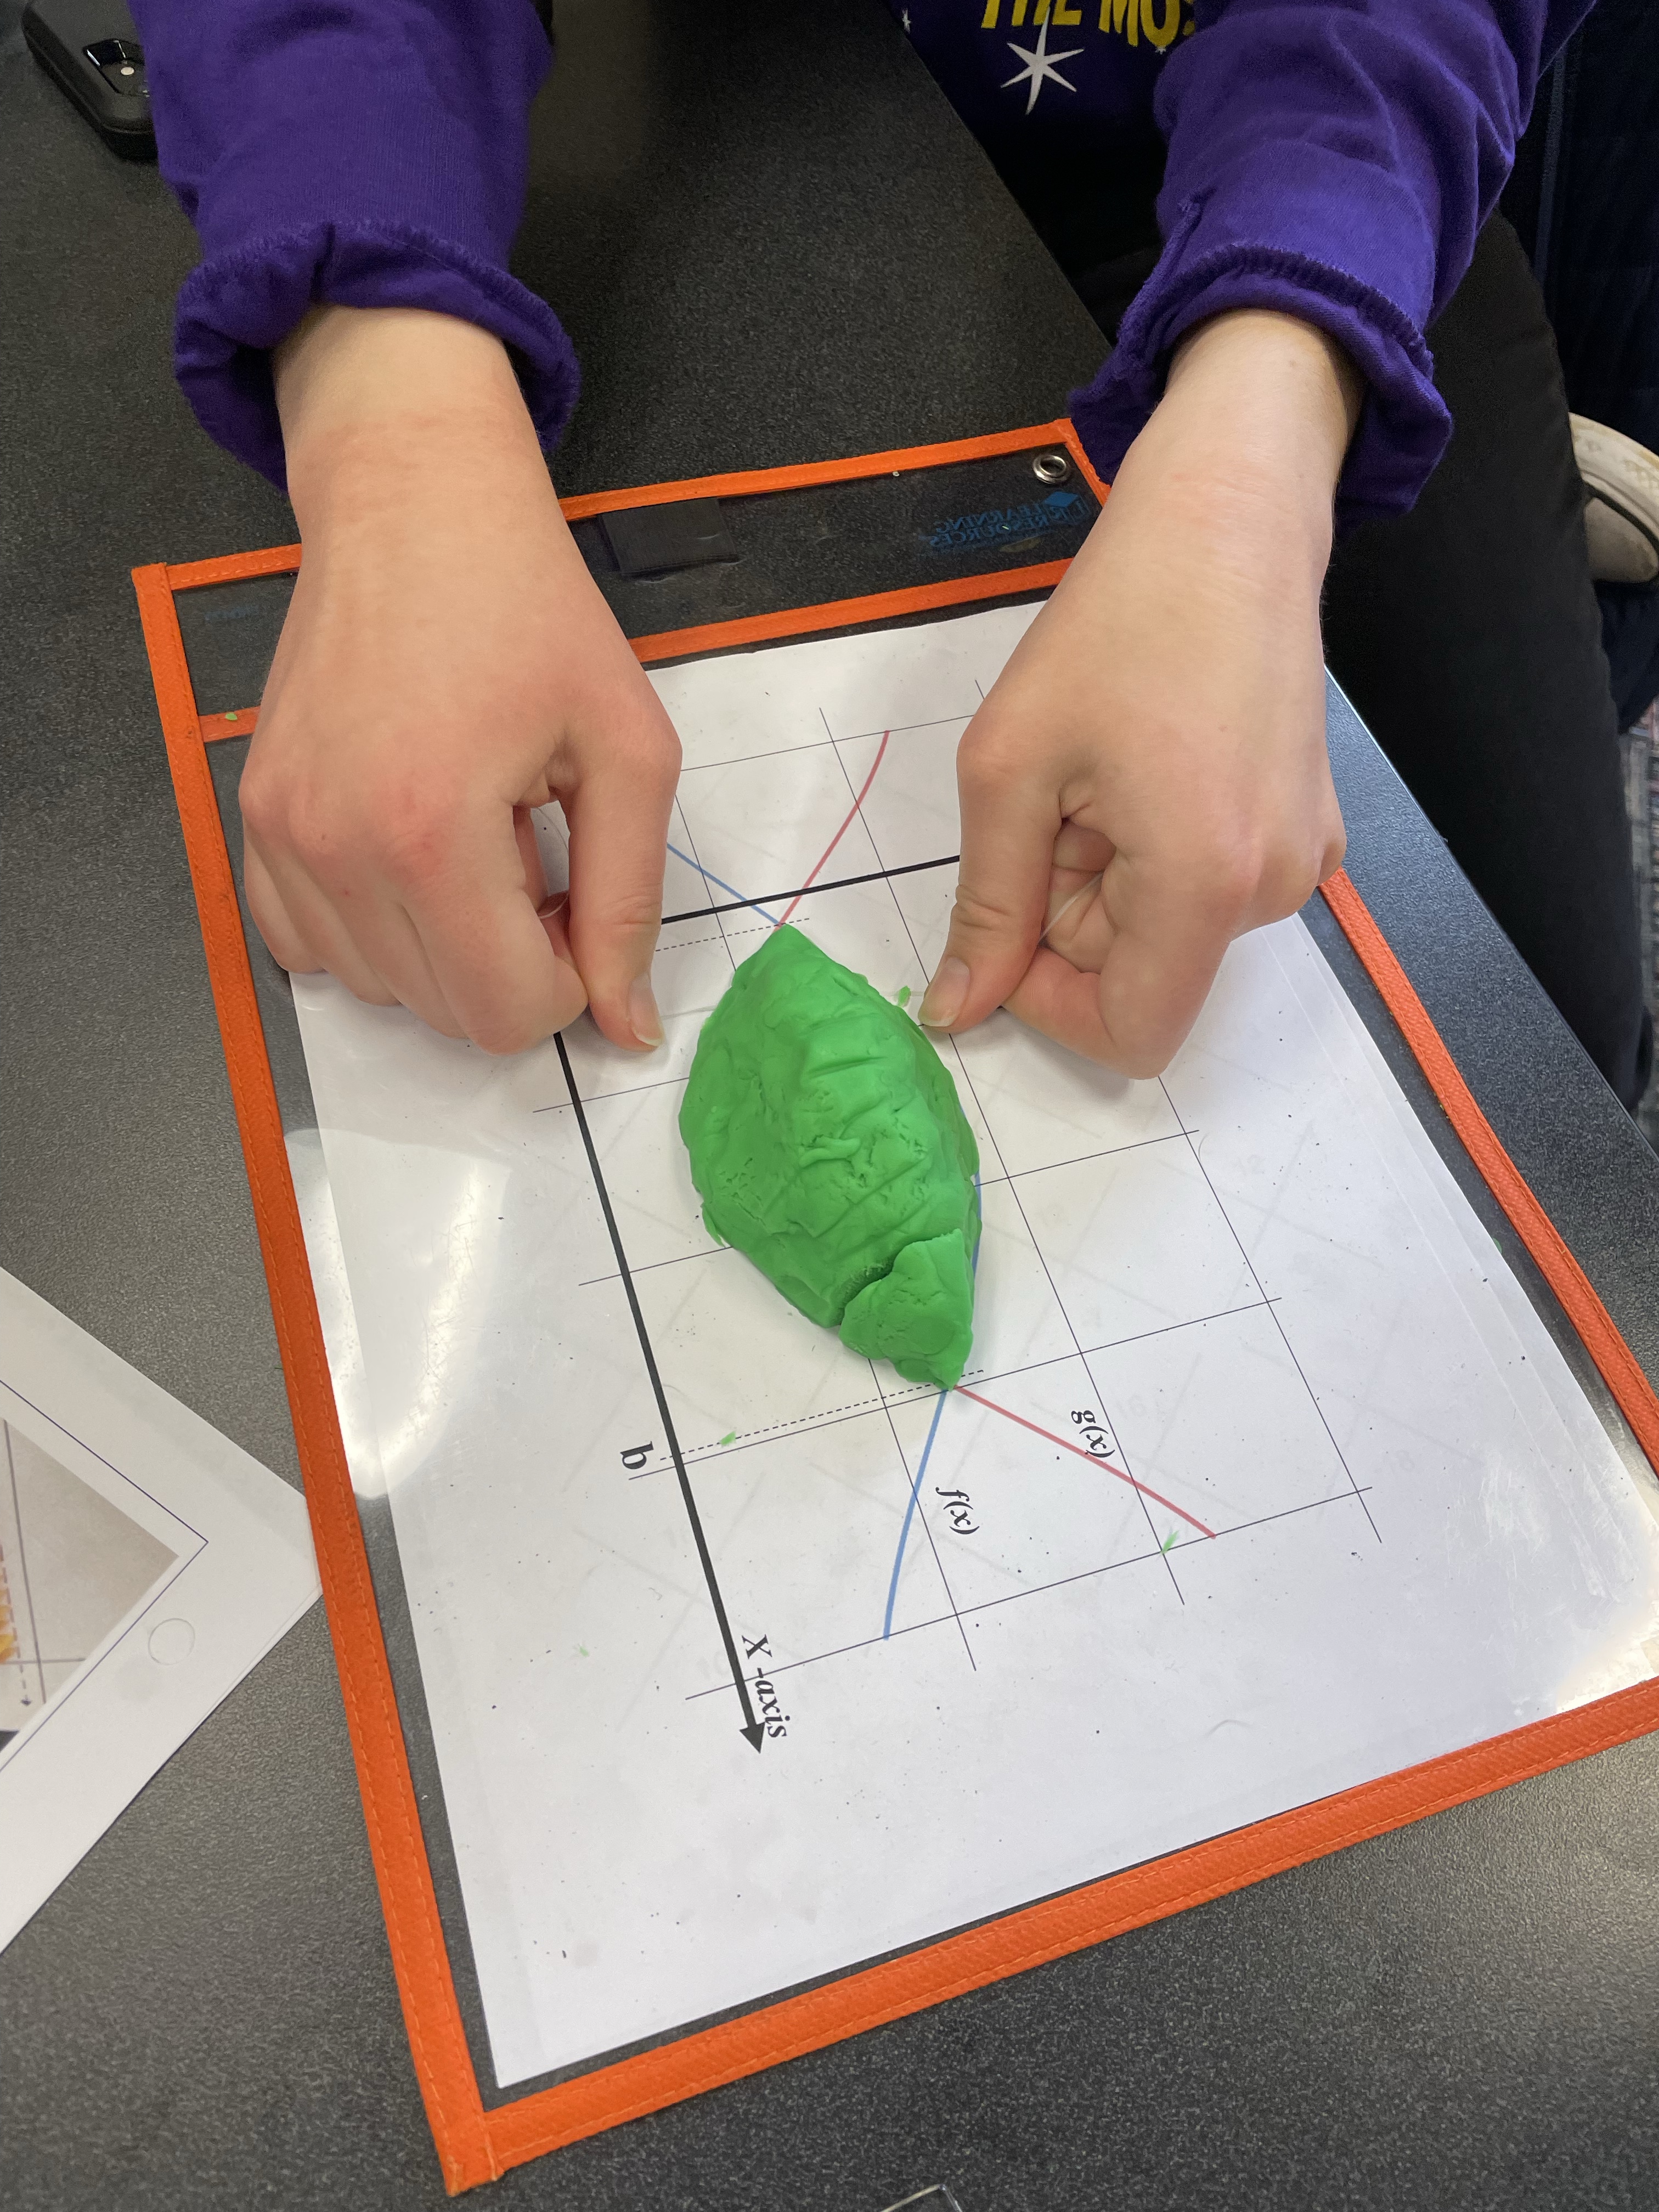
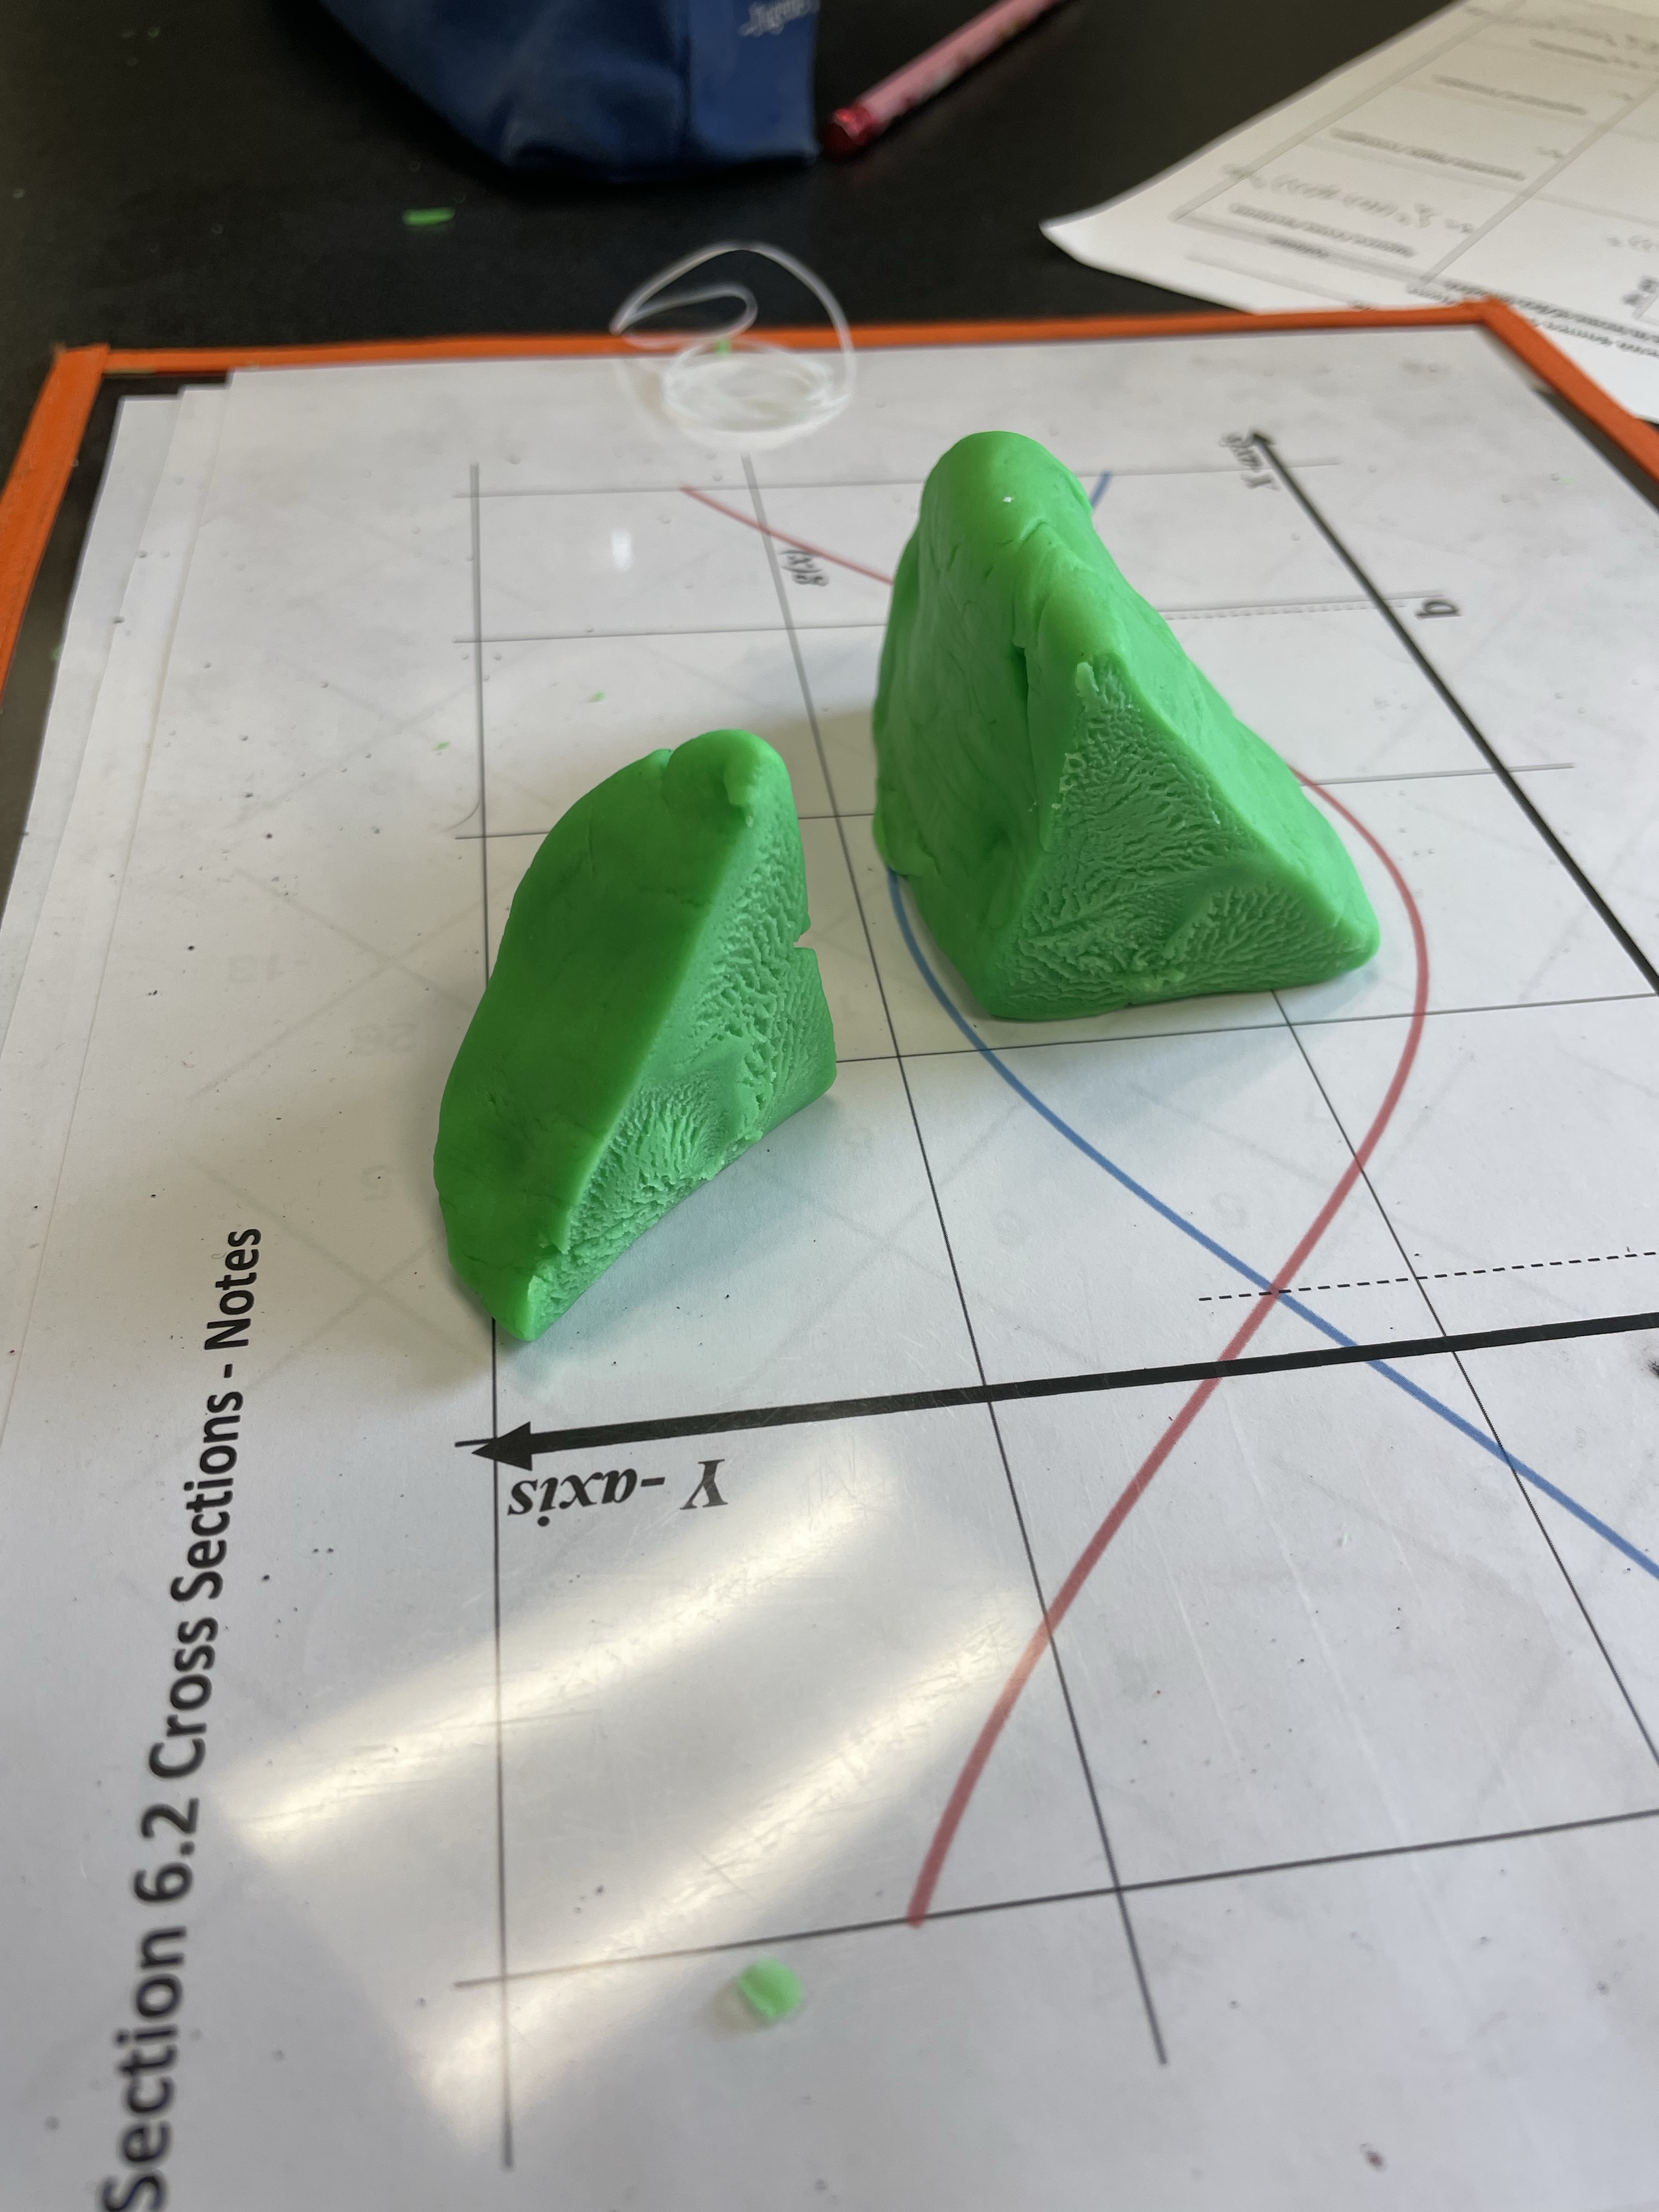
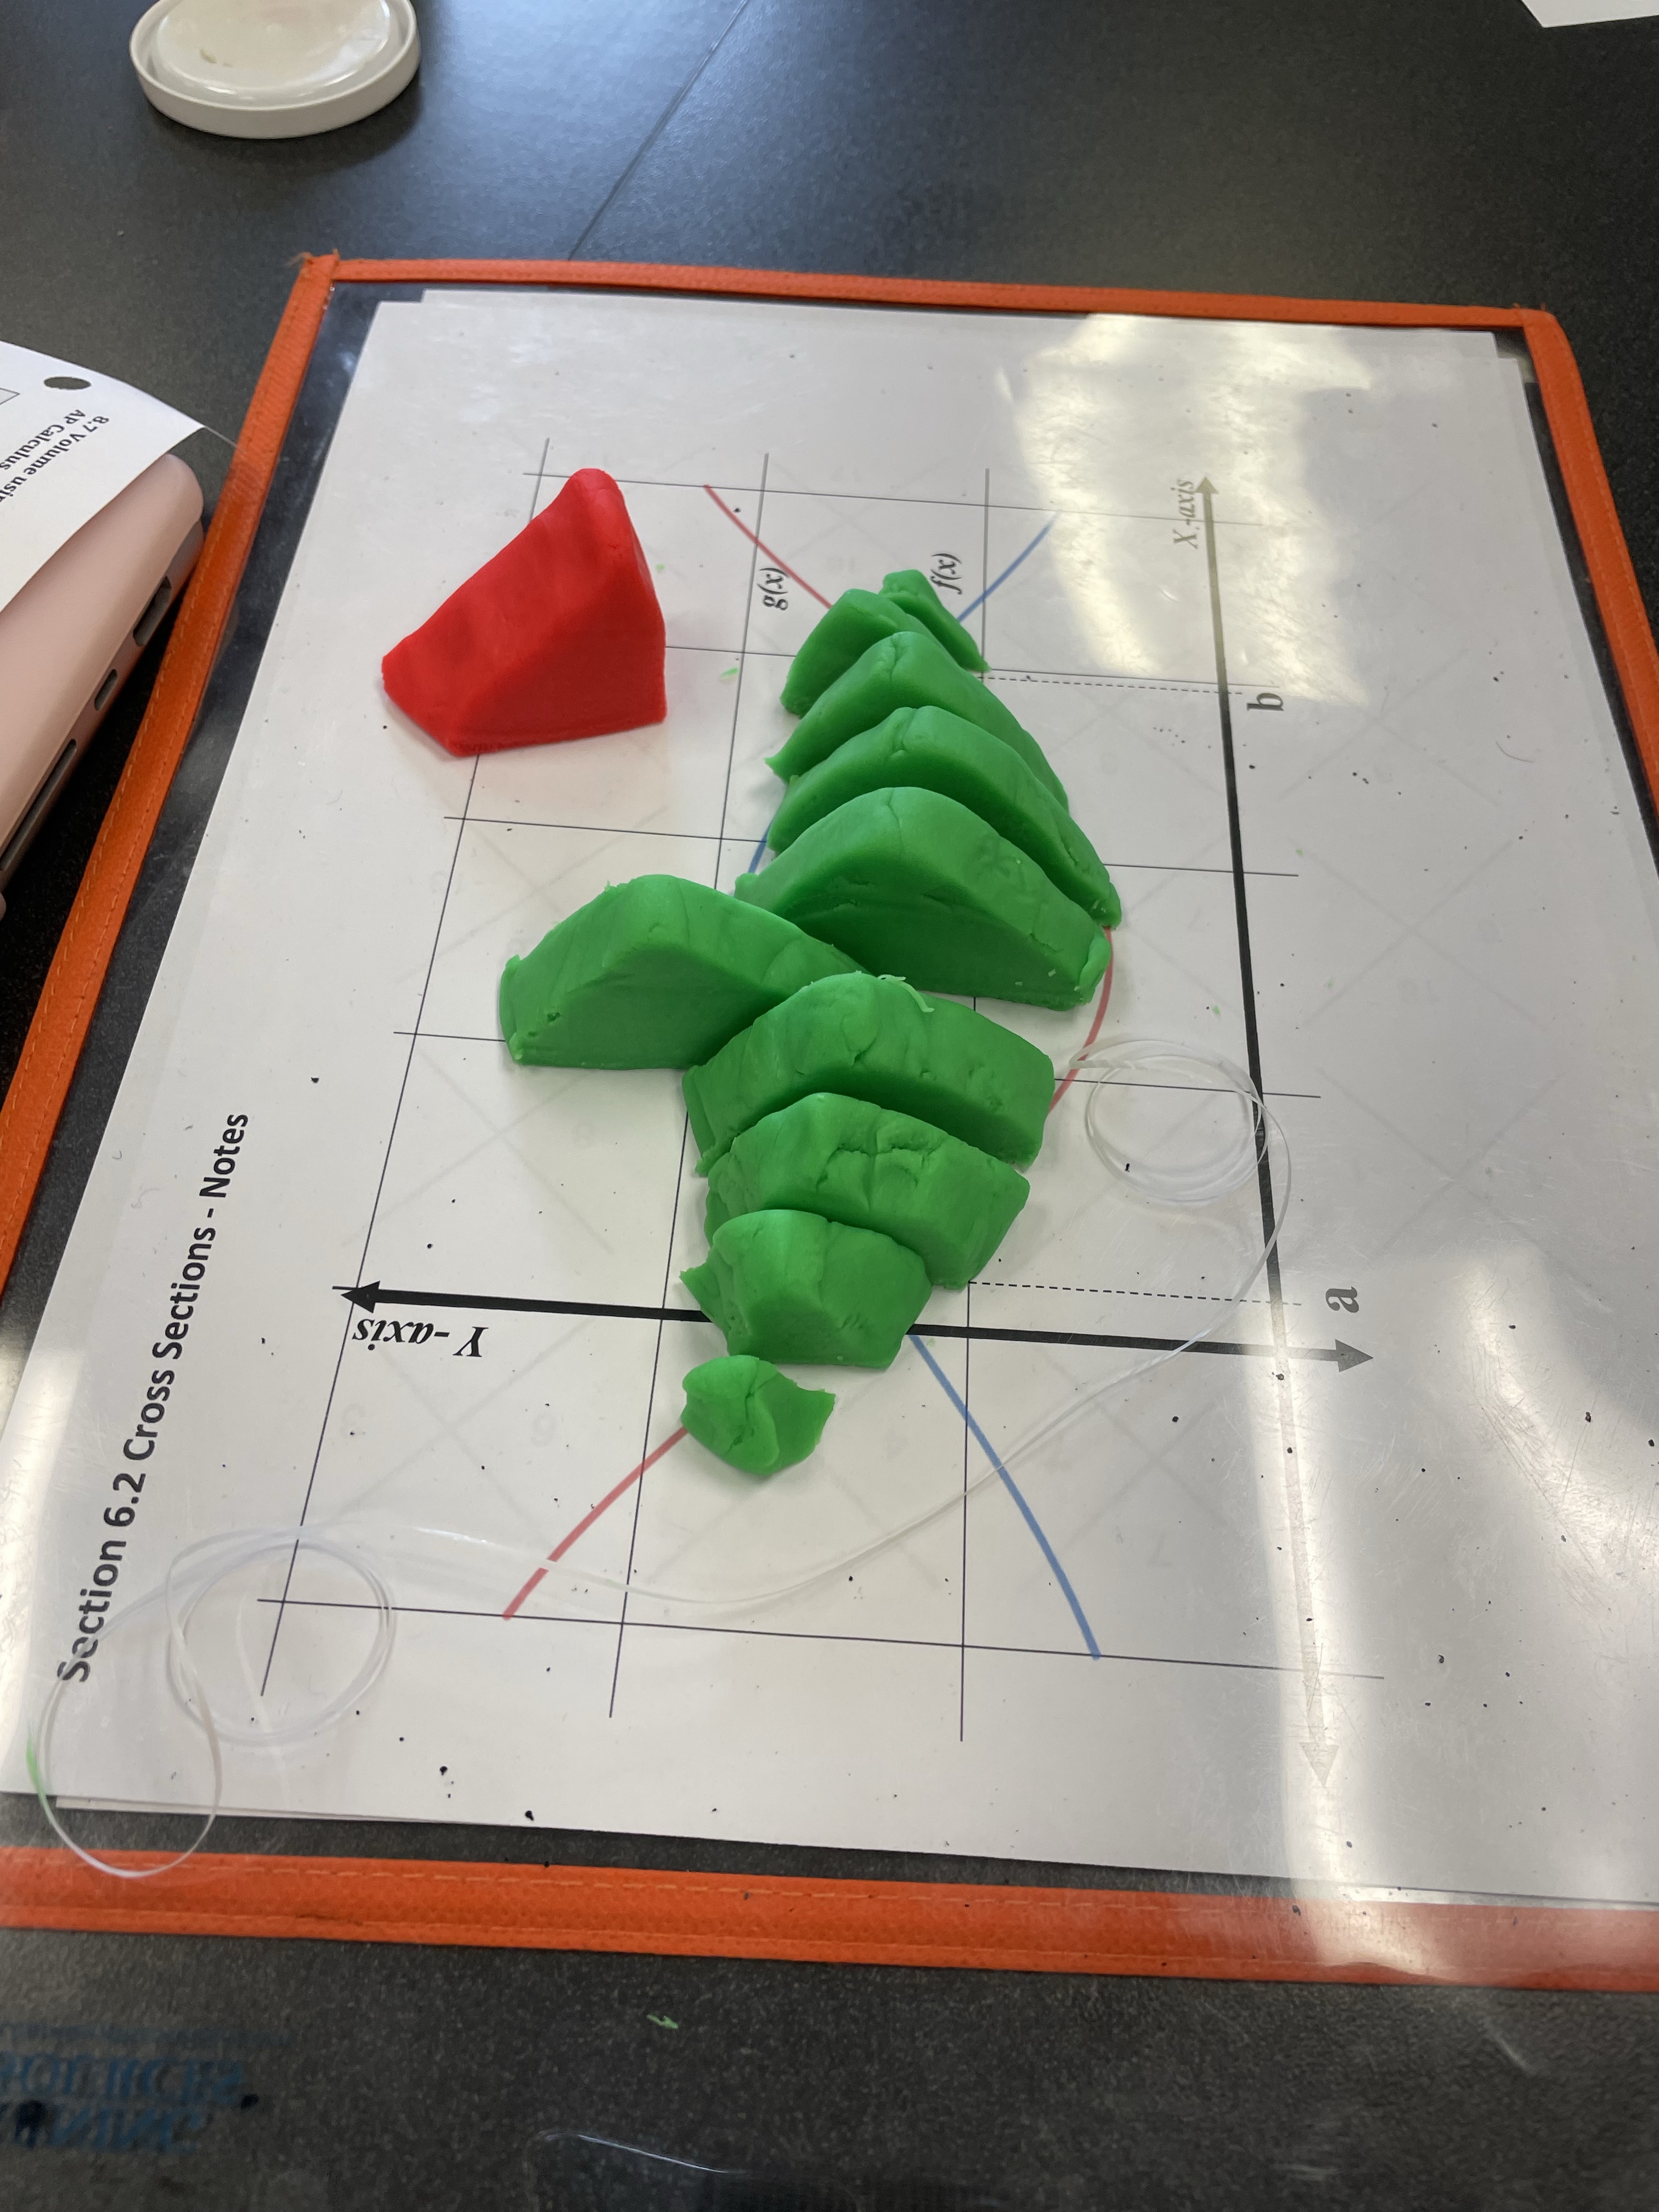
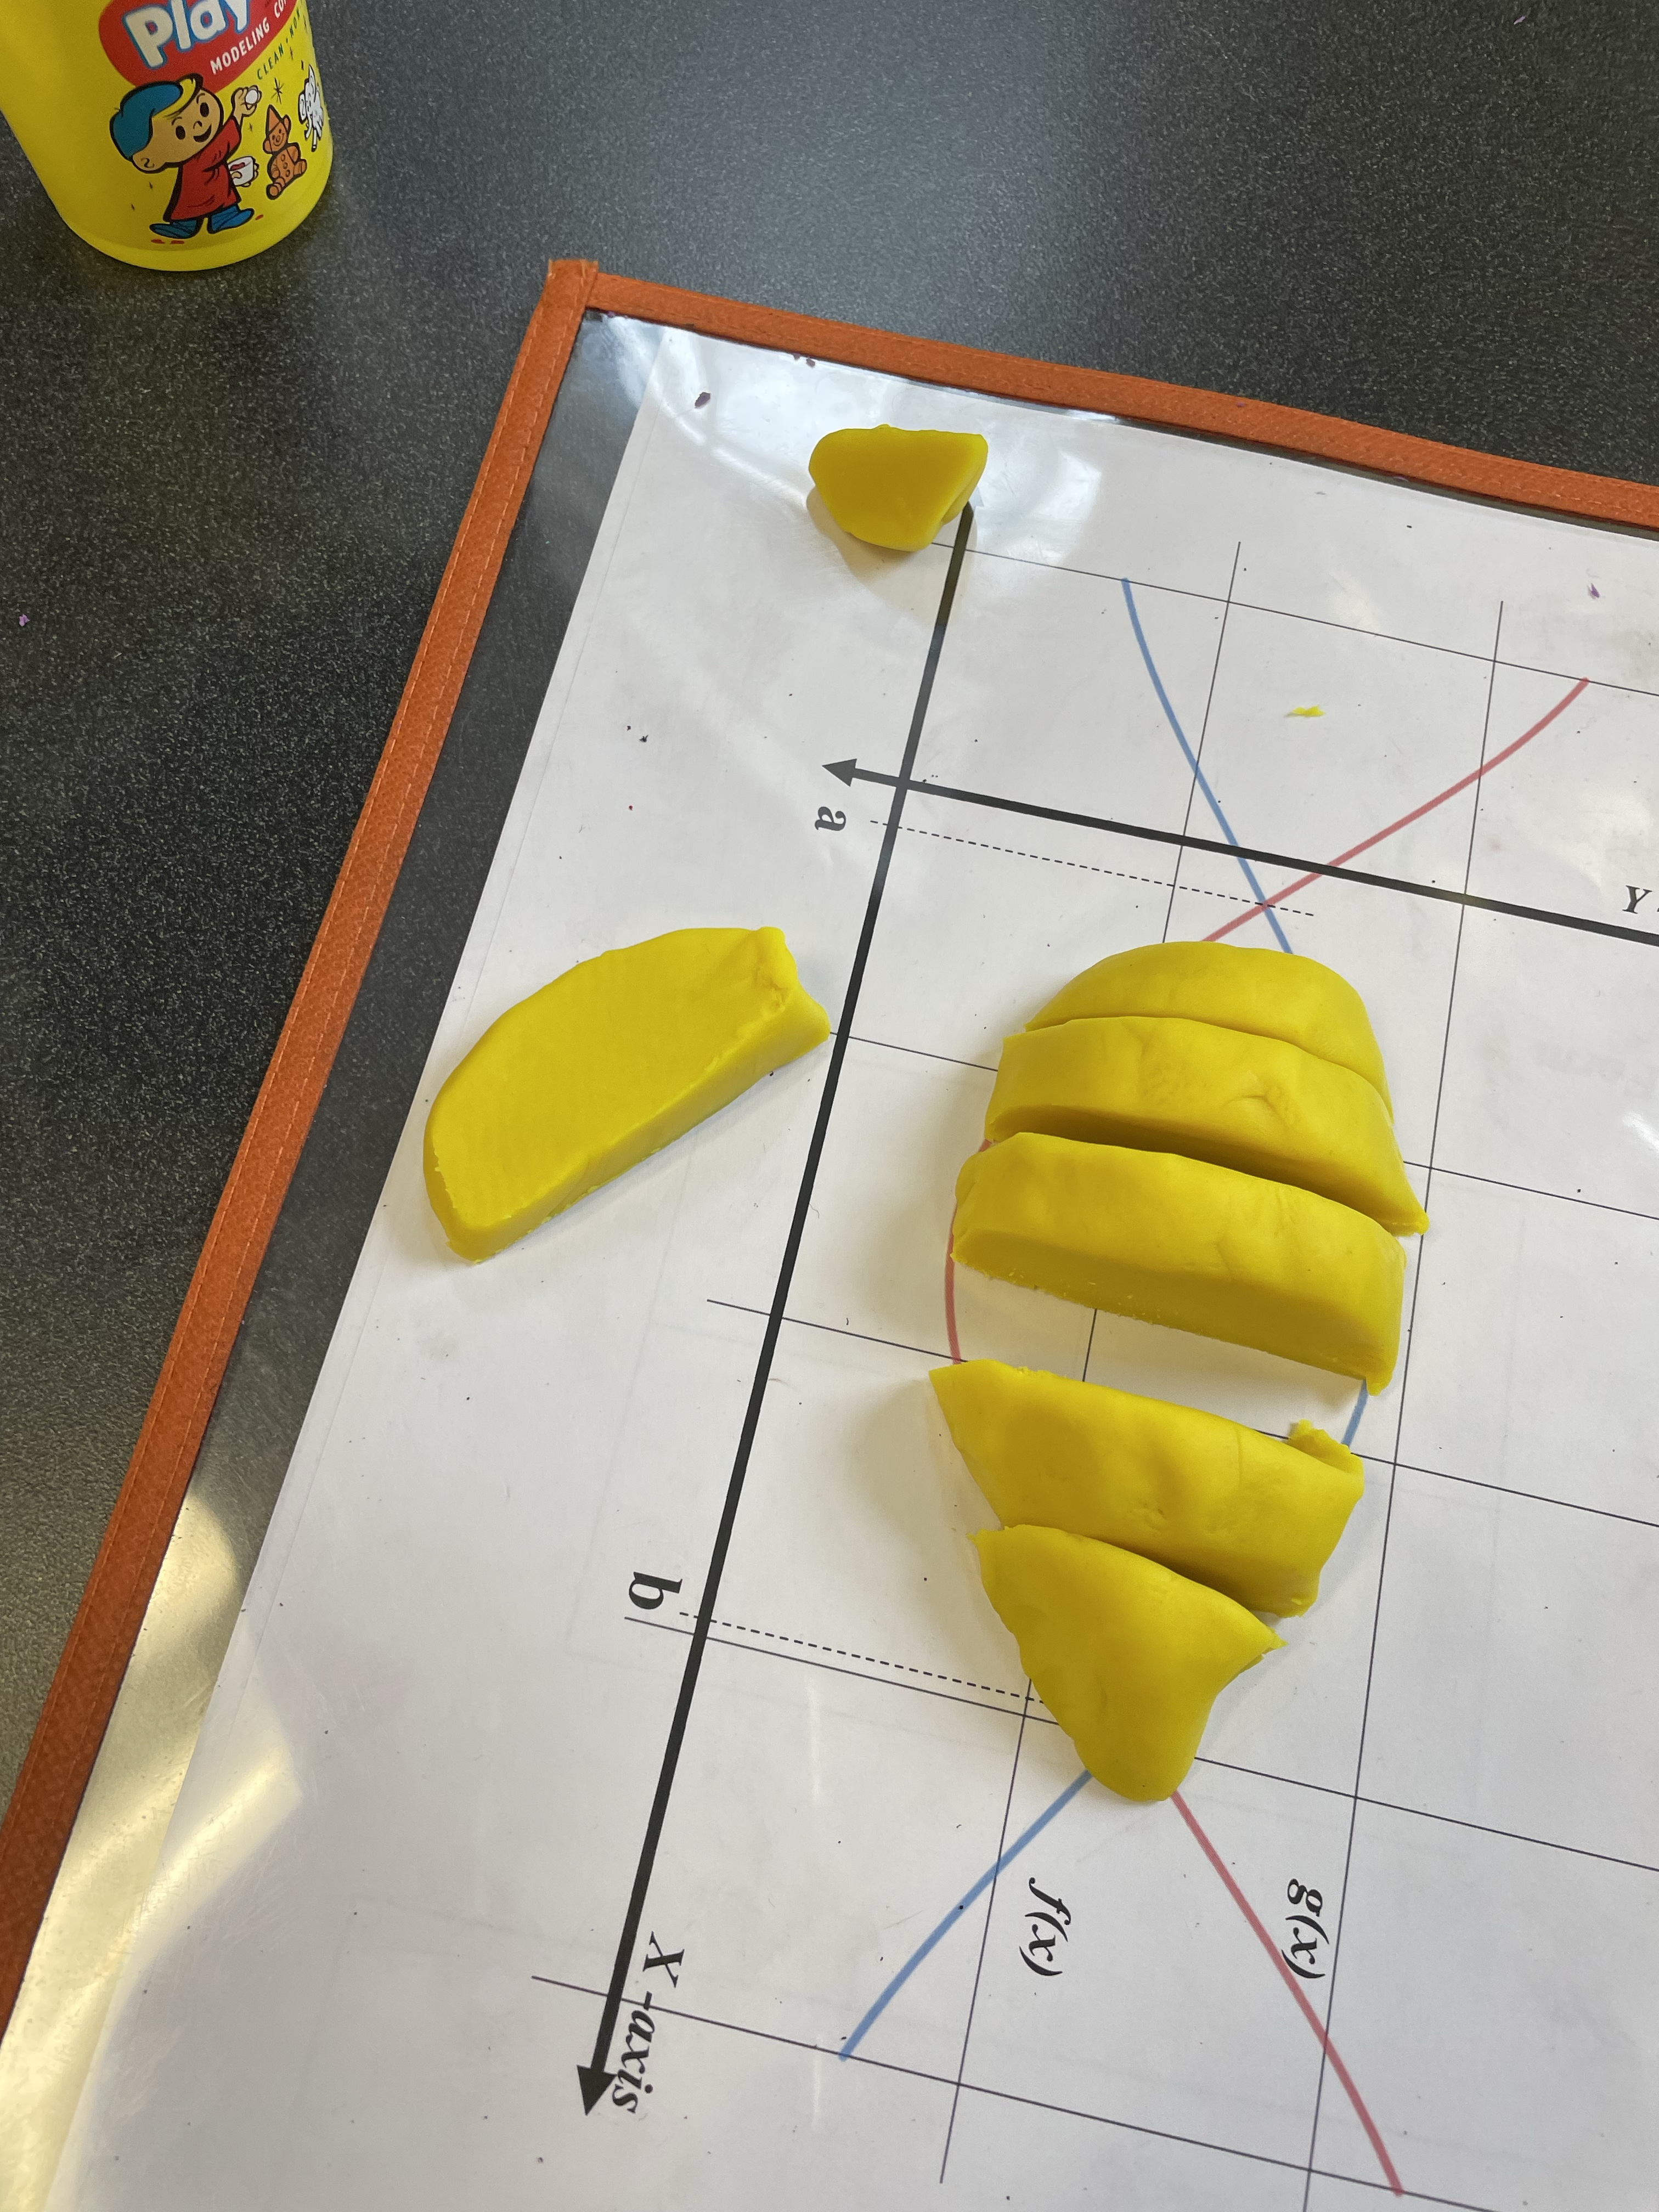
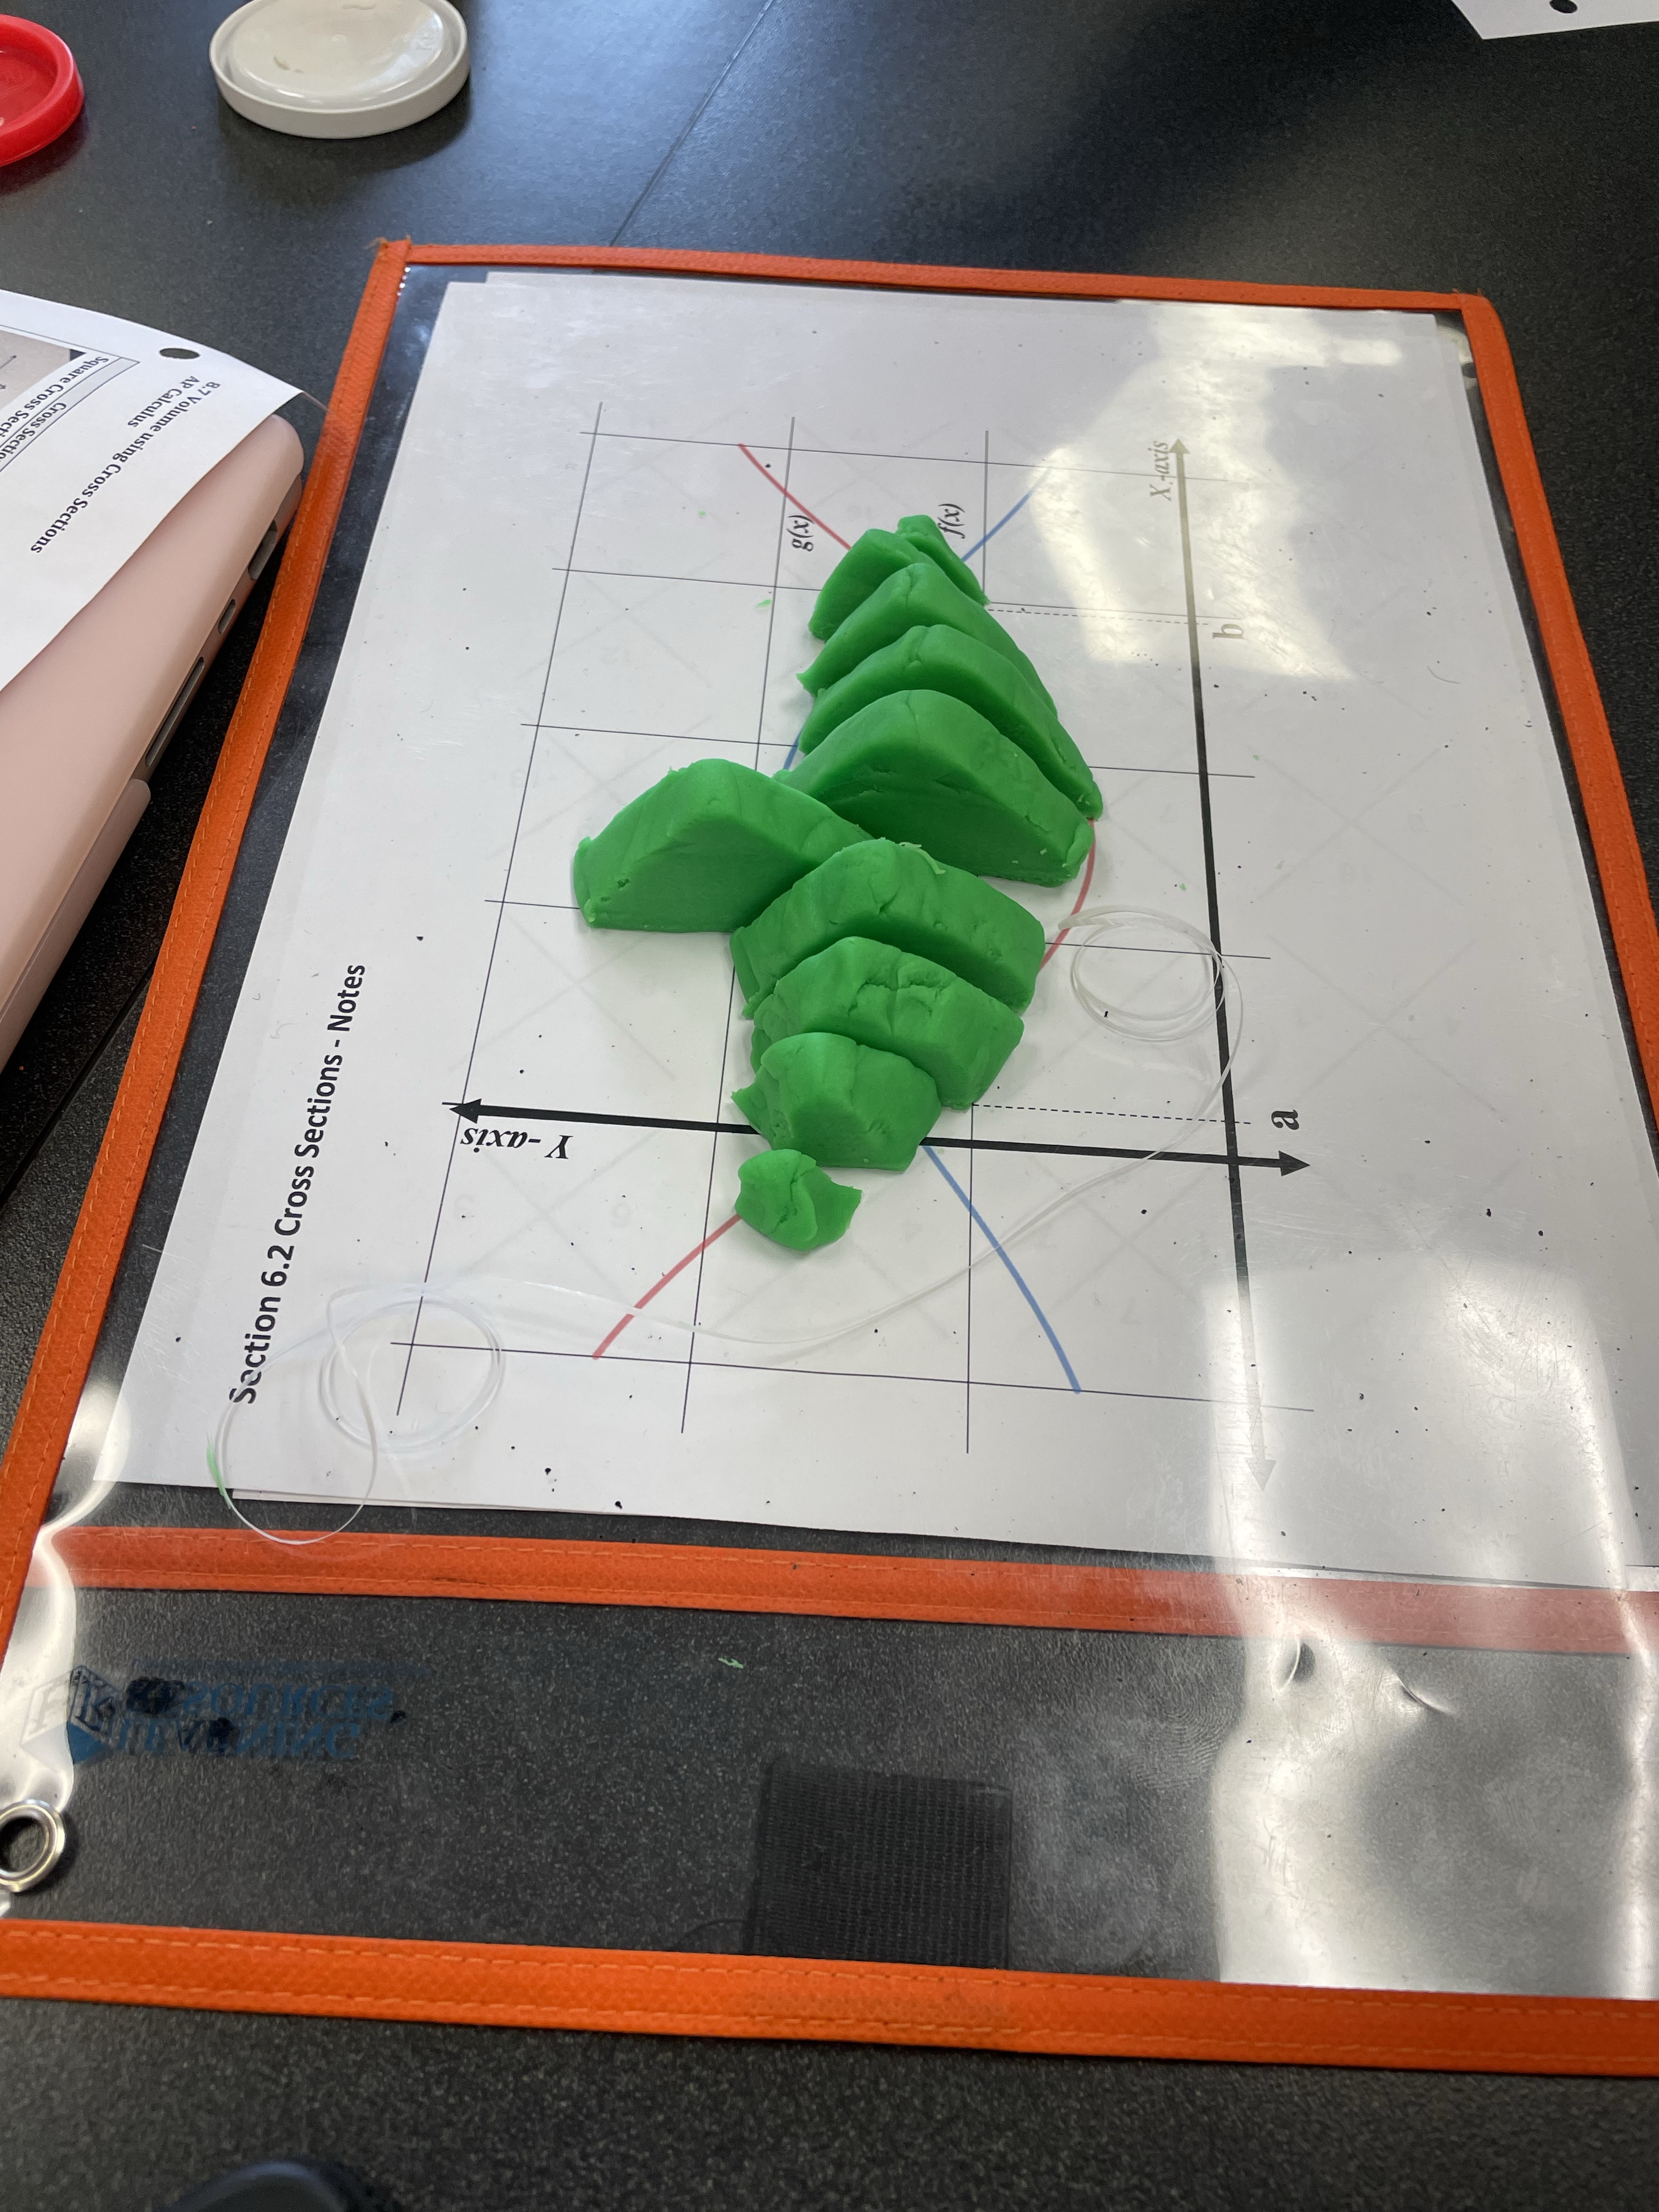
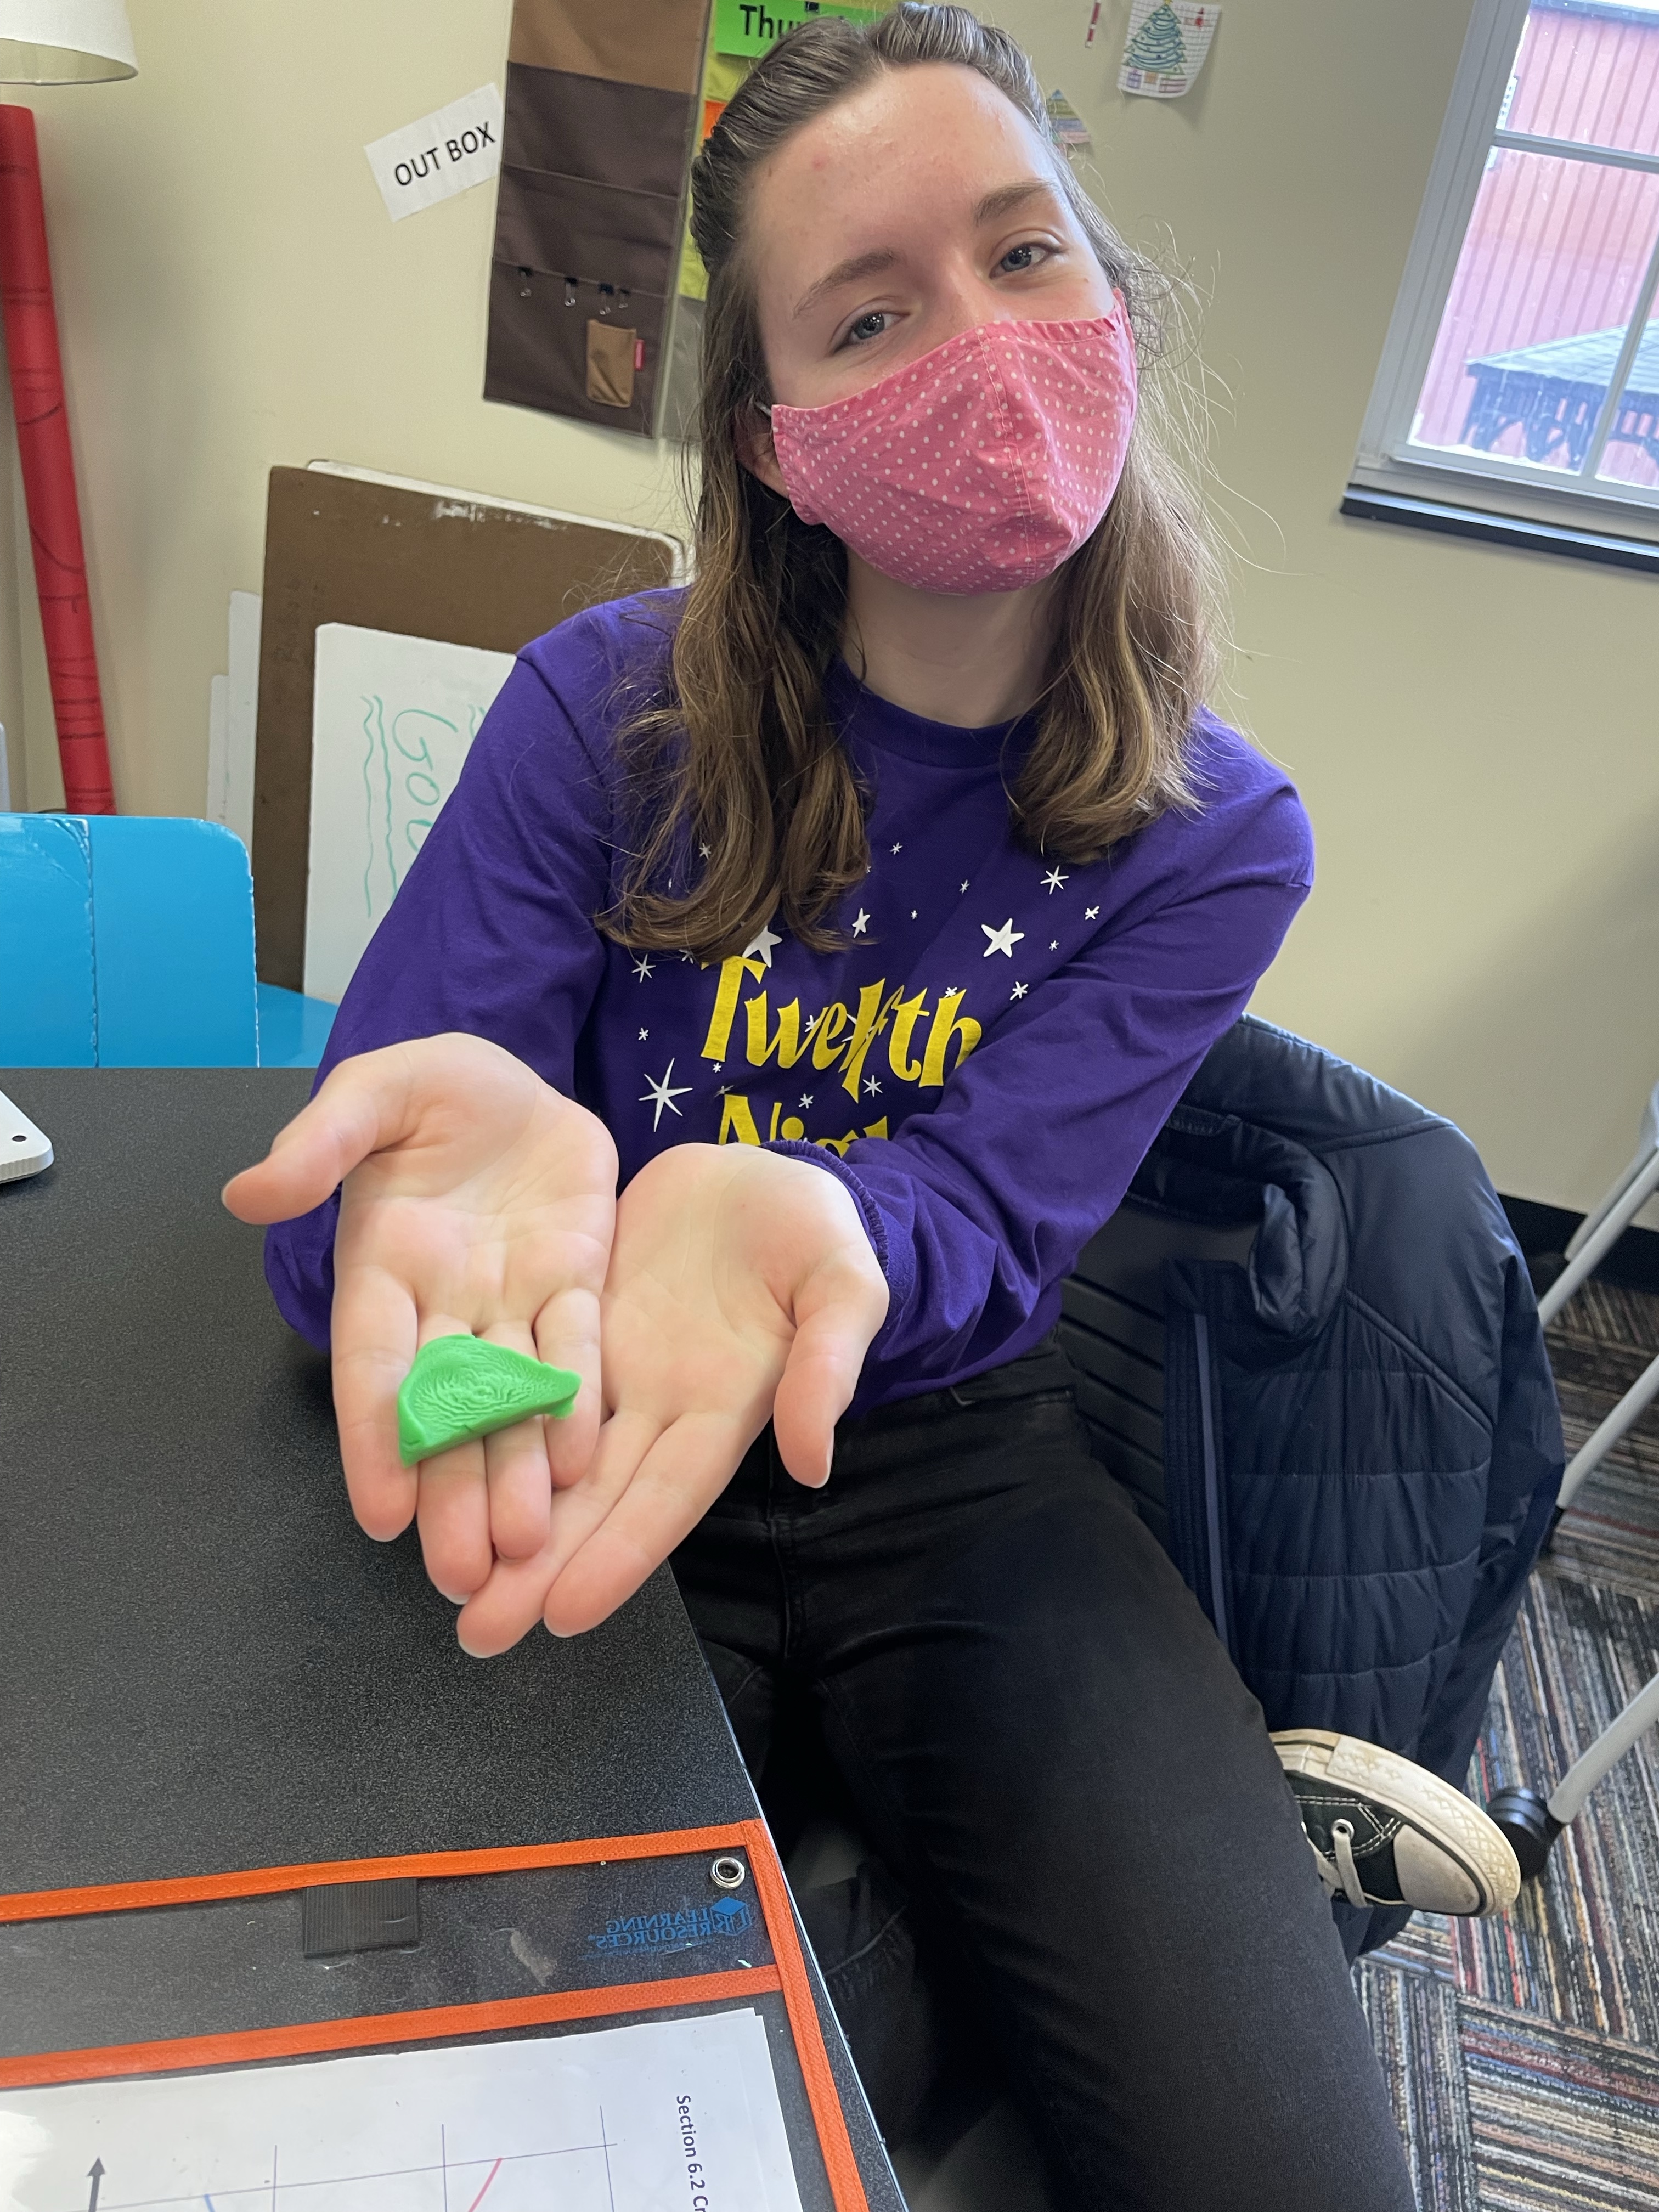
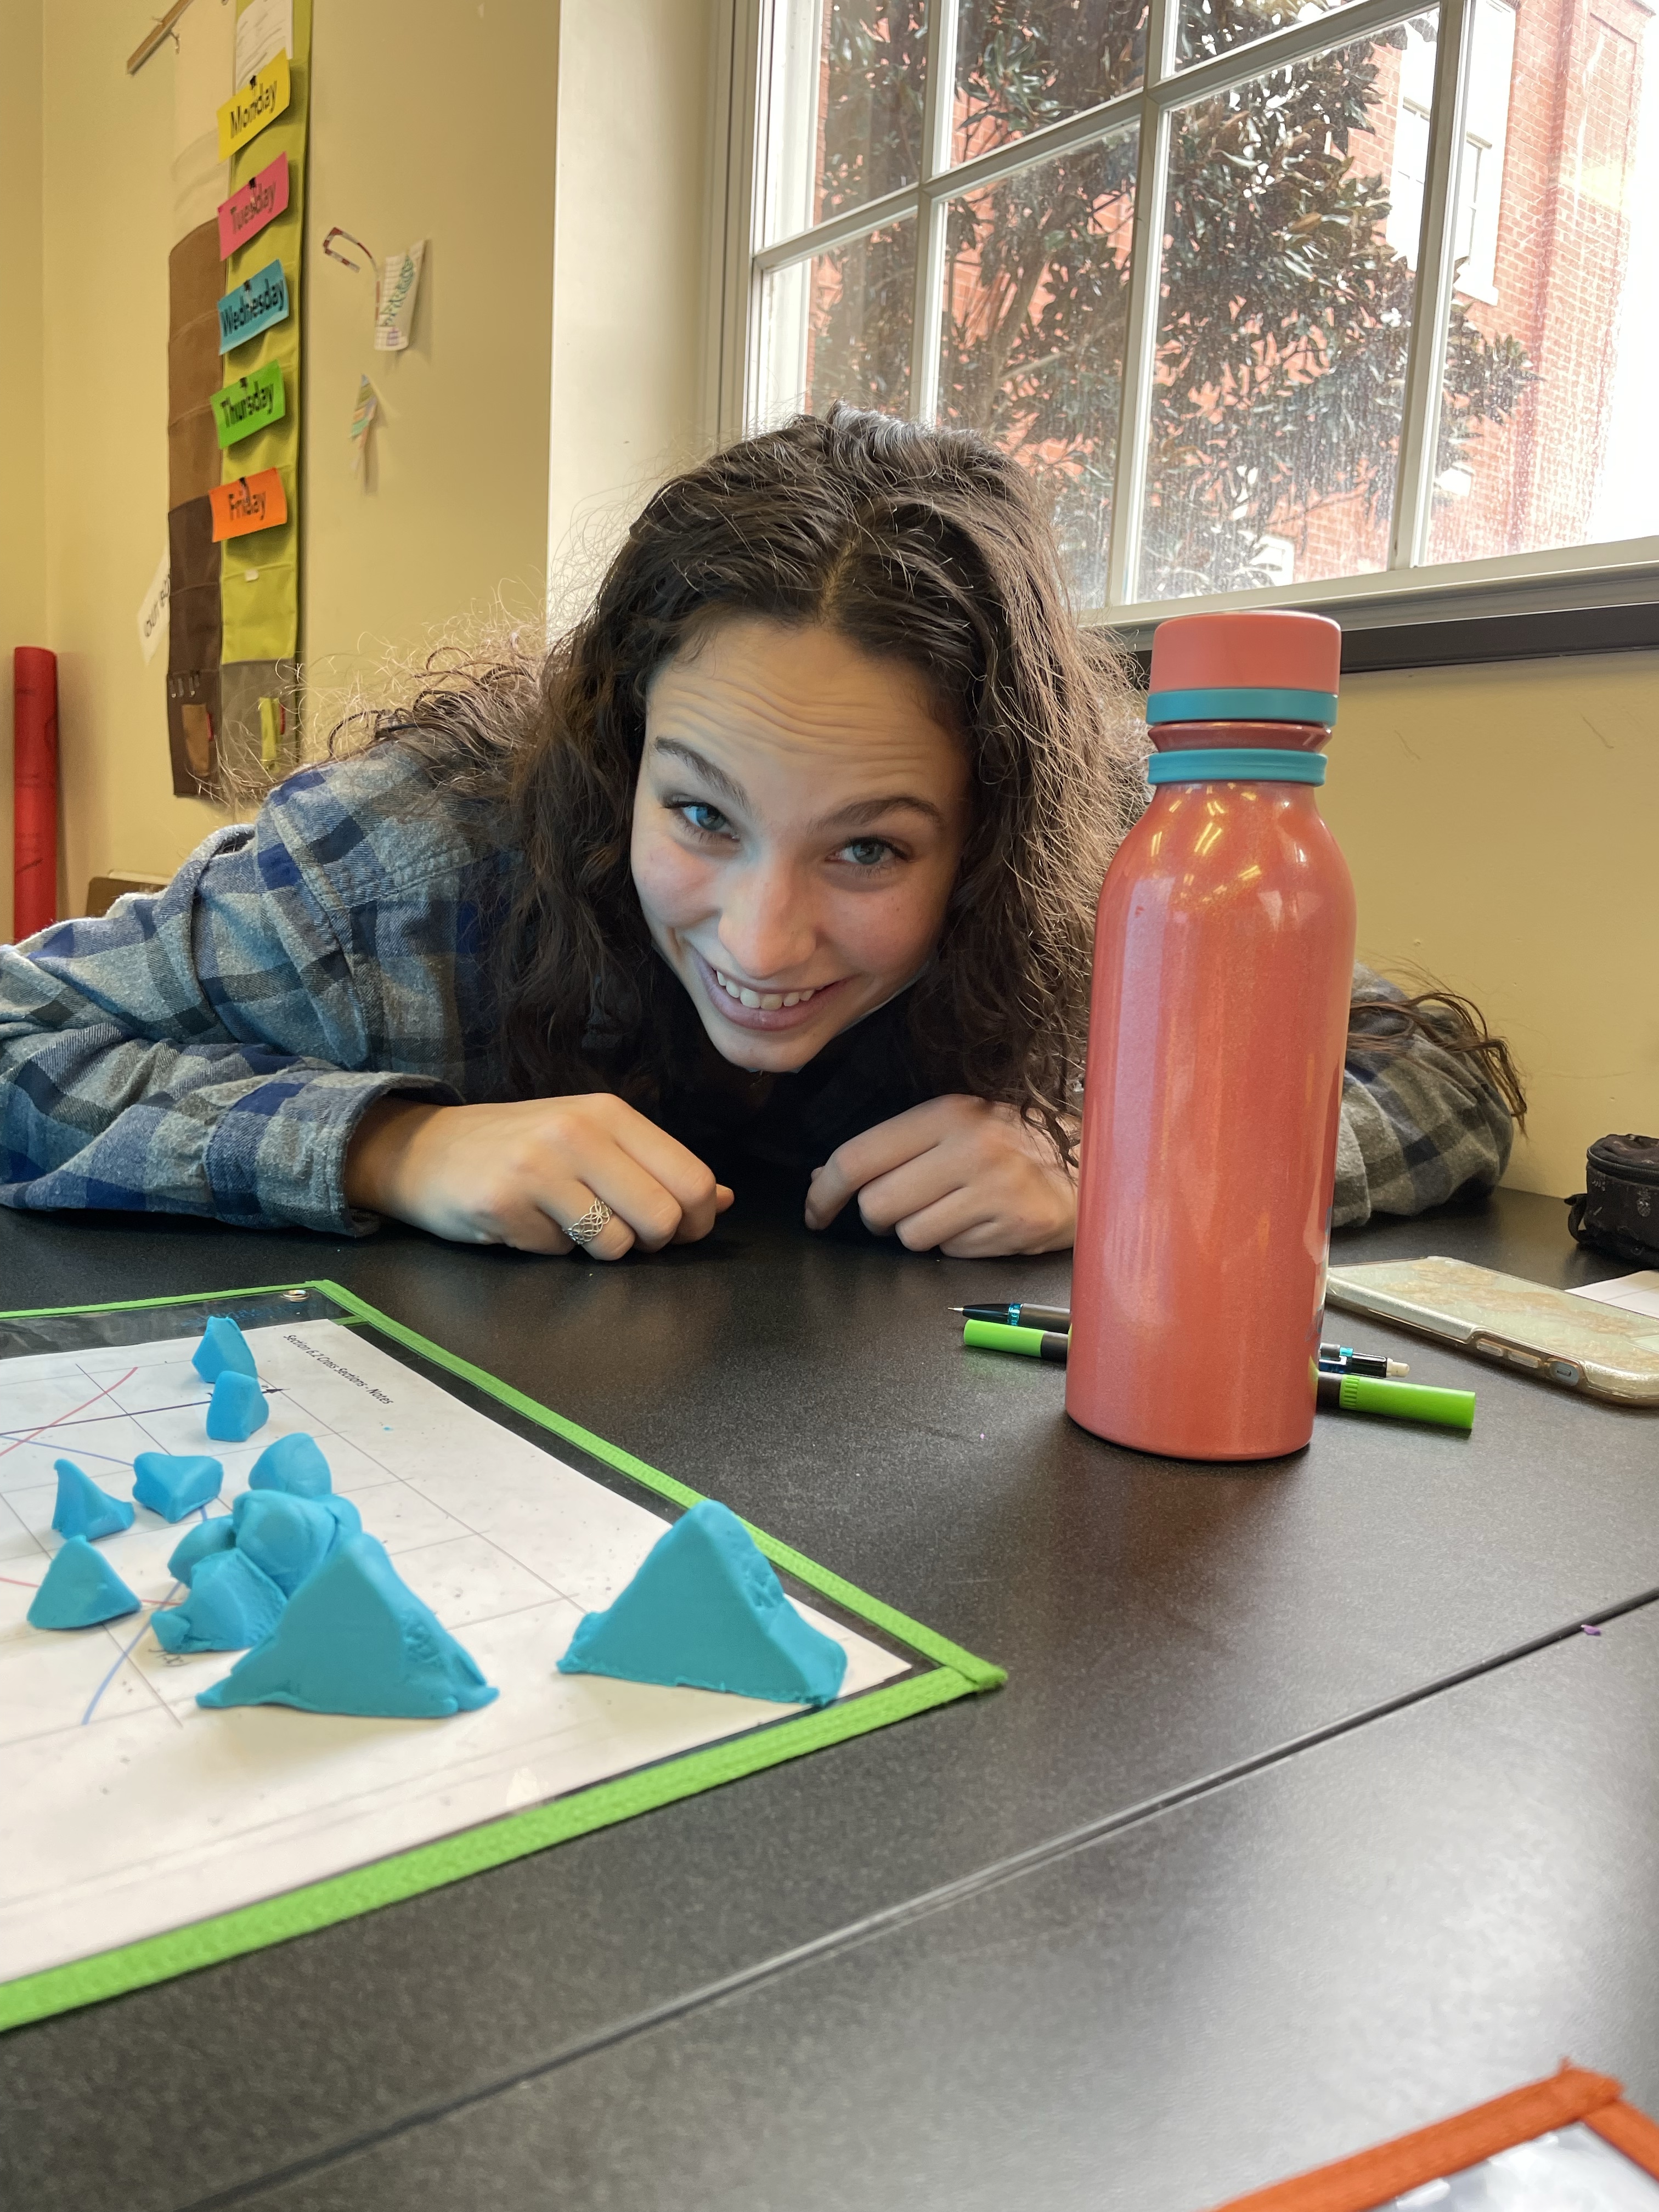
So, I decided to try it out using Play-Doh. I had students mold each type of cross section, and then let them slice it with either dental floss or a plastic knife. Once they cut their solid, I had them pull out cross sections so that we could develop the area and then volume formulas together.

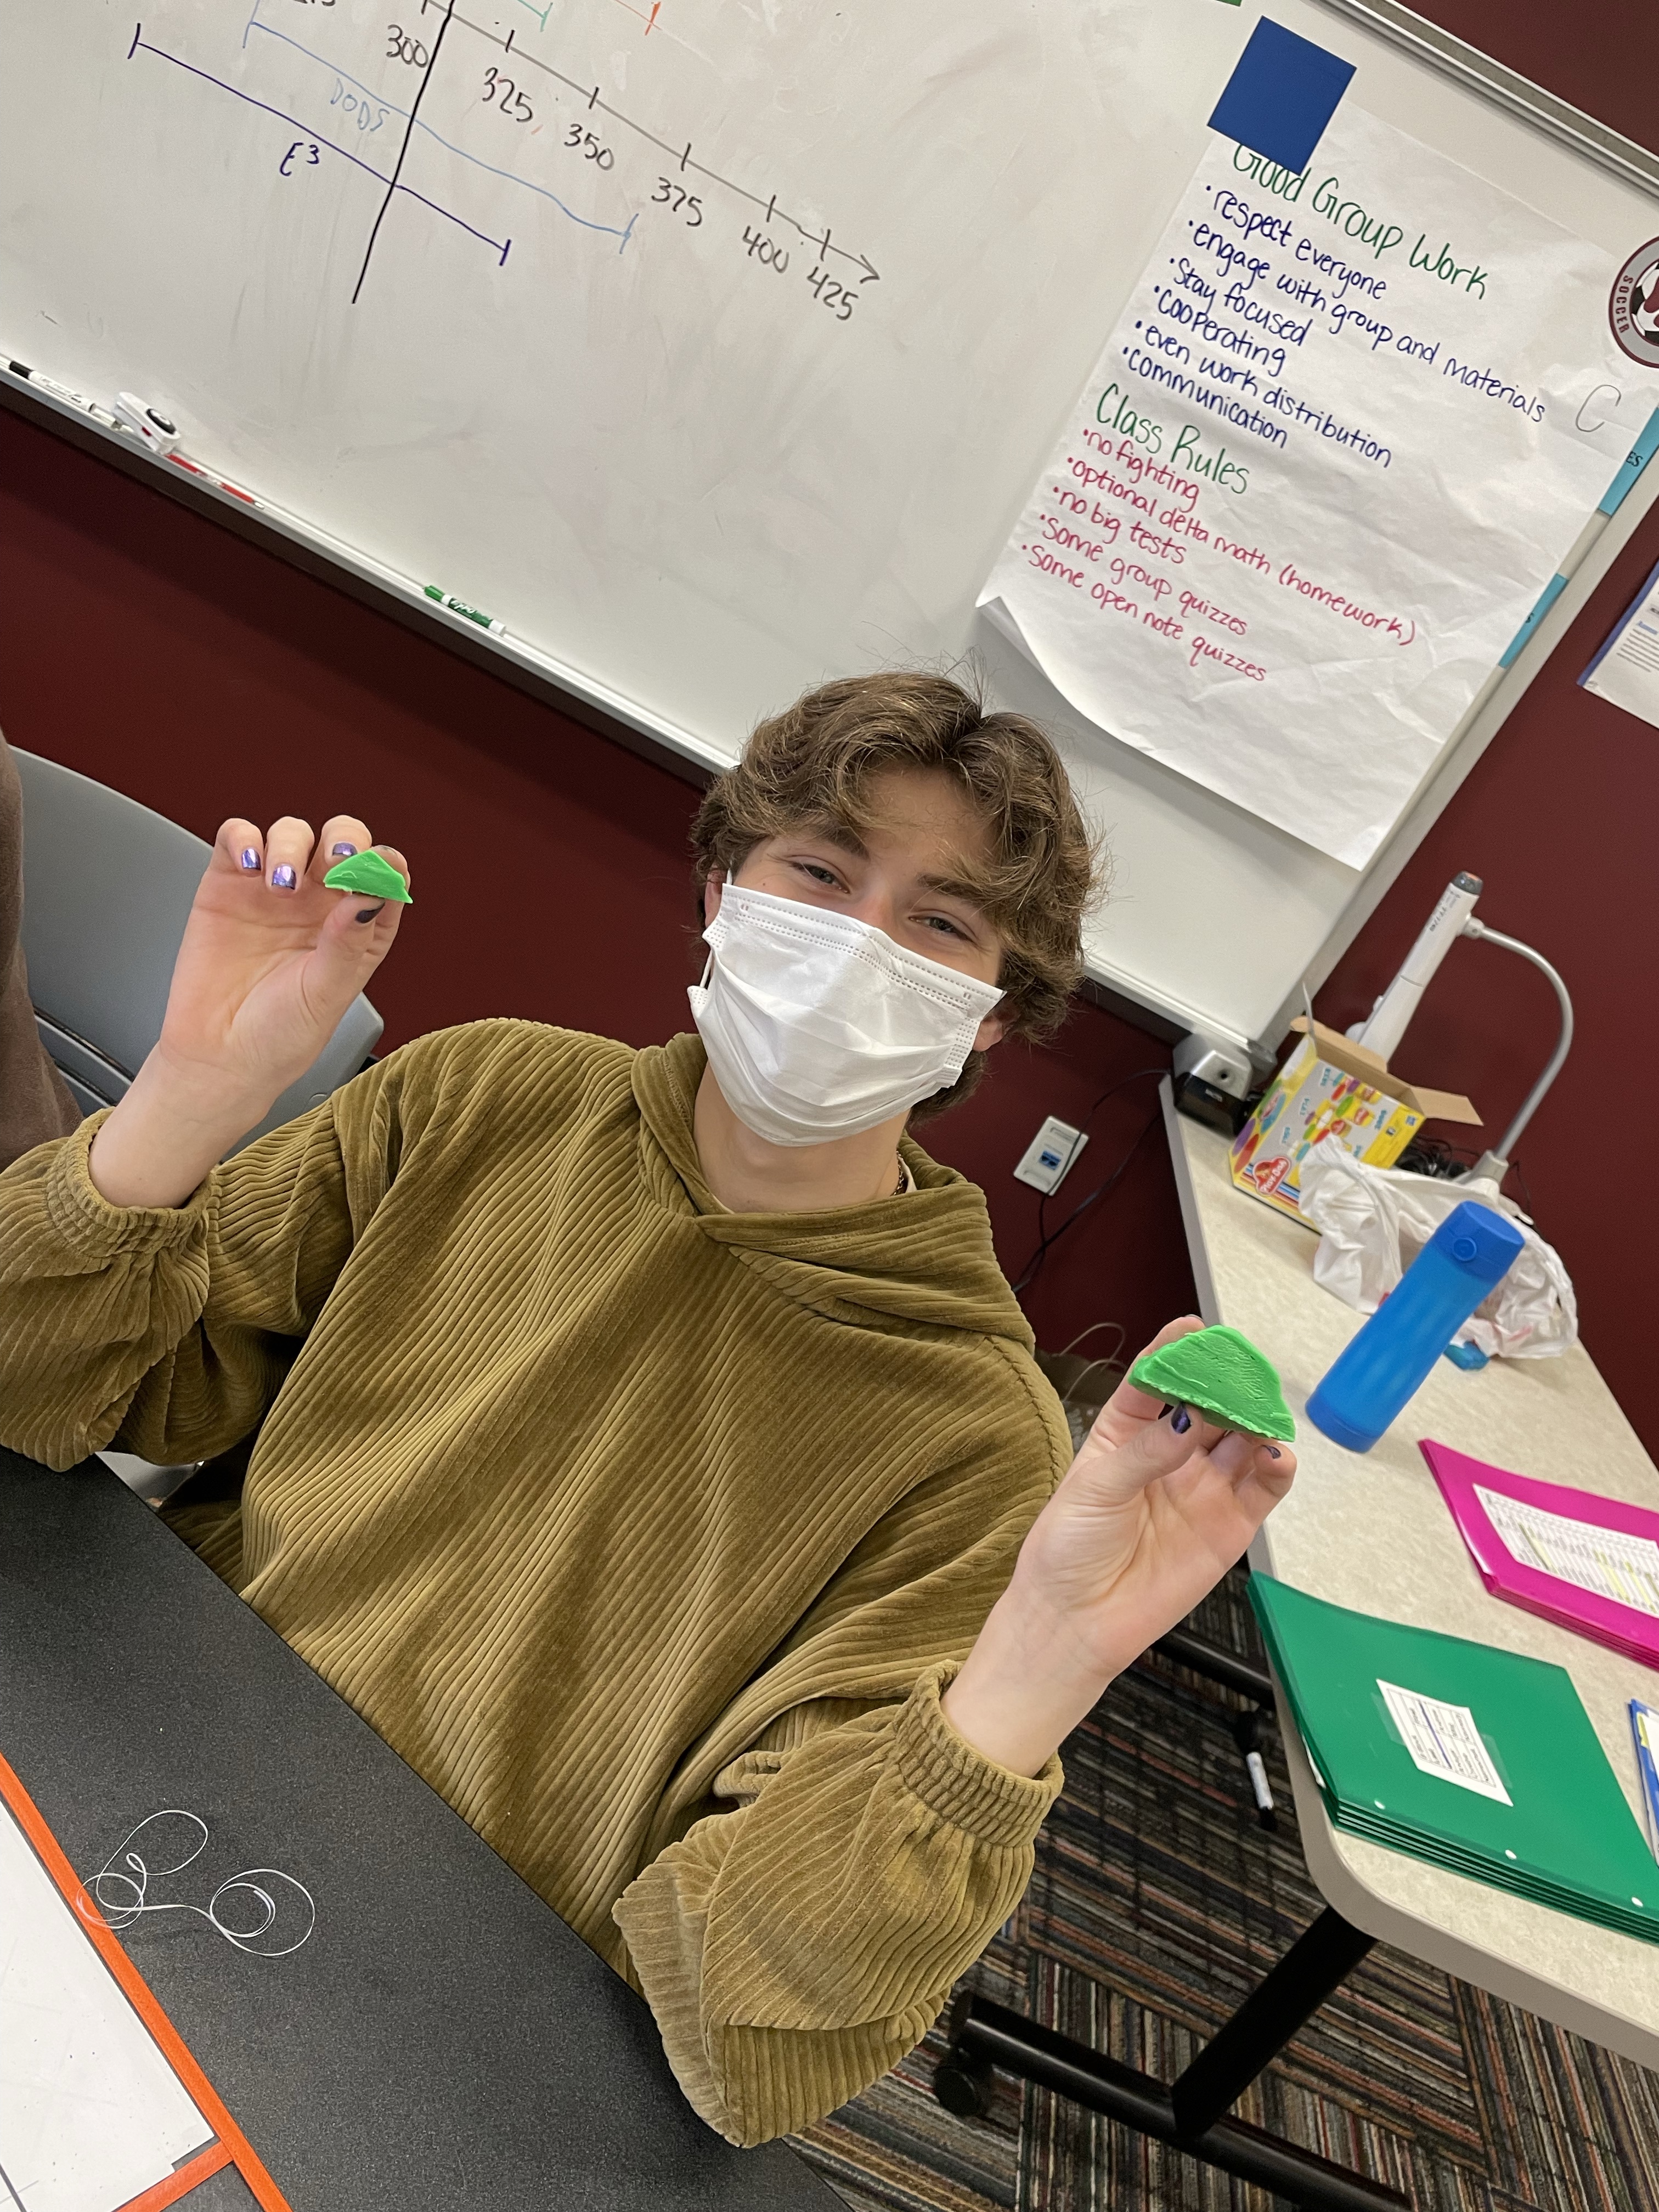
First of all, kids loved playing with Play-Doh! It worked beautifully, and only took about 40 minutes to do the entire activity. Most of my students didn’t need to do all of the cross sections after the doing the first one. Doing the first one really helped them see and understand what was going on. So, if you are short on time, you could just do one cross section. However, my students really enjoyed trying to make the shapes for all four cross sections, and cutting them into the sections. And, again, they really enjoyed playing with the Play-Doh! They were so sad when I asked them to put away the Play-Doh for the quiz that I let them keep it out and play with it during the quiz. Sometimes I forget that high school students are still kids.

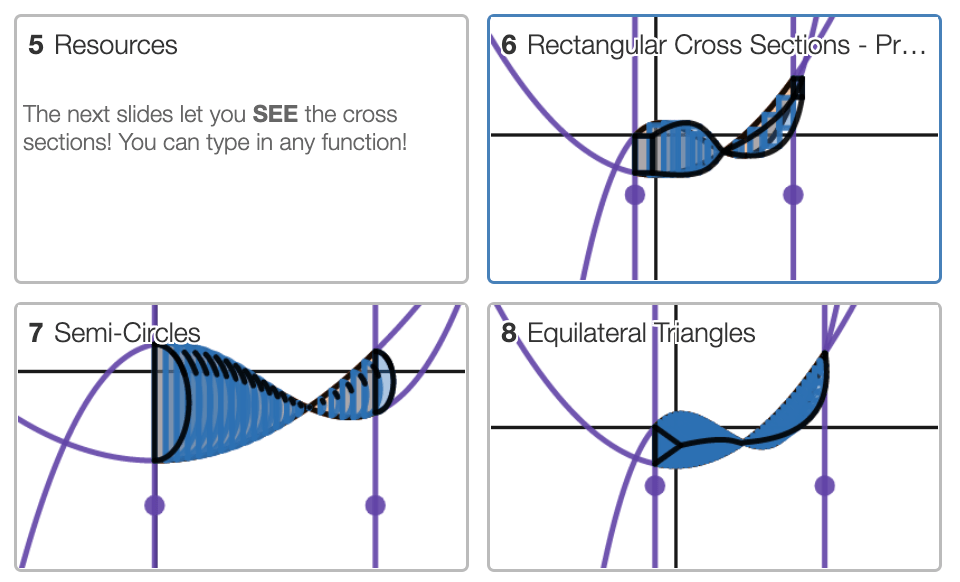
I pulled together a Desmos activity that I planned on using the same day. It is full of amazing graphs created by the amazing Suzanne von Oy. However we did not get to it as we ran out of time, and were just too excited about the Play-Doh! So I will share the Desmos with them when we do examples, and to remind them of what we did in class.

Procedure:

  • Class time: 45 minutes
  • Materials
    • Graph sheet and worksheet – I put the graph sheet into slip in sleeves, so I could reuse them for my classes. You could also use plastic page protectors or laminate the graph sheet.
    • Play-Doh – I used one 4oz. can per every two students.
    • Dental Floss (or plastic knives, but dental floss works better as it doesn’t squish the top of the shape).
    • Rulers (they don’t need them for this activity, but it helps them see why they shouldn’t measure with a ruler).
    • Desmos activity
  • Directions:
    • I let the kids just play with the Play-Doh first. Don’t skip this important first step, or you will never get their attention. lol!
    • I had two students work together on one mat.
    • While they are playing we talked about volume formulas. I found asking them how do you get the volume of a cylinder was especially helpful as they all knew it was the area of a circle time the height. I pushed them on this, and then they told me that you have lots of circles to get the volume of a cylinder.
    • I told them to use all of their Play-Doh to make a solid out of the area between f(x) and g(x). Then, I had them mold their shape into the different cross sections.
    • After molding, they sliced their solid, and took out two different sized cross sections, one from the middle and one towards the end. This was incredibly helpful as when I said, what is the base of the square? A couple of tables started measuring it with a ruler. (Rulers had been left on the table from the class before). This was accidental, but a great opportunity to talk about why measuring this is not the best method.
    • This led to a discussion about how to get the base measurement we needed. And moved to the worksheet to write down the area and the volume.
    • I did not give them the area of an equilateral triangle. We used our 30-60-90 knowledge to develop this.
    • Once we finished everything we compared the volume formulas on their worksheet. We talked about how they were different and how they were the same.
    • I planned on using the Desmos activity, but we ran out of time. So, I will use this the next day so they can see and manipulate the cross-sections of the examples we use in class.