“I feel so accomplished!” is what I overheard a student say after doing the Noah’s Ark problem solving activity in my class today. I also heard, “You will REALLY like math class today! It was so hard, but so much fun!”

I gave them the Noah’s Ark problem (thanks Fawn)! I followed Fawn’s suggestions for problem solving because she is the expert.
- Give them all their own copy of the problem. (And a sheet of animals to cut out if they wanted it). Noah’s Arc PS
- Let them read it silently
- Let one of them read it aloud while other students read along silently.
- Let them work silently for a few minutes.
- Let them work together.
- Discuss solutions.
While working silently, many students came up with a solution. However, once they started working with others, they realized that their solutions may not be correct. I loved how they were explaining their solutions to their classmates, and their classmates would say, “Oh, but then you would have too many zebras.” and I would hear the, “Ohhhhh…” My favorite had to be “But WHAT is kangaroo? WHAT ARE YOU?” Several students asked for another copy because they had written all over theirs and wanted to start again.
-

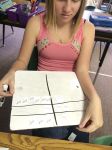
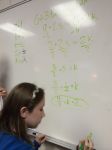
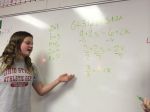
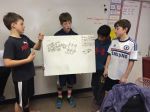
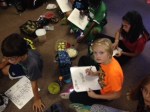
- Giant Whiteboards are great for group work and presenting.
-
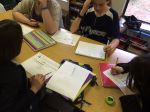
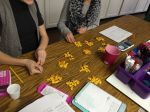
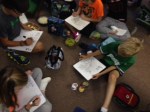
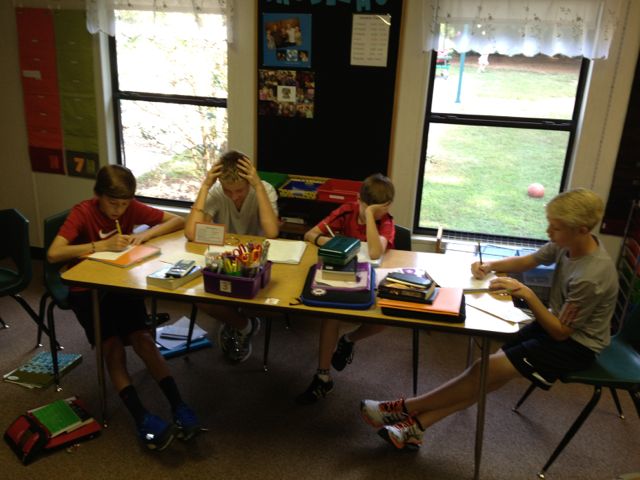
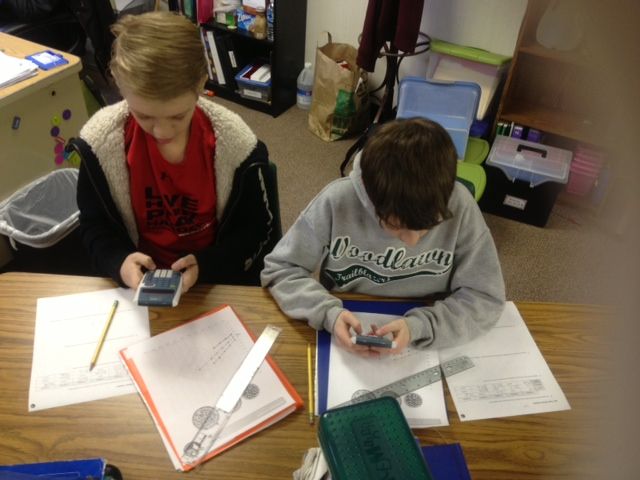
- Working together.
-
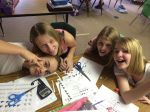
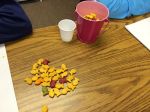
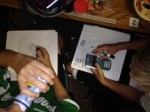
- They loved the animals cut-outs.
-
- Rebuilding the problem.
-
- “I can’t stop until I figure this out!”
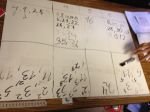
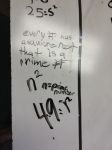
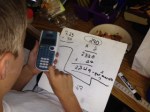
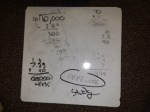
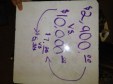
Some students let the animals equal animal values.
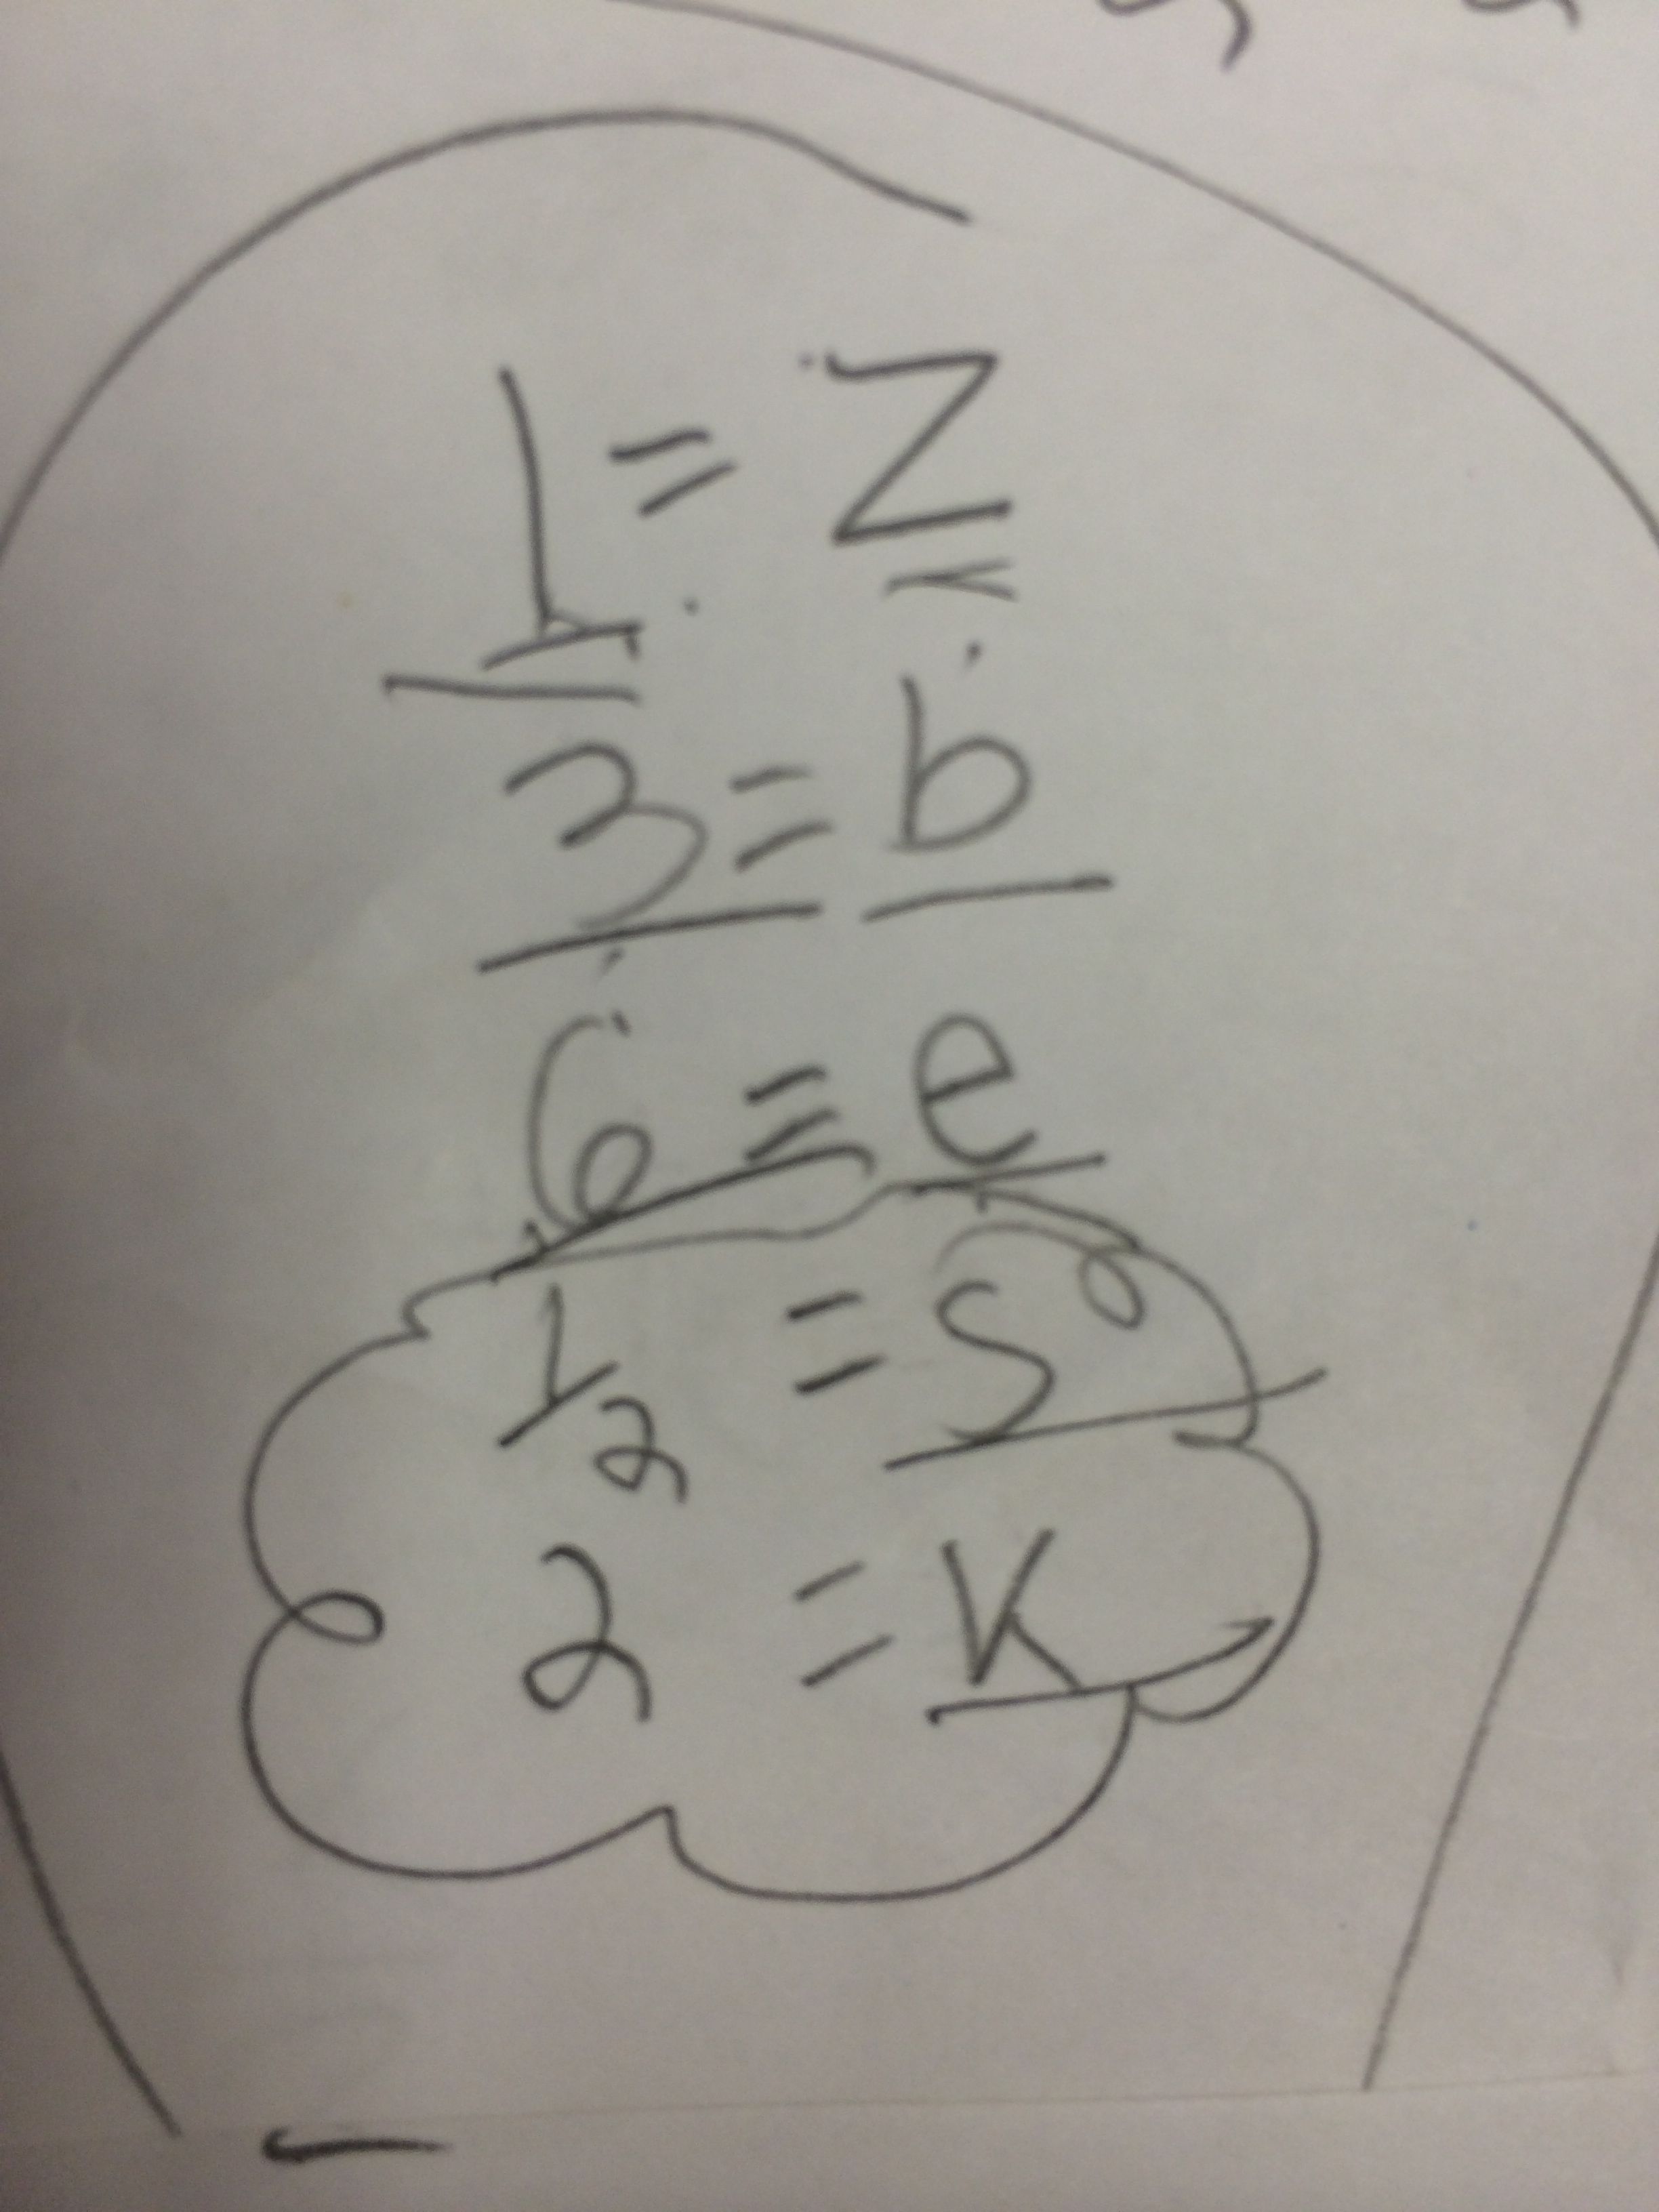
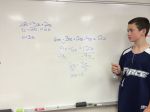
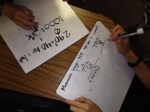
Most students had to work together to come up with the correct solution. A cluster of my students decided to assign point values to some of the animals, and variables for others.
This was an altered version of substitution, and so interesting for me to see. I loved how they molded the problem to fit their level of understanding. Their minds work in fascinating ways!
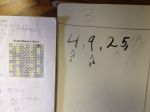
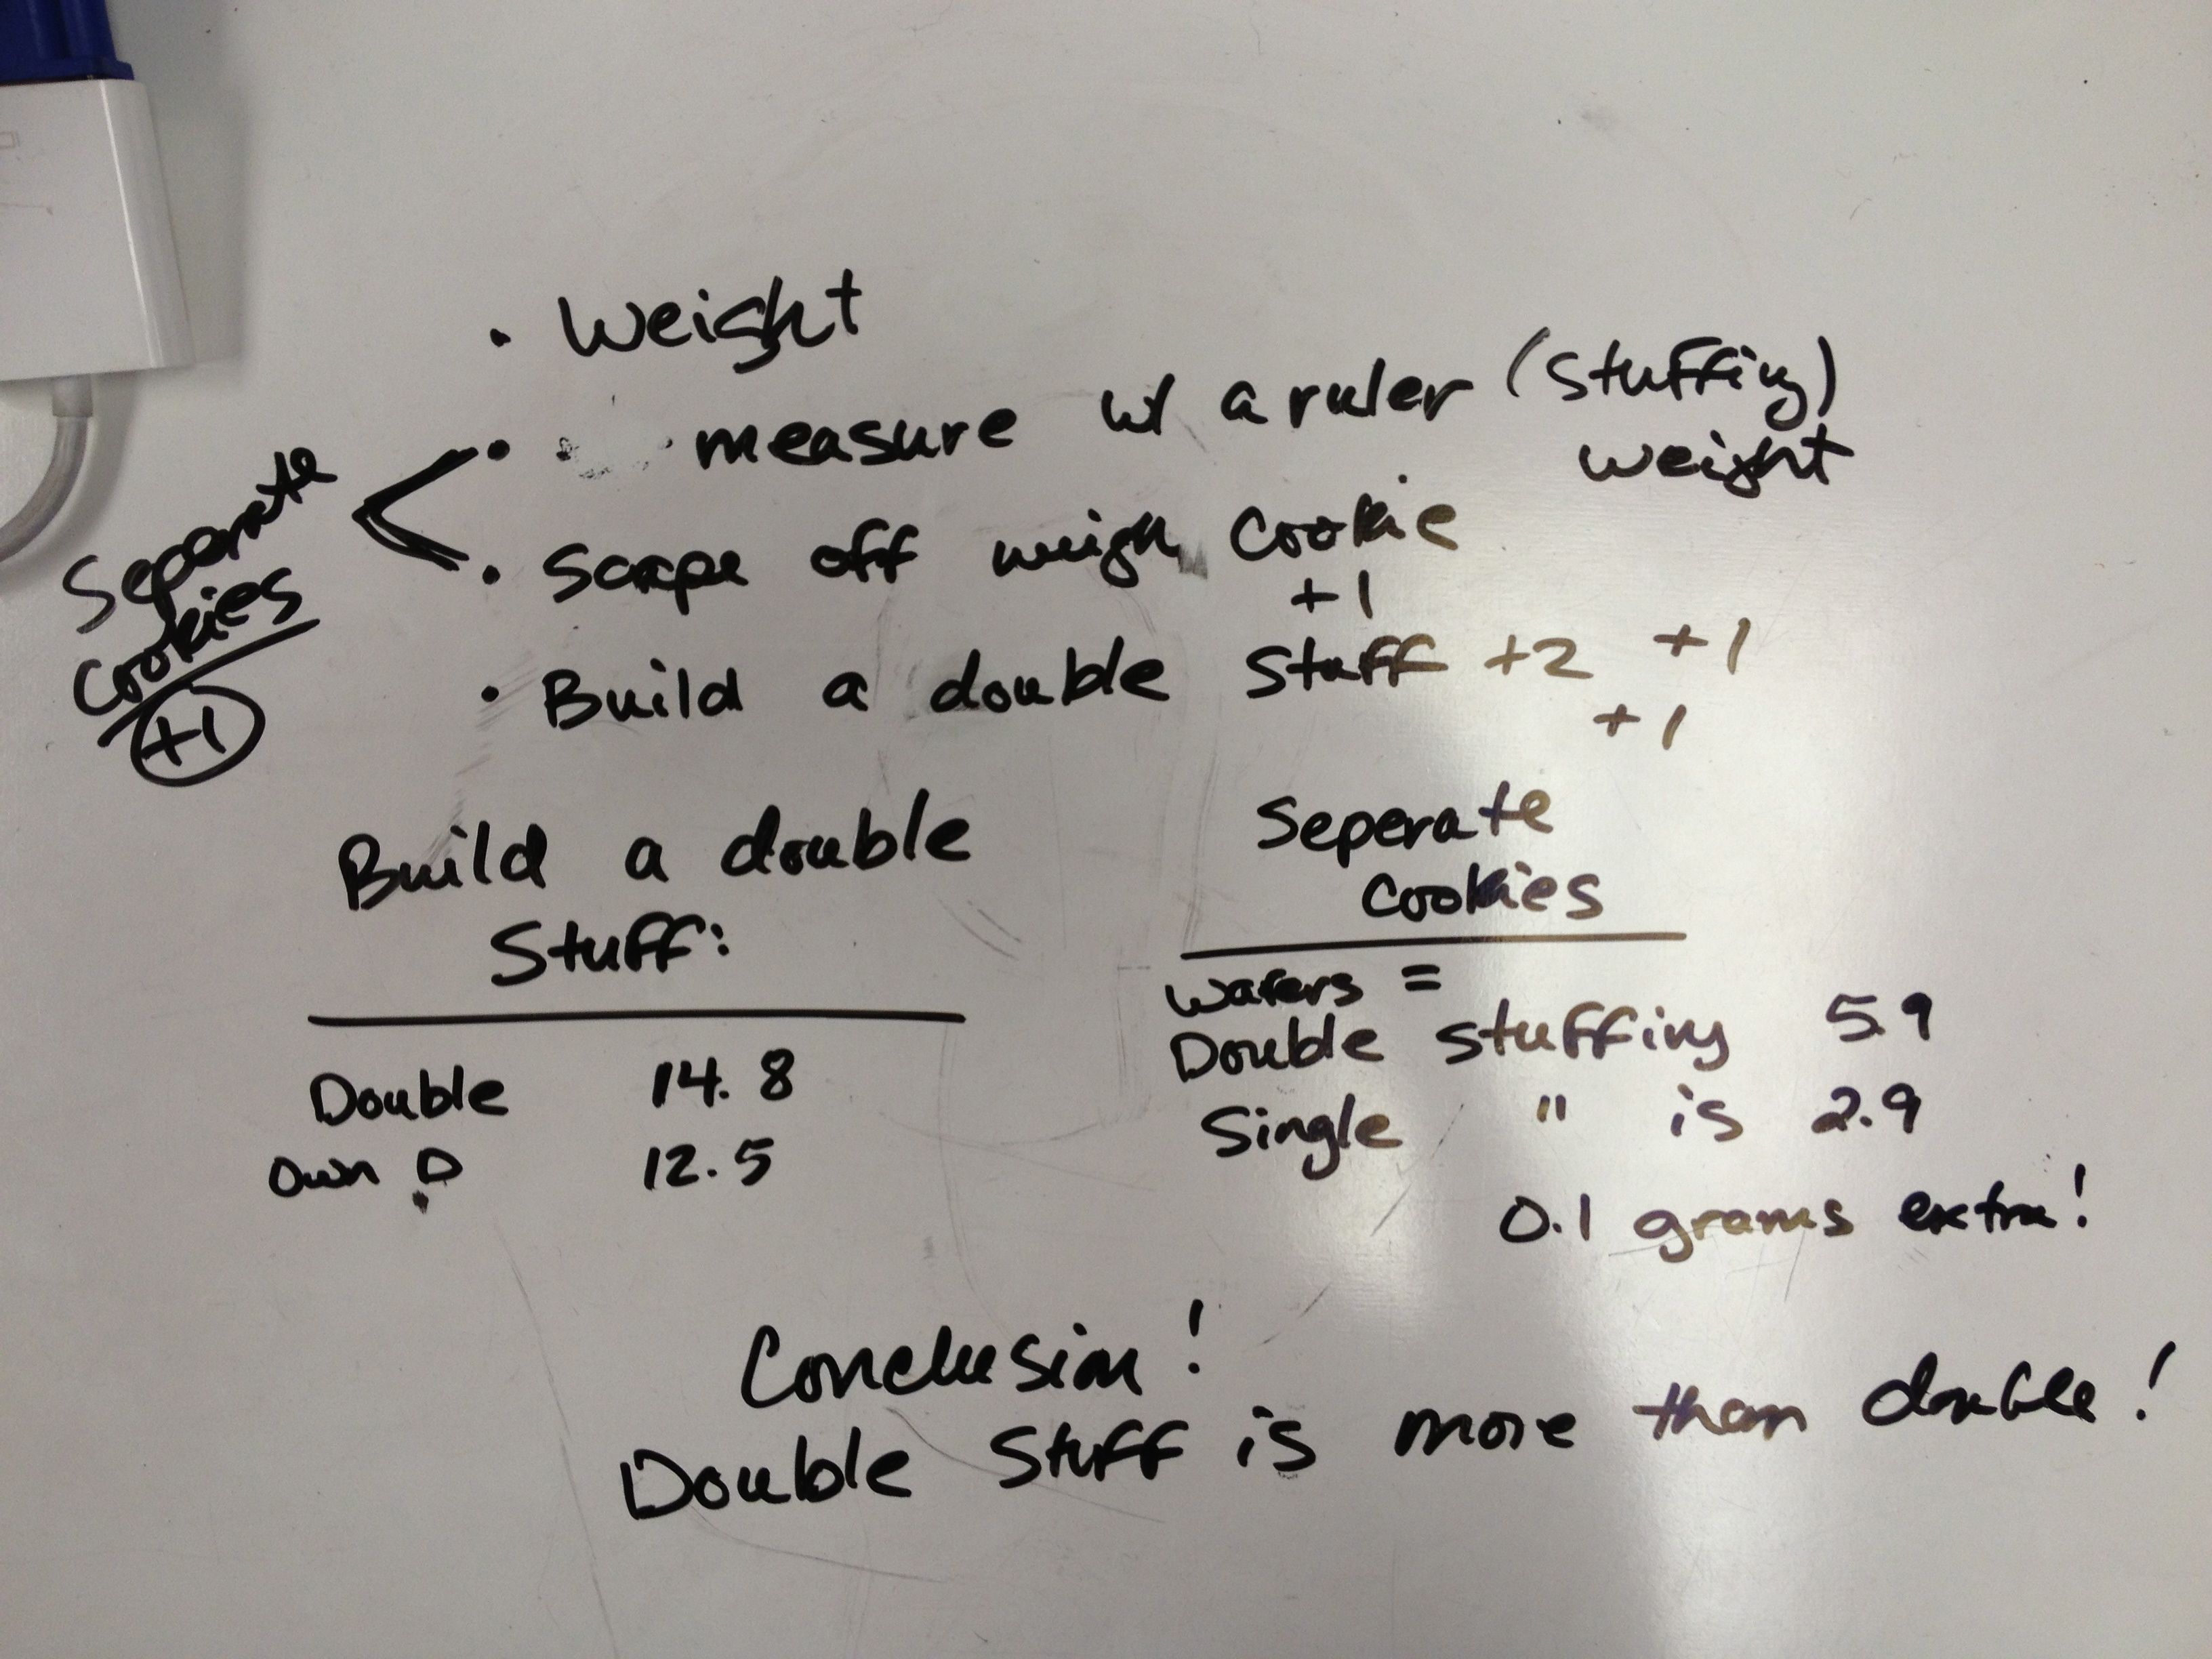
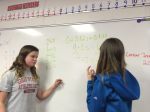
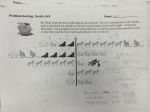
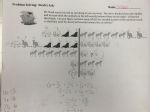
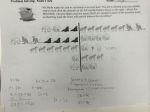
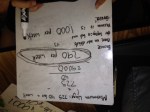
Student Solutions:

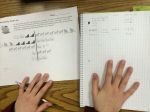


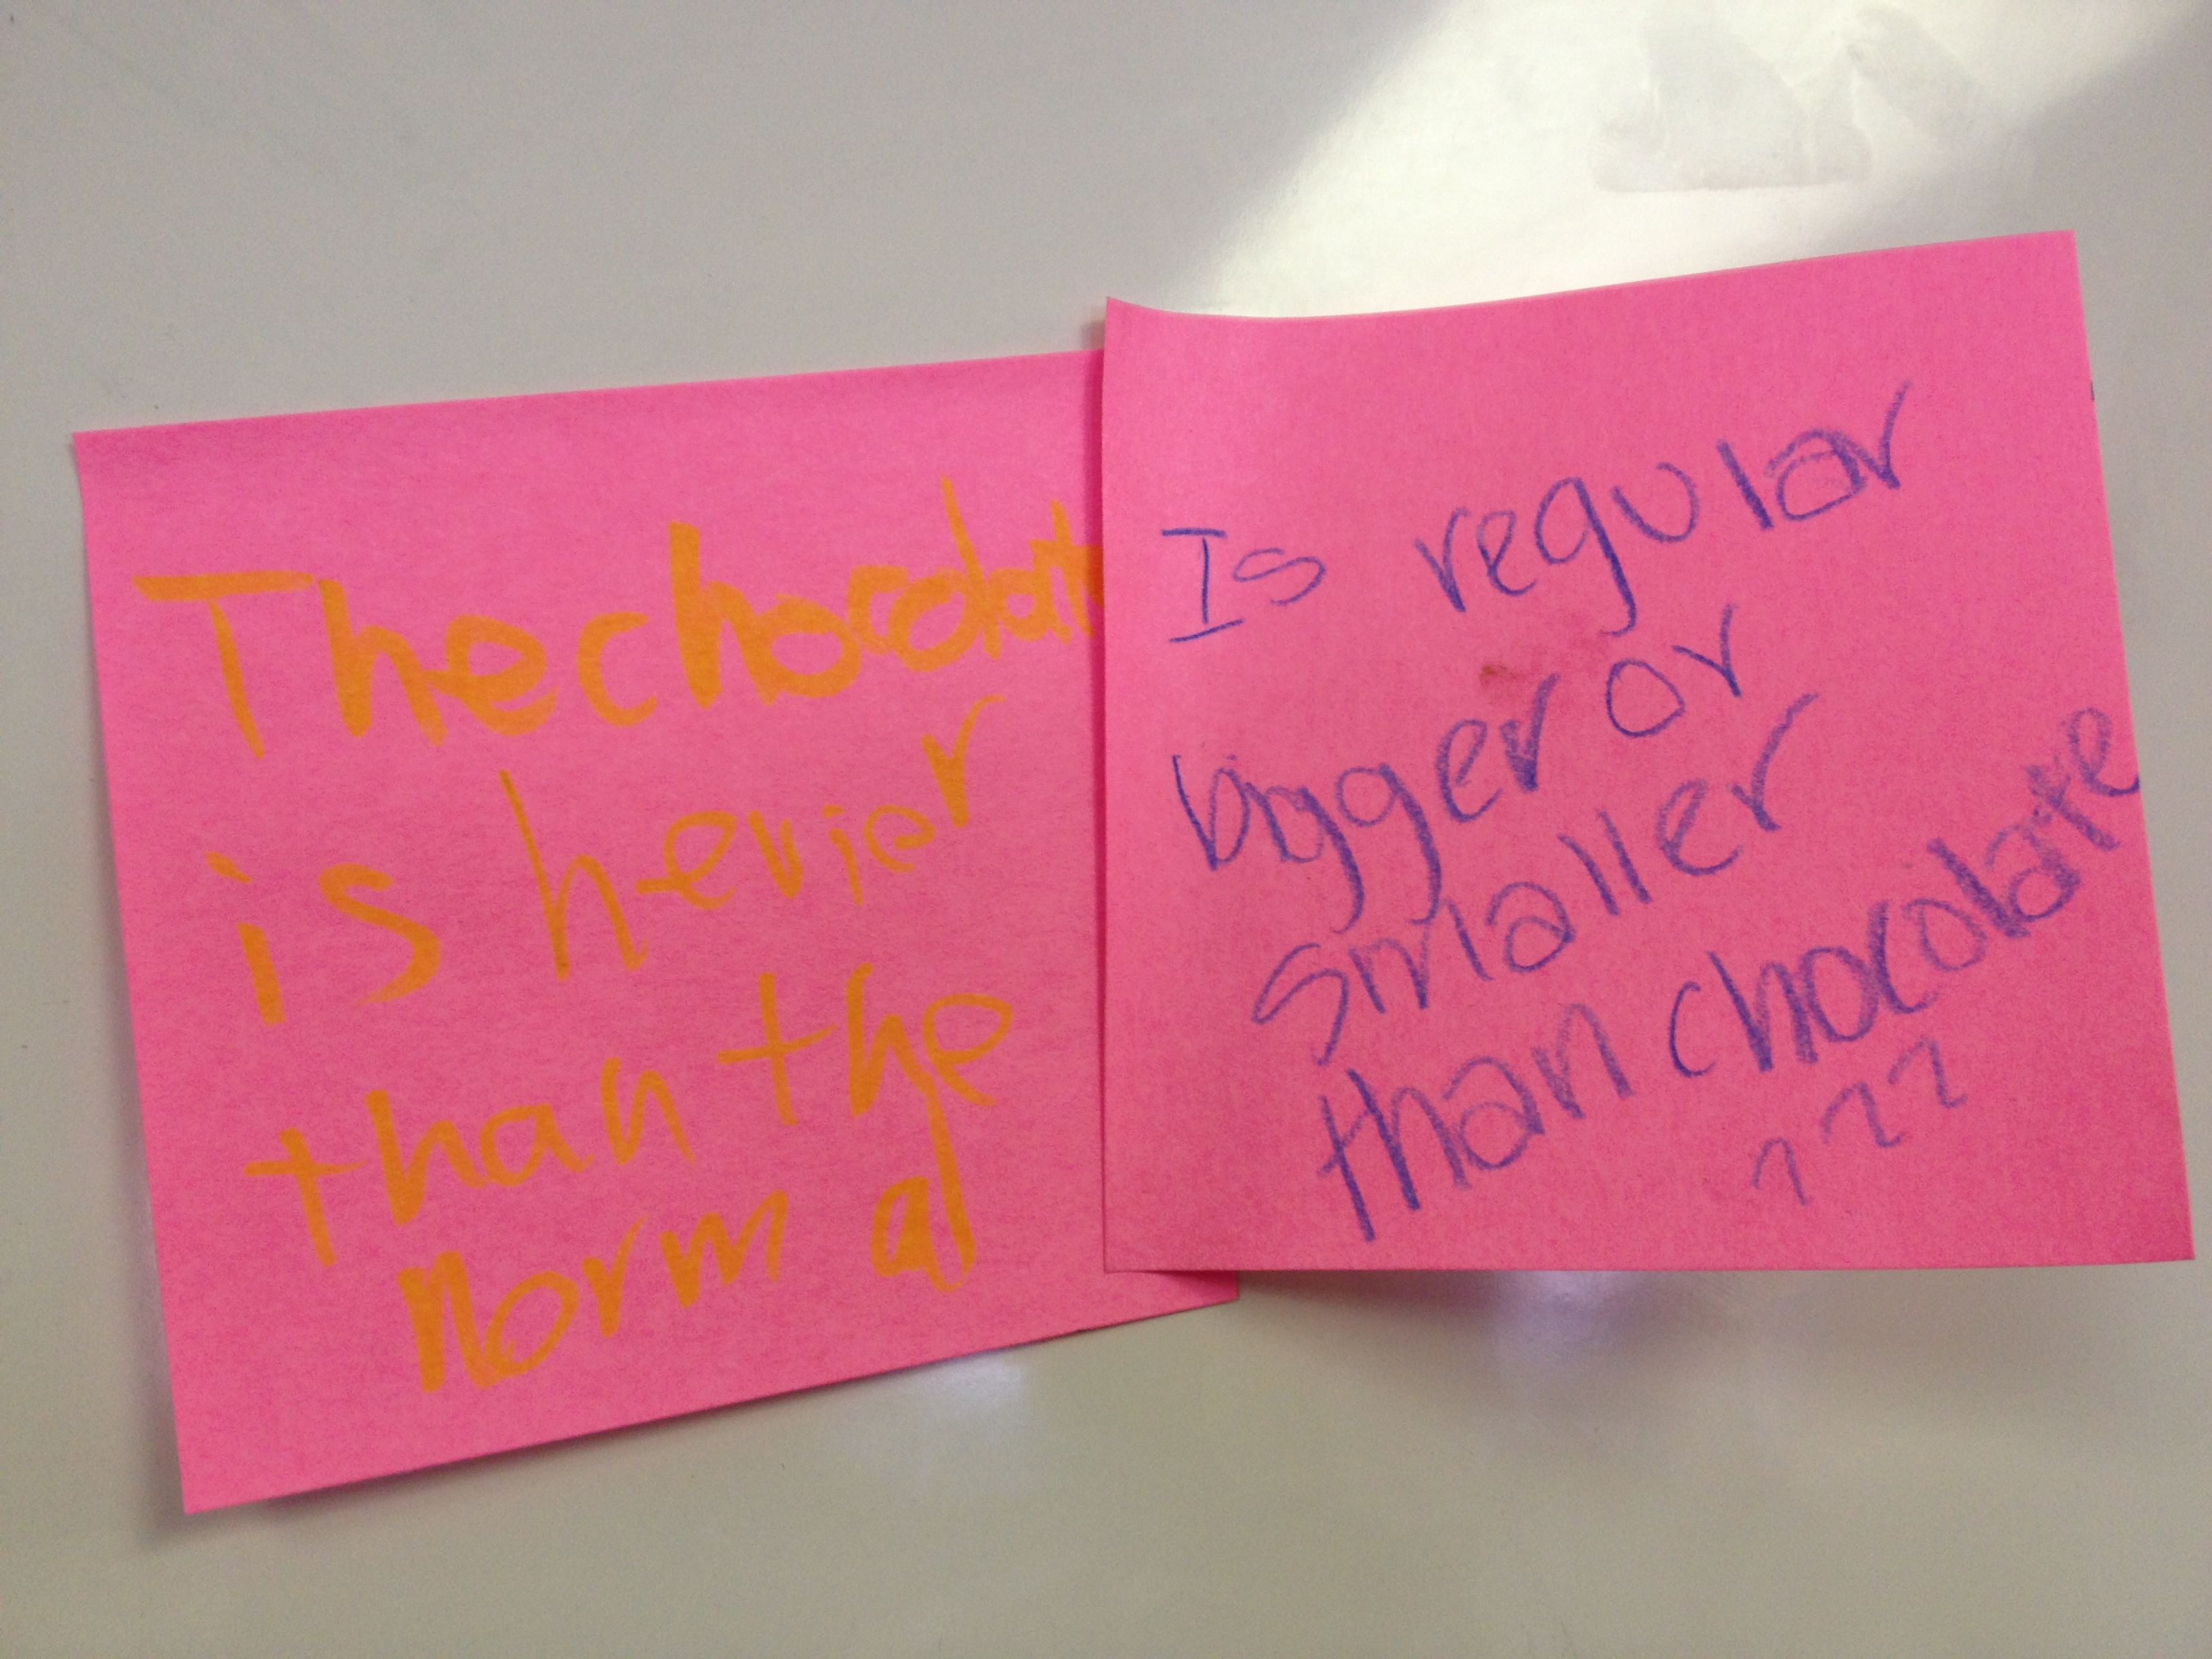
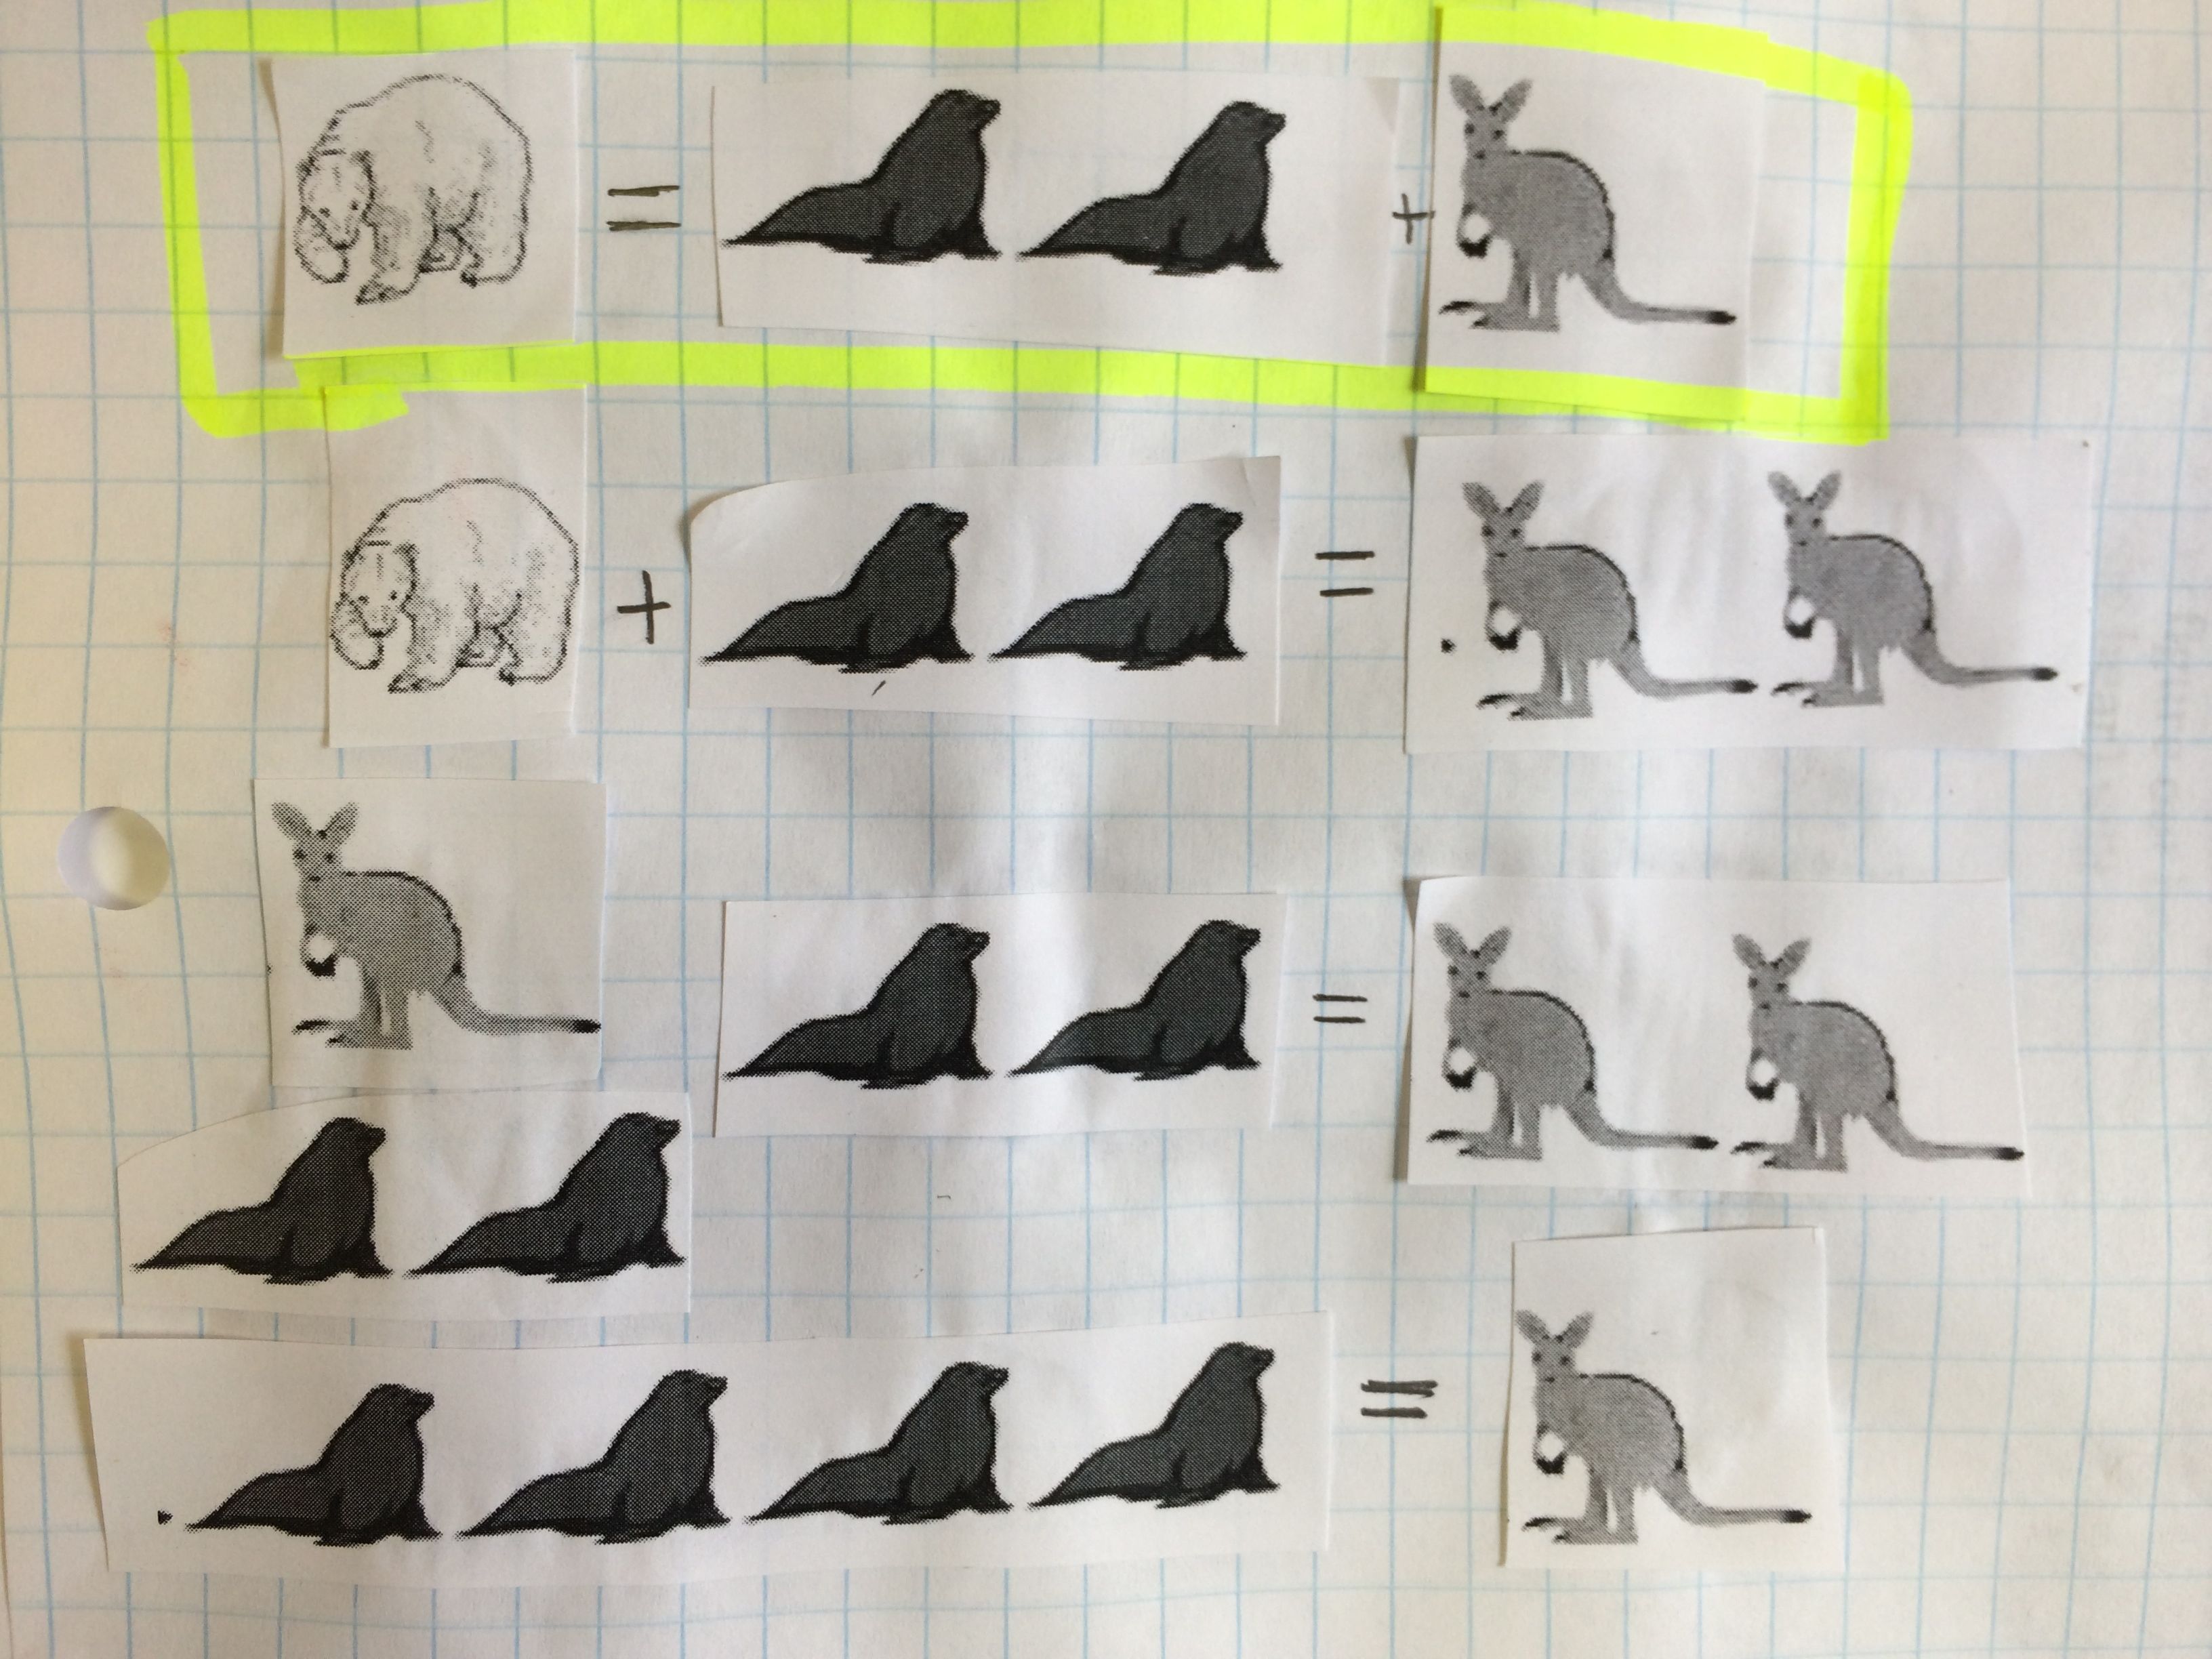
Here the animal cut-outs are used to visually show the substitution. This was helpful for the students who were not convinced by the algebraic solution.


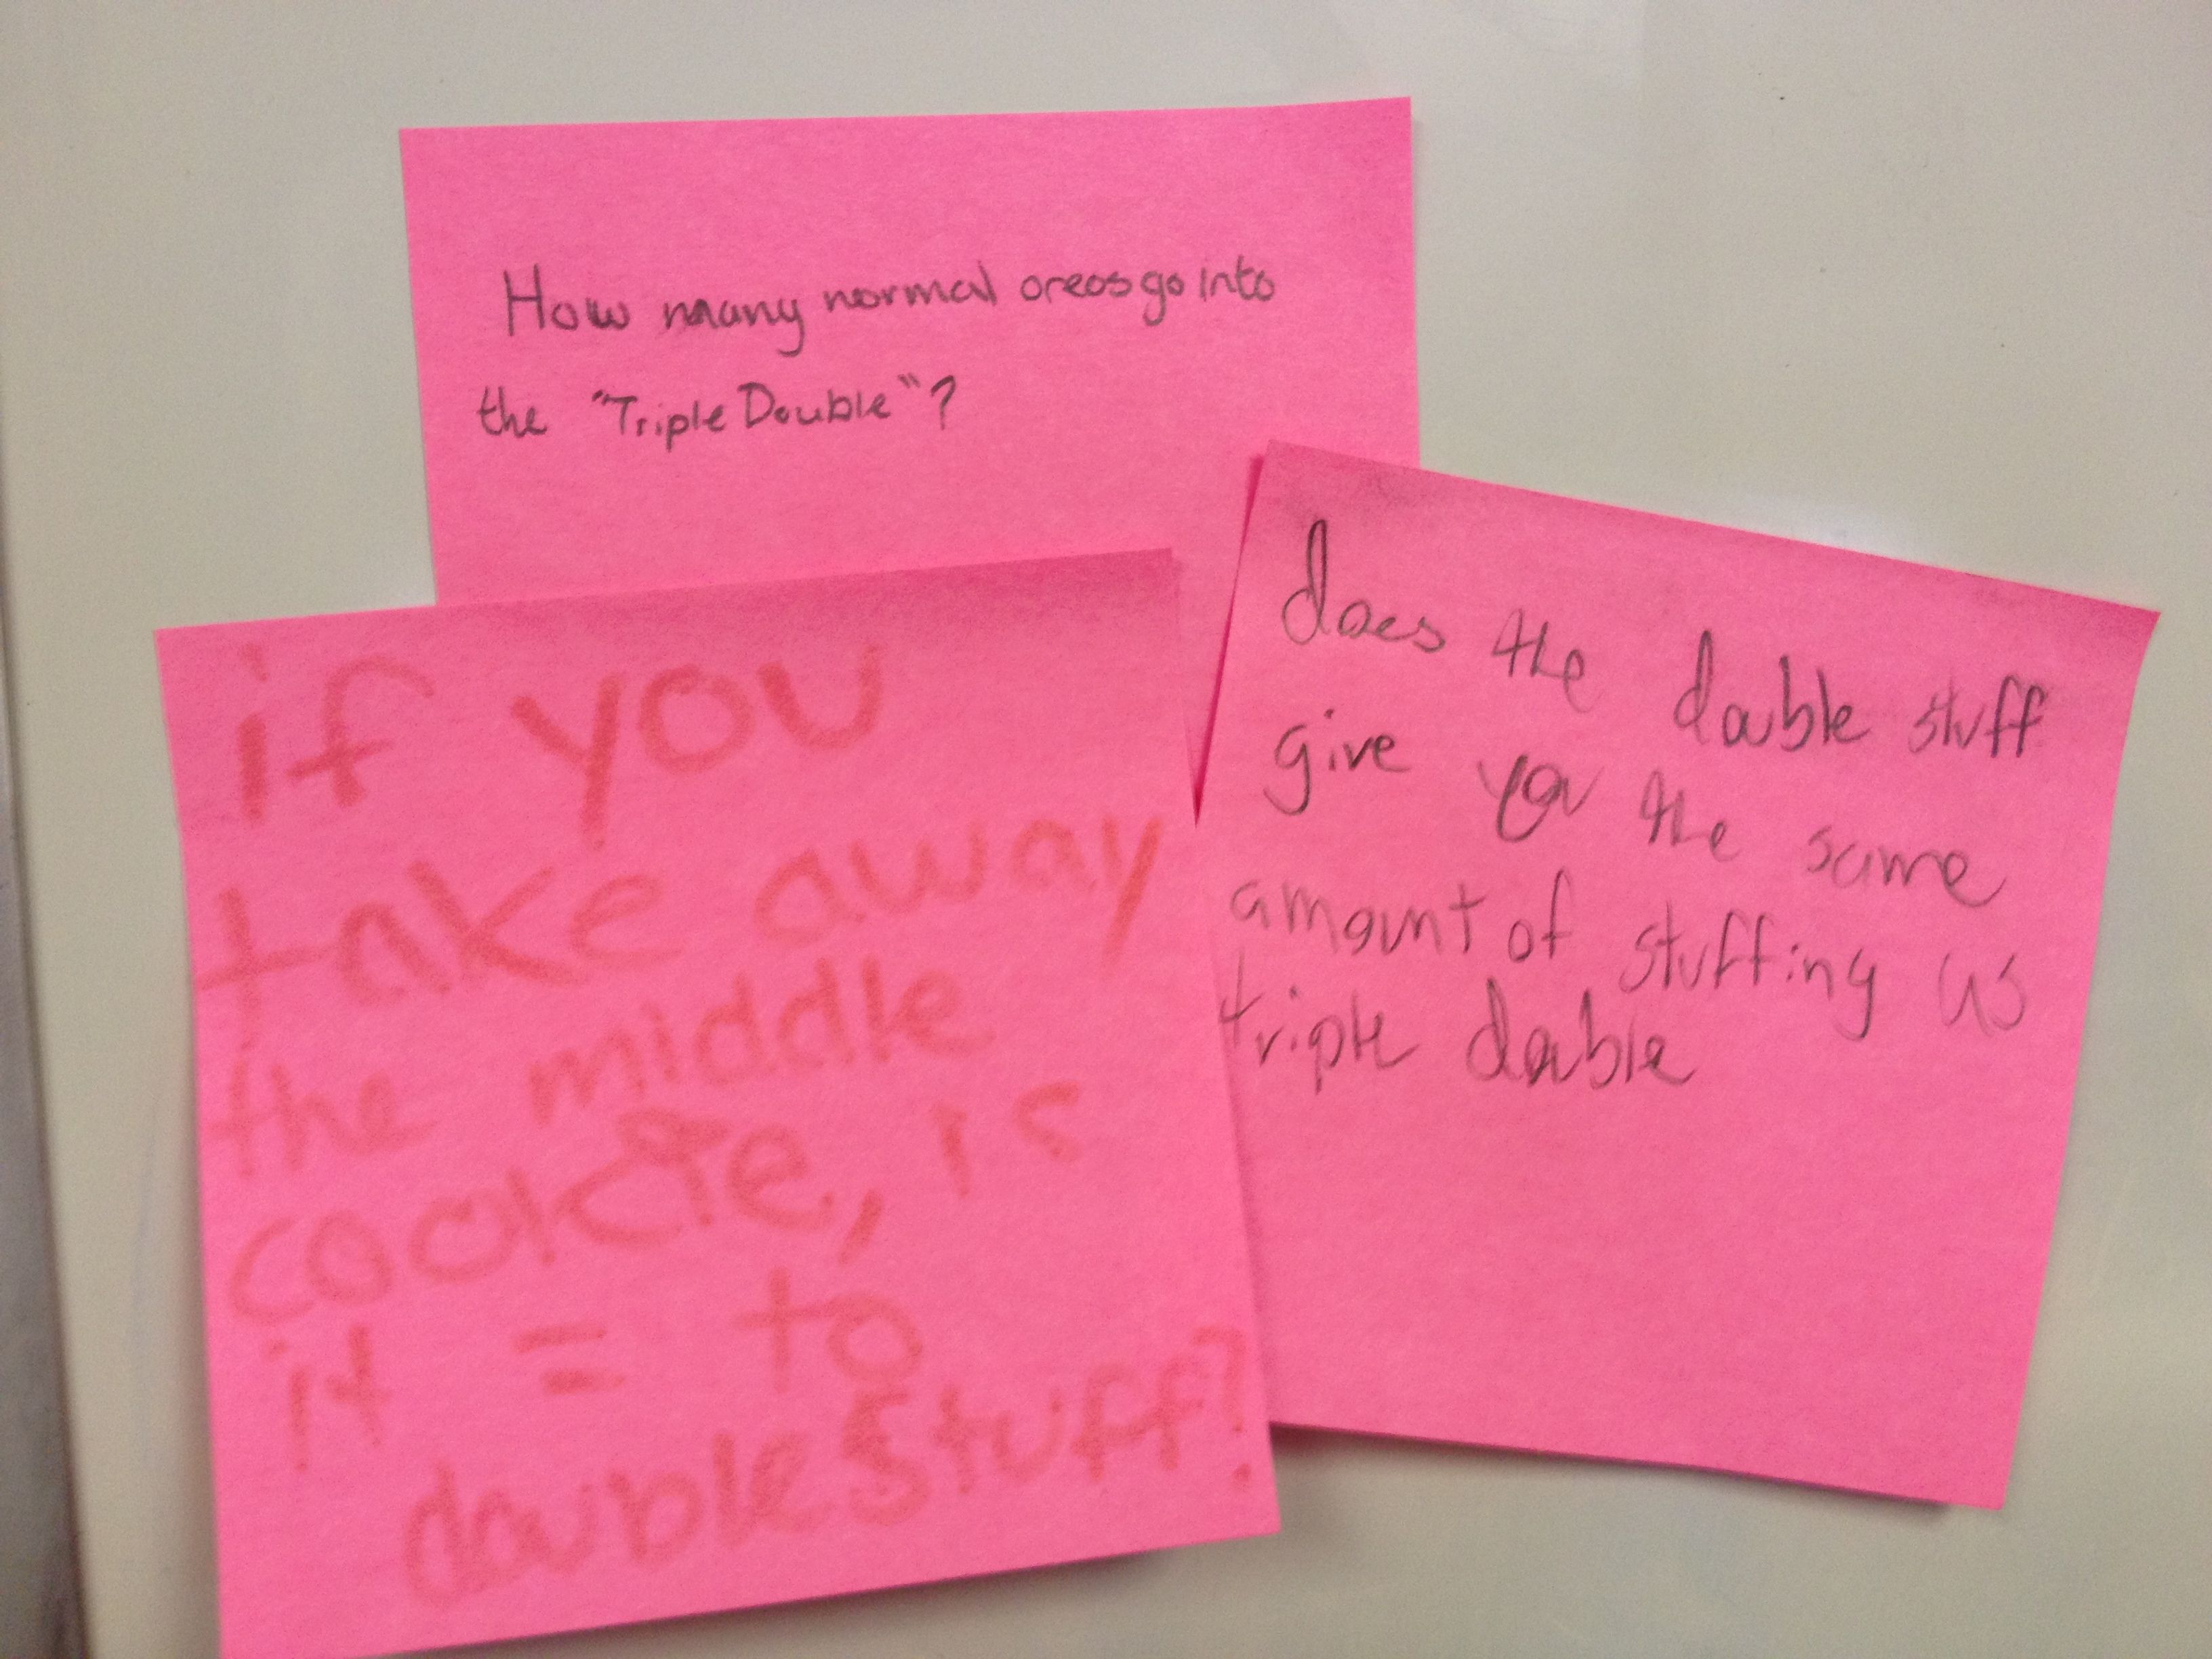
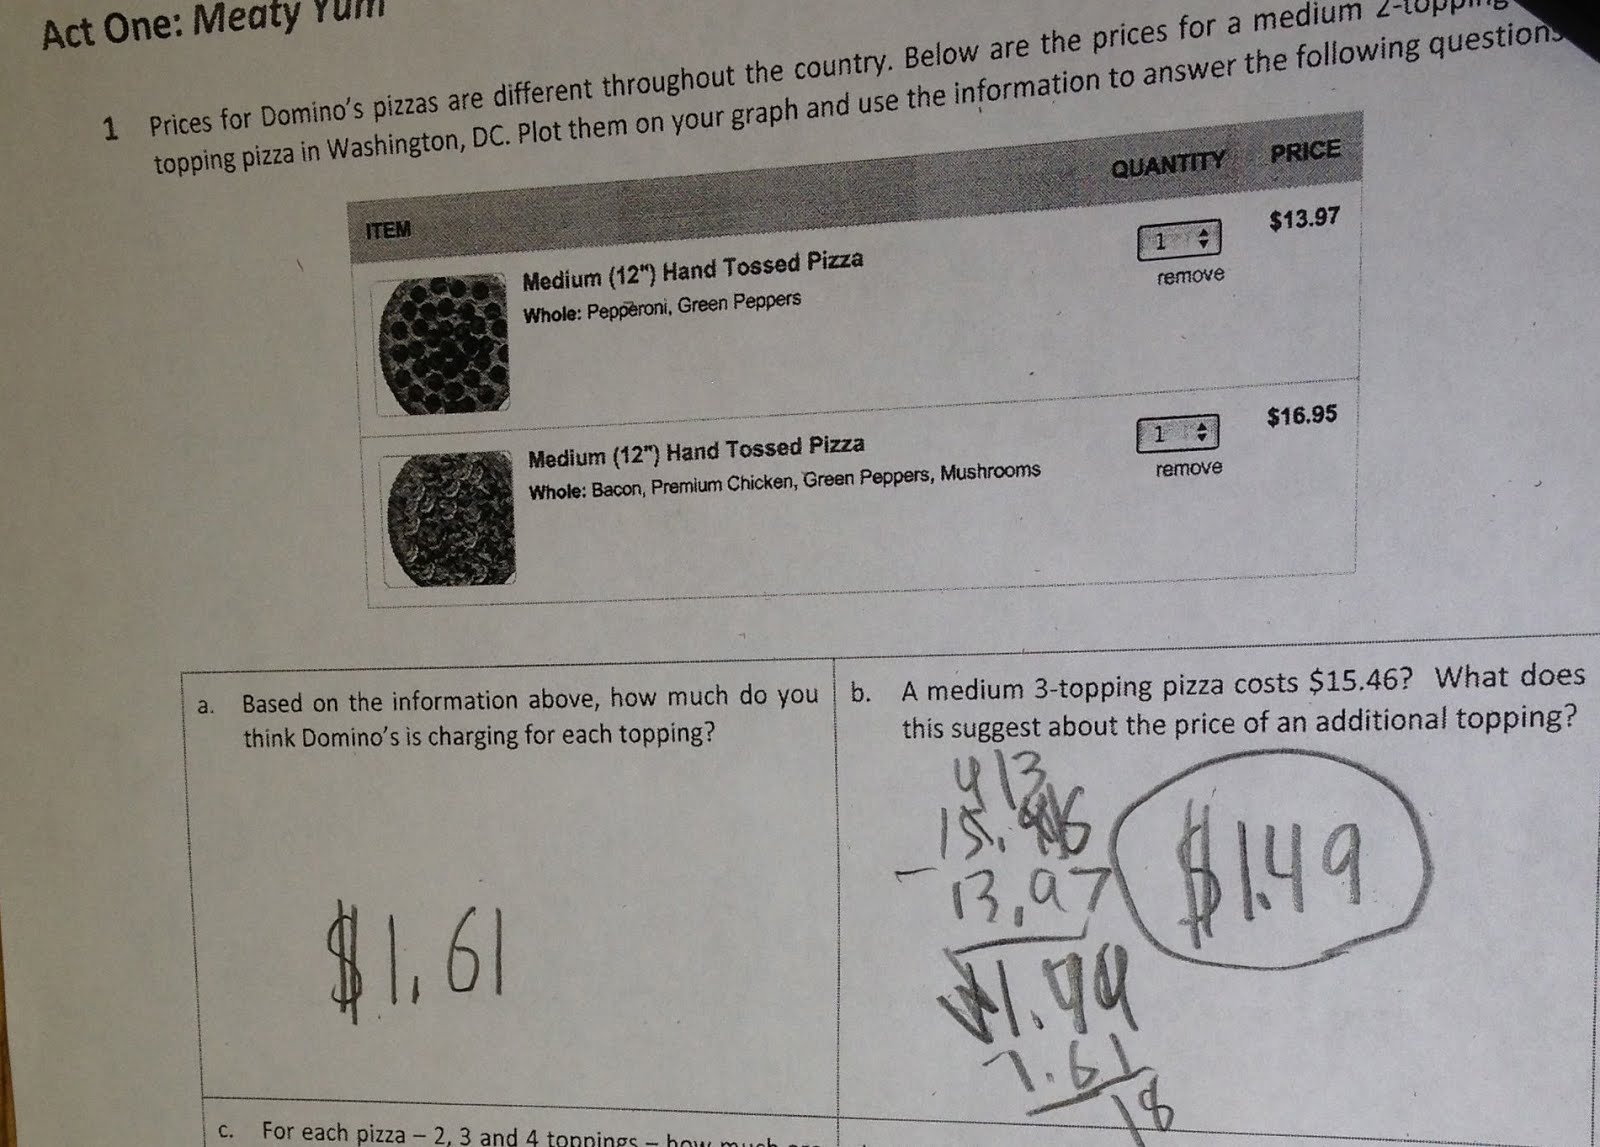 I appreciated that there were several related questions. This made students aware that they had made a mistake in a previous question so they knew they had to go back and rethink it.