Dry Erase Table Frames – Made 4 Math

From Trash To Treasure!

Last week our wonderful art teacher cleaned out her room and offered all of the “extra” stuff to everyone.  As soon as I saw these small, clear picture frames I snatched them up!  I use the large ones for Math Station Instructions and was very excited about coming up with ideas for these small ones.

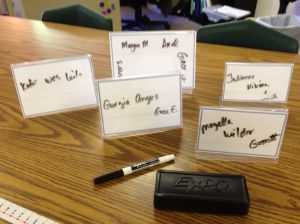
Not even an hour later I found a great use for them!  I was having math help in my room and wanted to assign seating, so I wrote names on index cards and put the small picture frames on the tables.

Then, I had a much better idea.  Since the picture frames were plastic, they would make a great dry erase surface!  So, this weekend I quickly designed paper with borders to cut and put into the picture frames.  This was so the names would be more easily visible when I wrote on them.  My backgrounds were pretty boring as I had a very busy soccer mom weekend, but I can see making the background really fun in the future!  Or even changing it for the seasons.

I have an electronic seating chart generator that I use, but students always get the seats mixed up.  Plus, it takes time I don’t always have.  This was much easier and I just wrote on the names quickly.  I plan to use them for many more things!

Dry Erase Index Card Necklaces

I loved new blogger Bruce’s post “My Name is 6 x 7” where each student wears a multiplication fact (say 12 x 6) on a name tag.  Then, everyone calls that person 72 for the whole time they are wearing their multiplication name tag.  As soon as I read this, I knew I had to try it with my 6th graders!   Most of them are still having trouble with 9’s and 12’s facts.  My problem is they are only in math for 1 hour a day, so for this to be effective, they would need to wear their facts for a few days in a row in my class.  Since I didn’t want to use up 32 name tags a day (labels can get expensive), I came up with a dry-erase nametag solution.

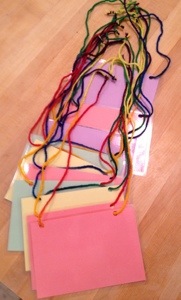
Nora gave me the great idea in a comment on my Math Stations post about making necklaces out of index cards.  I laminated index cards, punched two holes in them, and then put string in them to make dry-erase index card necklaces.  When the students come in, they can write their fact on their necklace and wear it.  Whenever they speak, they must introduce themselves (ie – 12×6 would be called 72!  And whenever anyone speaks to them, they must call them by their multiplication name (72).

These necklaces are so cool that I am trying to think of other fun ways to use them!  Bruce said a teacher in his building puts longer problems on them.  I am thinking:

  • 10 x 10 x 10 on a card, their name is 10 cubed (or the other way around).
  • Turn the cards around so they are on their backs.
    • Put a vocab word on it and then 5 kids have to write an example on your card.  Turn it around and then see which ones are correct.
    • Write vocab words they don’t know so they can play, “Who Am I?”

That’s all I have for now.  But if you have a brilliant idea (and I’m sure that you do!), please leave it in the comments!

Math Motivation Classroom Posters – Made 4 Math

I love Pinterest and have been pinning great posters and quotes every since I joined.  But, there is nothing I hate more than clicking on a link that doesn’t take me to the pinned item or WORSE, takes me to the dreaded Teachers Pay Teachers site.  Ugh.

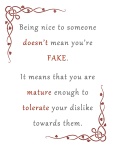
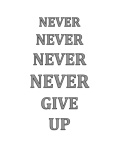
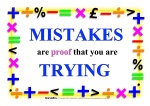
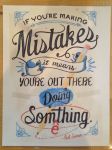
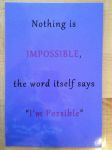
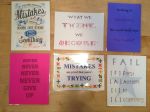
So, since I just bought my very own laminator, I decided to make my own posters and post them here AND on Pinterest, for FREE, in PDF form.  These are not fancy posters, as I do not have fun borders.  But, they are the things I want to say in my classroom.

As part of my first day (or first week) activities, I am going to have my student read all of my posters, pick their favorite one, and then write why it is their favorite poster and what they think it means.  I don’t want the kids to not notice or even think about these posters on my wall.  They are here for a reason.

Without further ado…

This slideshow requires JavaScript.