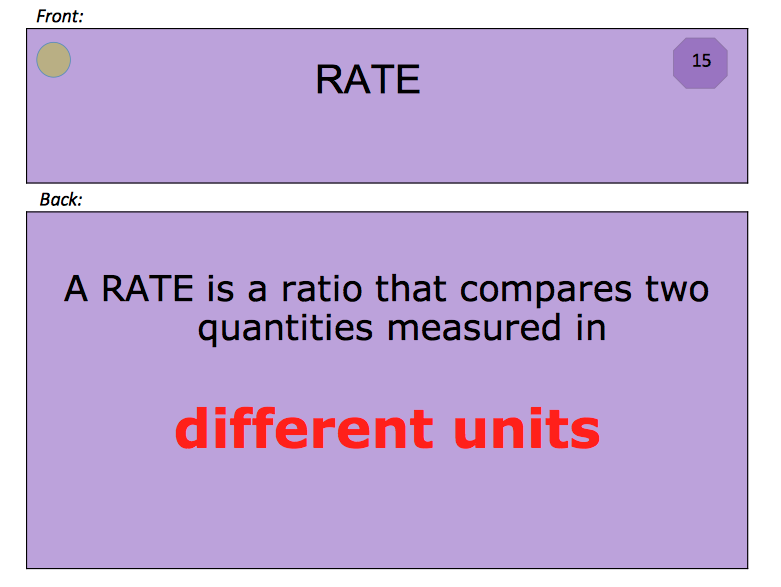
I have the students make index cards in class each day in place of taking notes on paper. They keep these index cards on a ring and refer to them for their nightly homework and to study for tests. My previous post on index cards.
The only problem with this system is that the cards add up rather quickly, especially as you cover more chapters. I used to have my students “file” these cards by chapter in an index card box after we completed the chapter. But, there were many problems with this. The boxes were large so it was difficult to keep them with them and they were left at home or in the locker. But, the biggest problem was that once they were “filed” the index cards were never to be seen again (we all know how that goes right)? And, if they did need to refer to one, they had to make an effort to look it up (which meant it never happened).
Brainstorming about this system with some wonderful math teachers on Twitter gave me the idea to put all of the index cards on one sheet of paper after the chapter is finished. Then druinok took it one step further and came up with the fabulous suggestion of making a “flip chart” of the finished cards. I loved this idea and ran with it!
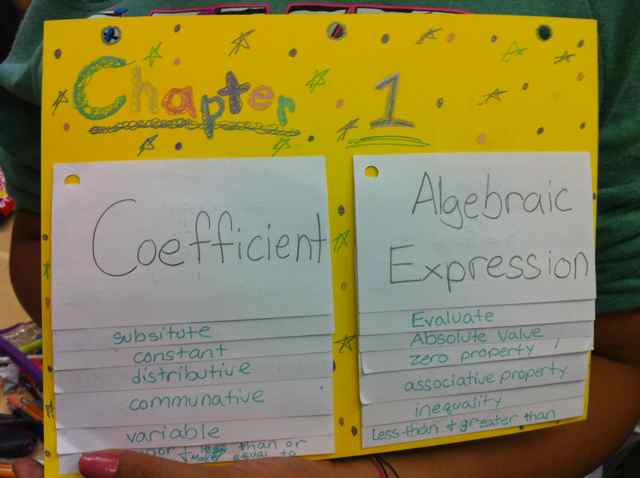
Now, once the chapter is complete I have them take the index cards off of the ring and tape them to a piece of card stock. They keep this sheet in the “permanent” section of their notebooks the entire year. I have them do this so that they can quickly and easily refer back to concepts that we covered in past chapters. After the flip chart is made, they can clean all of the paper from the past chapter out of their notebooks (additional notes, warm-ups, and homework they have completed). This replaces many pages in their notebooks with one page. So, they will have ONE index card flip chart per chapter that they keep in their notebooks. This will hopefully help when we are using a concept that we learn (like simplifying algebraic expressions on a new concept like solving equations that involve algebraic expressions that they have to first simplify).
Here are some pictures of the student flip charts for chapter one, concepts 1 – 5.
-
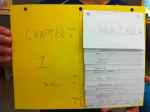
- Concepts Written on the Cardstock

-

- Concept Numbers Circled

-
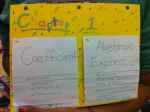
- Card names written on bottom of index card.
To make the flip chart work, you need to ensure that the students flip the cards up when writing on the back so that the notes won’t be upside down. Once the students started taping the cards to the charts, the magic started happening. Students are fabulously intelligent and creative and always give me my best ideas. They came up with three things that I LOVE.
- Writing the title of the card at the bottom so you can see what cards are underneath
- Writing and circling the concept number right next to the title so that you can easily go to a concept you love.
- Writing the concept name on the card stock next to the cards so you can see where each concept is.
Suggestions and comments are always welcome! : )