
It’s the most Omicron time of the year!
I have a fair number of students out this week, so hybrid teaching is once again in full swing! I have been surveying my students to make sure they can see and hear each day. It has been going remarkably well, so I thought I would share what I have been doing.
iPad. I am Zooming from my iPad and it has been wonderful. It is much better than Zooming from my computer like I did last year. I bought an iPad case with a handstrap so I can easily carry it around class with me. I detest being “tethered” to the front of the room. Now I can walk around the room instead of being stuck at the front next to my computer. My remote students can hear me very clearly, even with a mask, and I can hear them as well, as I am holding the iPad as I walk around the room. I share my iPad screen so students at home can see what I am writing with very little lag time. When students in class have a question, I walk over to them before they ask so that the remote students can hear them well. I can then write the explanation out on the iPad so students at home and at school can see my work.
OneNote. All of this has been working seamlessly because of Microsoft OneNote. OneNote is a free notebook app that is very easy to learn! I have tried many other notebook apps, but OneNote has the most features and draws really well, which is important for math teachers. I have the app on my iPad and computer, and can also log in to OneNote in my browser. Everything syncs up almost instantly, so when I write on my iPad, it updates on the computer automatically. This allows me to carry my iPad around with me as I teach, and write on it, while projecting what I am writing on One Note from my computer at the front of the class.
- Remote students are on Zoom, which I have started from my iPad. I am screen sharing on my iPad so they can see my work on the OneNote app.
- In class students can see my work at the front of the room, where I am projecting One Note from my computer.
One Note has many amazing features, especially if you use the “Class Notebook”. I used many of the Class Notebook features last year when we were fully remote. You can even insert, write, and solve math equations inside the Notebook! However, this year I am just using One Note in the most basic way, as I do not need students to upload files to me since we are all in person.
To use OneNote, just create an account using any email. Then create a Class Notebook and add your students. This year, I mainly use three sections of the OneNote Notebook, the Collaboration Space, the Content Library, and the Teacher Only.
One Note Sections I Use:
- Collaboration Space – students can work and write together as if it is a Google Doc. They can also create pages. I post all work from math help sessions here, so students who are not able to attend can see extra help.
- Content Library – students can see and download content, but cannot edit. This is where I put everything that we do in class. I have a section for each chapter, and then a page for each day. You can add files that the students download. And, when you add a file, you can chose to “print out” the file on the page so you can write on the work.
- Teacher Only – this space is invisible to students, they cannot see any folders or files. I keep all of my plans, assessments, and answer keys in this section, by chapter.
Here is a sample of what my OneNote Notebook looks like for AP Calculus:

Here is my Collaboration Space looks like, I use it mostly for Math Help Sessions:

Tip: If you are using OneNote on your iPad and it is not updating, or it freezes, just close the app on your iPad and open it again. I’m not sure if this is a One Note issue or a WiFi at my school issue.
Tips for getting started with and using One Note:
- Getting Started with One Note – A Walkthrough
- Using advanced One Note Features using Class Notebook, from Cal Armstrong
- Write and solve math equations in One Note with the Math Assistant.
- If you are using OneNote on your iPad and it is not updating/syncing, or it freezes, just close the app on your iPad and open it again. I’m not sure if this is a OneNote issue or a WiFi at my school issue.
- Students have to log in to the notebook on their computer before being able to access it on the app, whether they are using the computer app, or the iPhone/iPad app. Most of my students like to access my One Note through their browser.
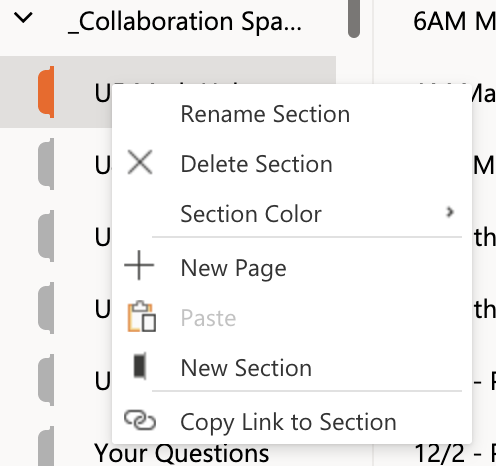
- You can share a link to any section or page by right-clicking. This is a great way to send your notebook to students when you are first starting out.


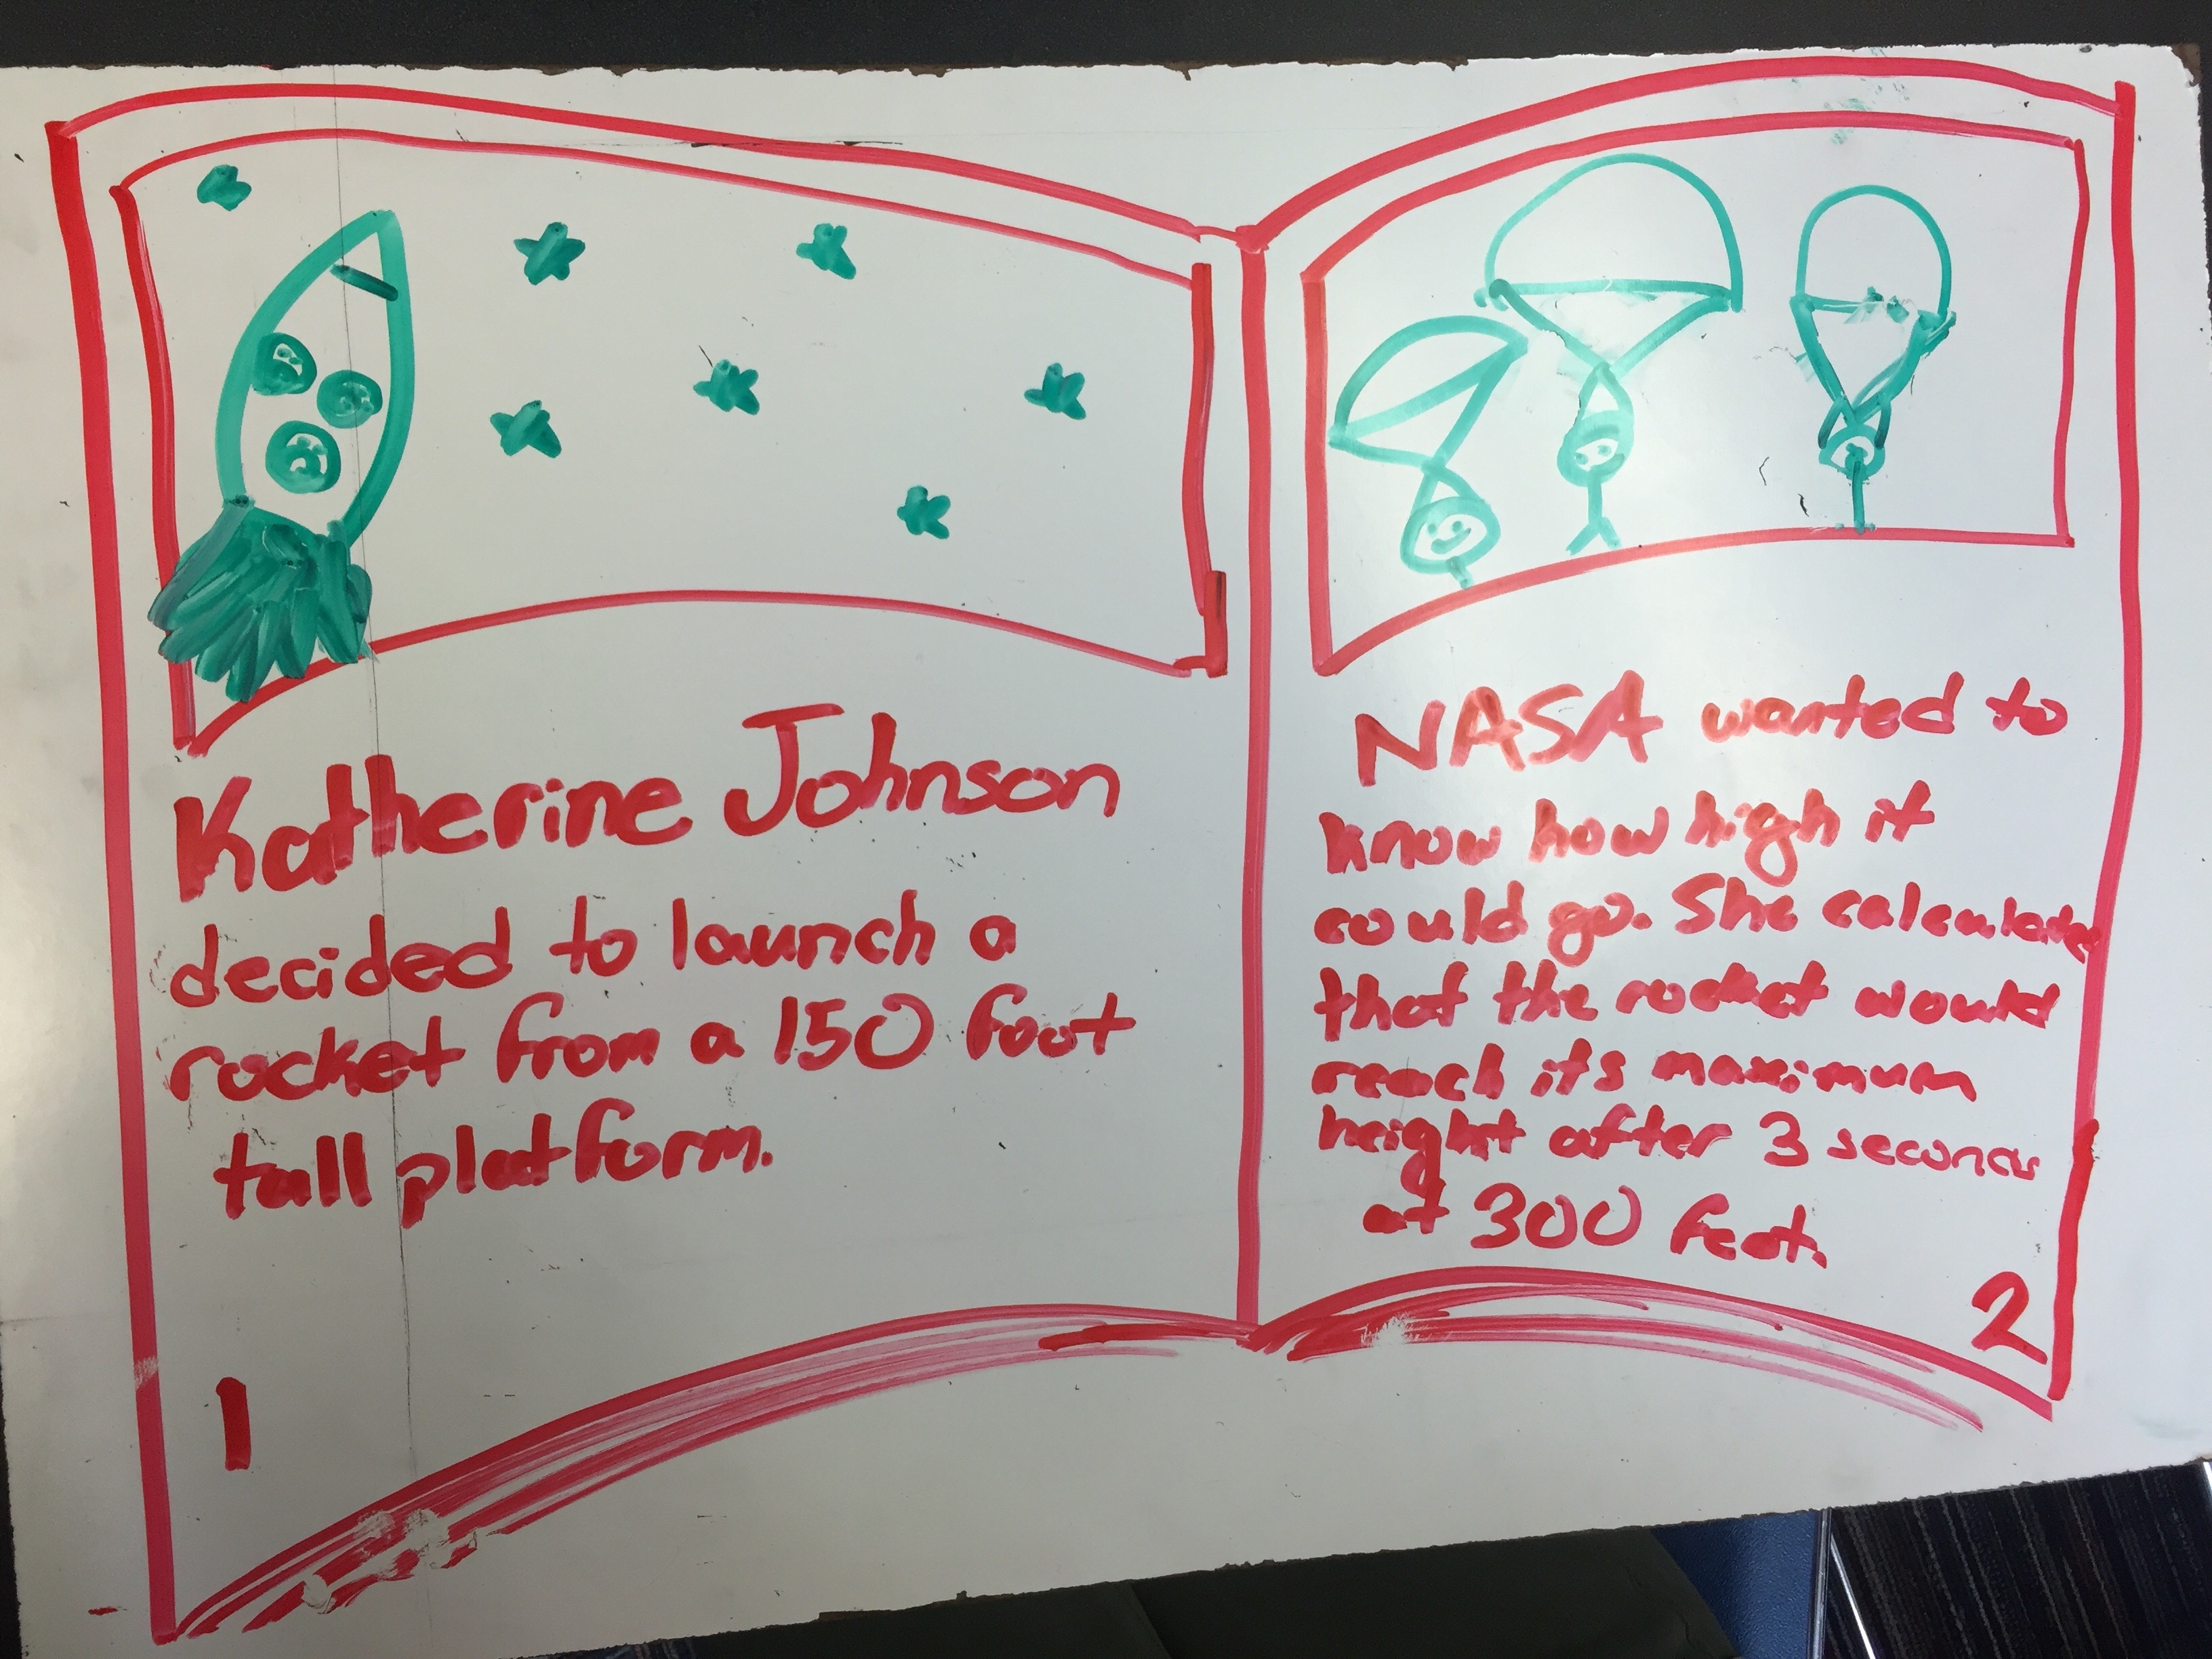
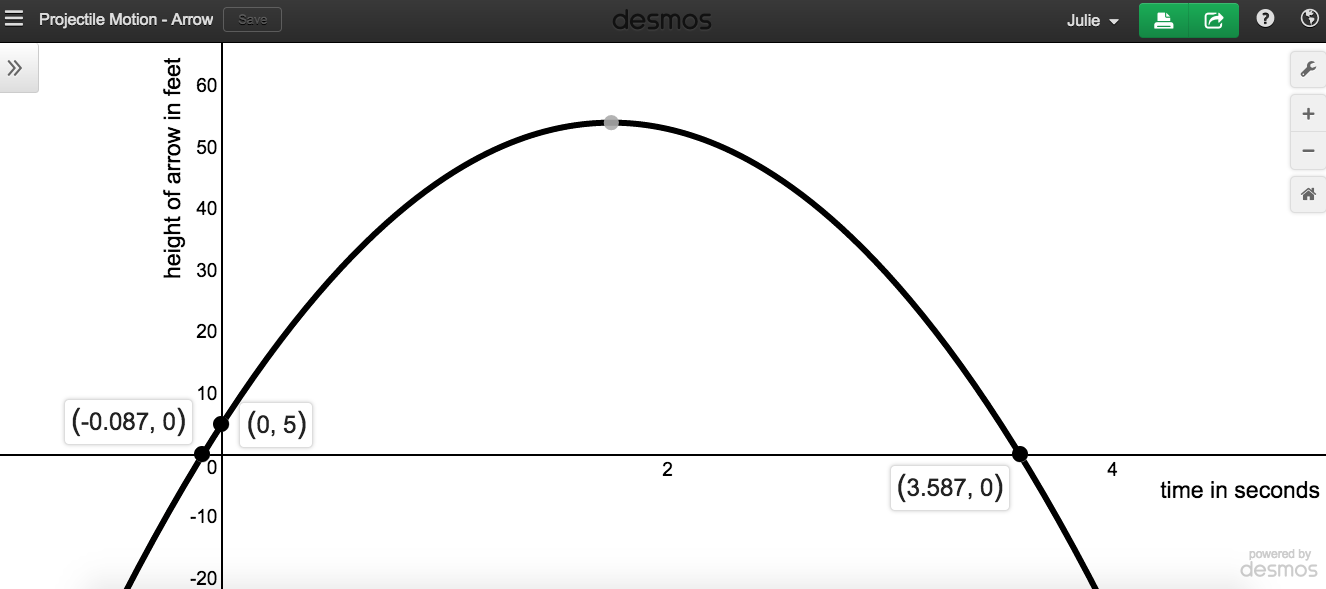
 I had planned on making up my own scenario, until I saw this terrific post by


 My favorite for the week is
 I love the explanations on Delta Math, as they usually use methods that I teach in class, like the “box method” for multiplying polynomials. They even color coded the diagonals!


 I have been using an amazing app that I really don’t know how I lived without called

