When my students are excited about what they are doing in class, they are engaged. They will listen and best of all, learn. The kids were ecstatic when they saw the Play-doh. They couldn’t wait to get their hands on it! The benefits for learning were amazing. All I had to say was “Remember the Play-doh?” and they knew what to do for any volume problem.
Supplies per student:
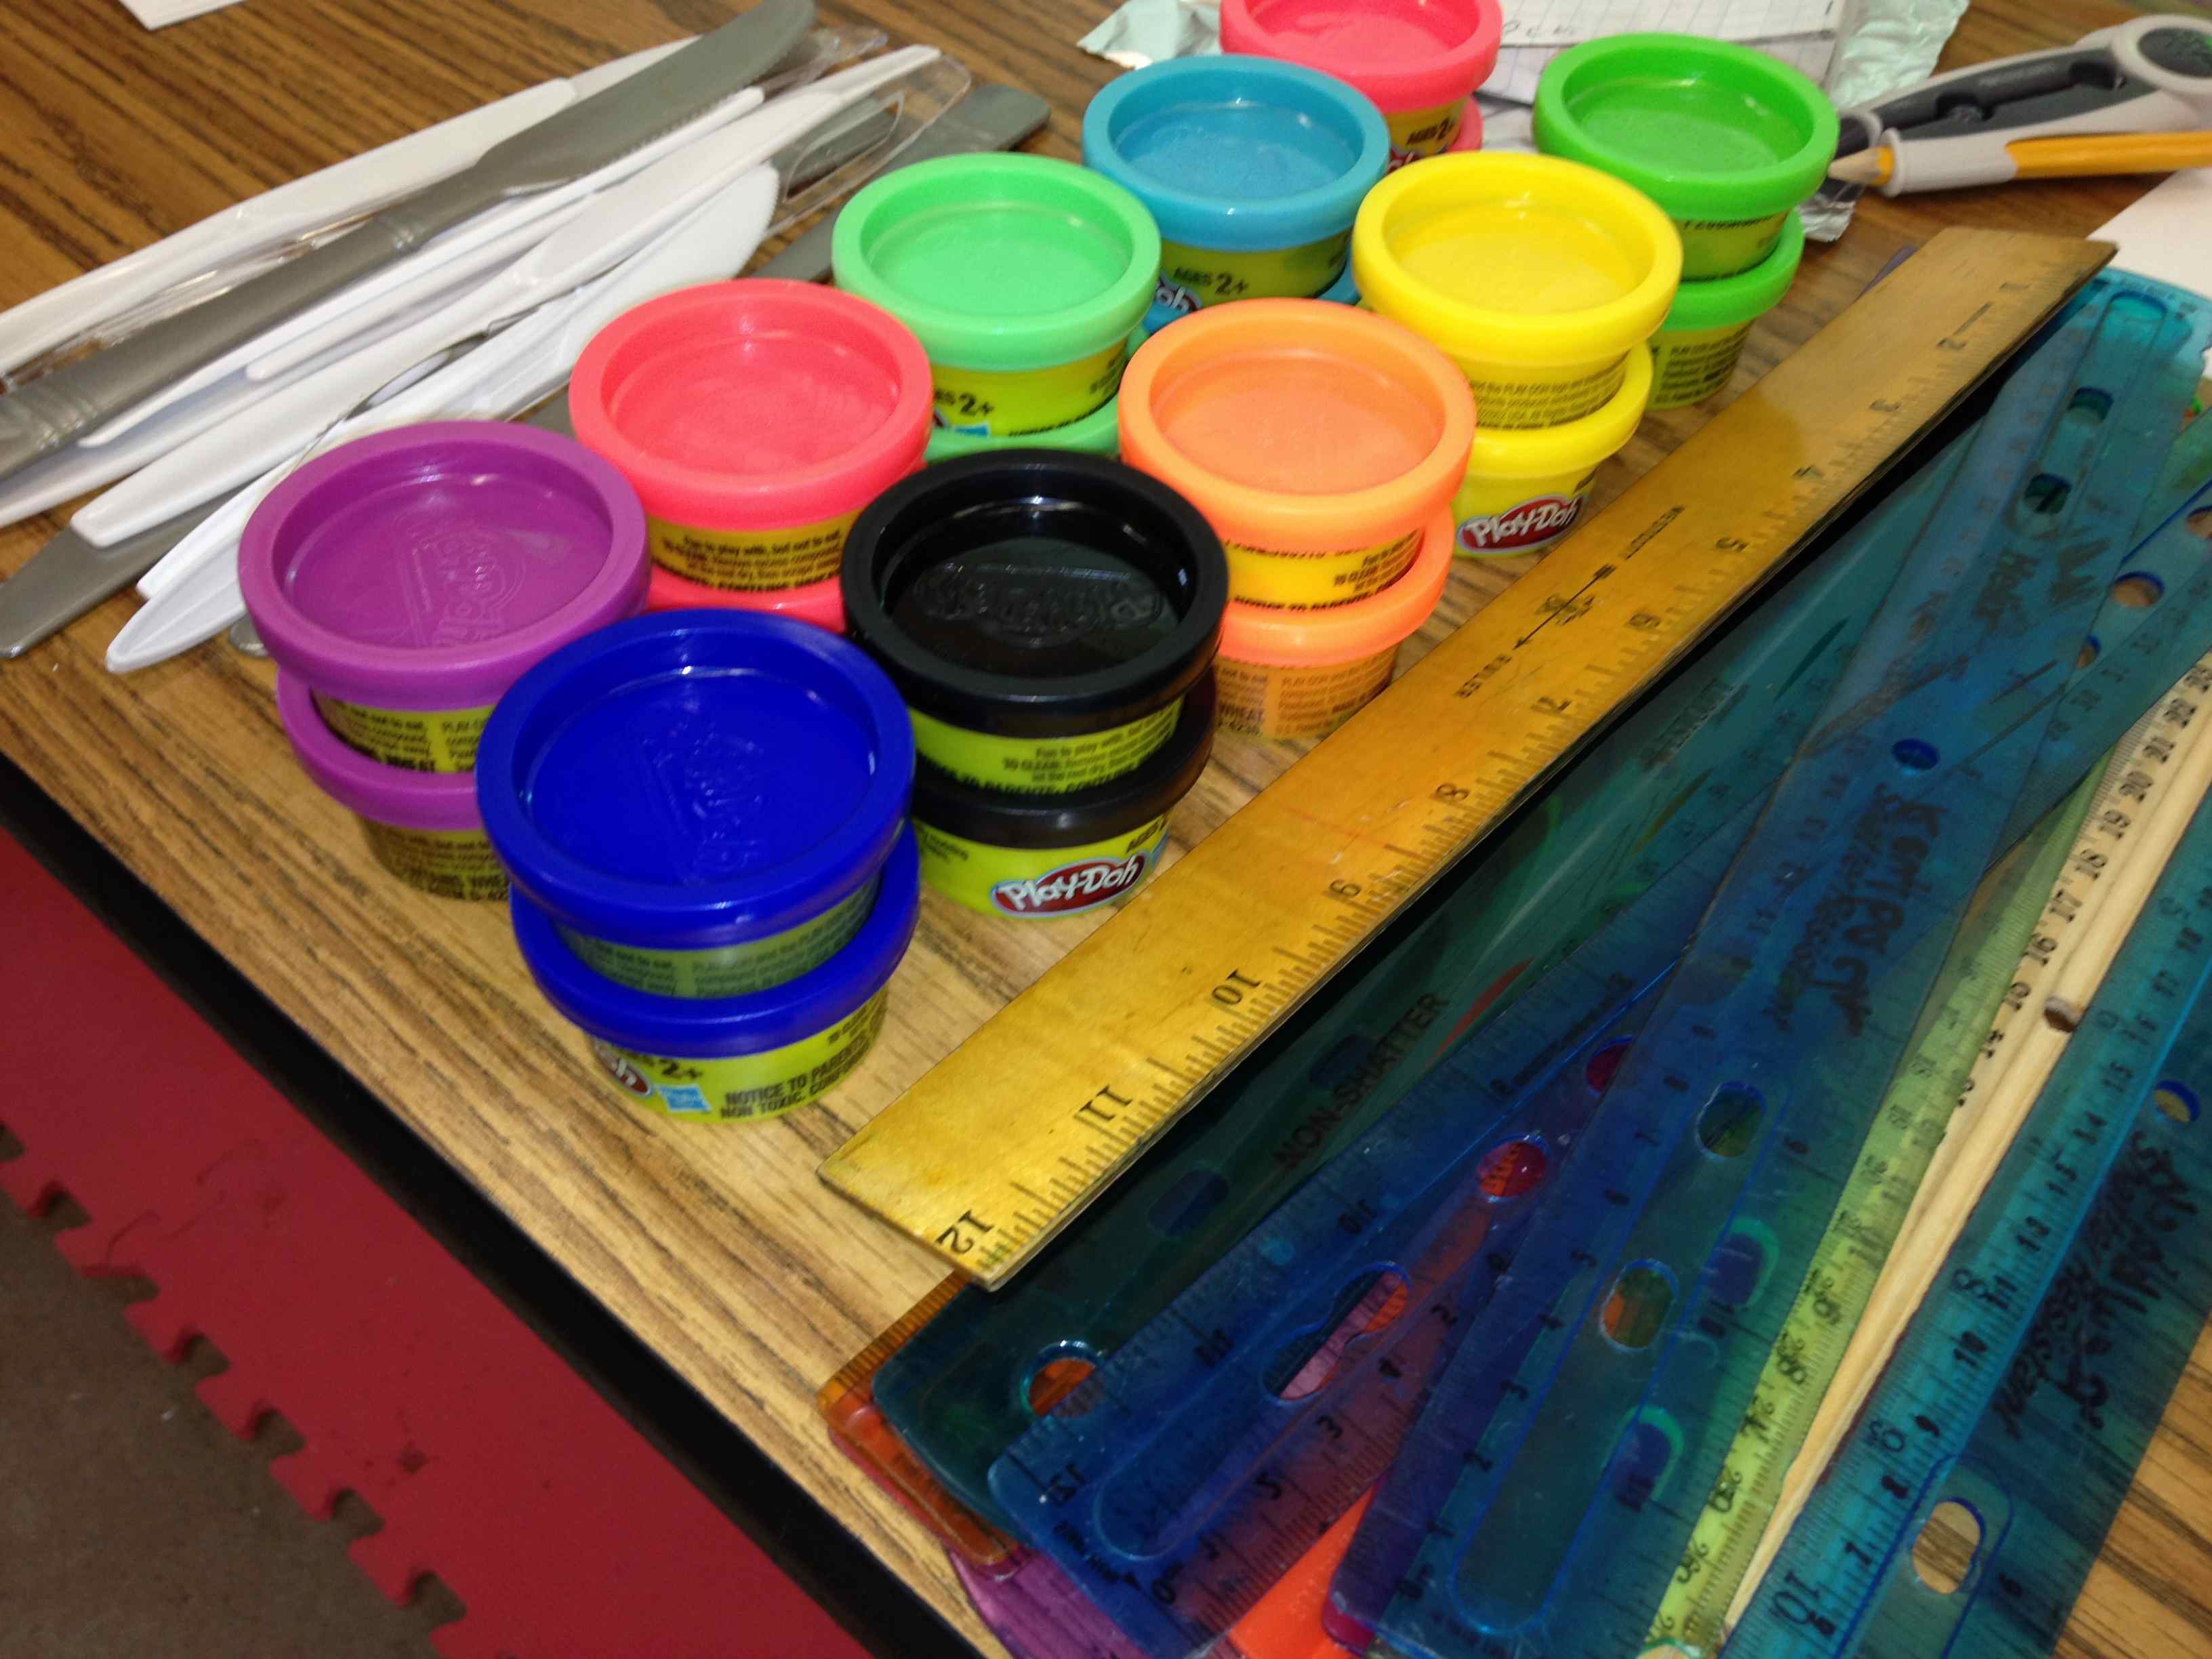
One fun-sized Play-doh
Ruler
Plastic knife
Ruler
Instructions:
Many of my students had heard somewhere along the way that volume equaled length times width times height. So, I started by having them make a rectangular prism out of their Play-Doh.
Once it was made, I had them draw a picture of it in their Geometry Booklets. Then they measured and recorded the length, width, and height of their prism in centimeters. Next, I had them cut their prism into 1 centimeter lengths. They observed that the cross sections were squares. I had them find the area of this square. We talked about how many slices they had. So if their area was 6 centimeters squared and they had four slices how could they find the volume of the box? They quickly deduced that they needed to multiply the 6 by 4 to arrive at 24 cm cubed.
I repeated this for a cylinder and a triangular prism. We observed what the cross sections were, found the areas of our cross sections, and then found the volume. To sum it all up, we talked about how volume of a prism or cylinder is the area of the base (cross-section) times the height (number of slices).
This year I have a plethora of students missing the two days before our spring break week. This is so difficult for teachers as we do not want to waste two instructional days because a third of your students started their vacay early. I was especially distressed this year because I wanted to jump into our geometry unit.
Last year my students made Geometry Booklets. However, since it was my first year teaching 6th grade, I found that the students knew more about geometry that I had previously thought. I do not want to skip the first geometry chapter in our textbook in case some students did not learn it as throughly as most (or have forgotten it). But, I realized last year that I did not need to spend as much time on beginning geometry as I did.
This year, we are still doing the Geometry Booklets. But this year I am not having them look up and write the definitions for all of the terms in their geometry chapters. Instead I typed up all of the terms with definitions. I will print these out for the students to make their booklets. Since I still want them to be involved and learn what the definitions are, I am going to have them illustrate each term. They will find where the term in their booklet is located in their math text book and then illustrate the definition. They may use the books illustration or they may make up their own using the book as a guideline.
This will make coverage of the basic geometry units go faster this year so that I have time to cover more in depth geometry material. I still plan on having them write up and illustrate definitions, but only for the more advanced topics that come later in their textbook.
So, where does the “Ack – Absences!” come in? We made the booklets in class today (Wednesday). So, all of the students that are missing Thursday and Friday can take their colored pencils, textbook, and geometry booklet with them over spring break to finish the illustrating. This way absent students will not fall behind AND present students can continue working productively in class. Win, win!
Here are the Geometry Booklets that I typed up in Word and Pdf format (coming soon). There are two errors on the circles page for Area and Circumference or a circle. I will fix them and repost pdf when I return from spring break. If you need it now, print out the word file and correct it. So sorry!
Source: I typed up all of the definitions from the Holt McDougal Mathematics Course 2 boo
Update: This took the students about 1.5 hours to illustrate. So, we did it in class and then they finished it for homework. We played Around the World and Geometry Flyswatter game on Friday. I let them use their books! I am going to update the games to incorporate all of the geometry terms in the booklet. Coming soon! 🙂
I was not looking forward to teaching the geometry chapters to my students this year. These chapters are full of definitions and formulas. My own children are in first, third, and fourth grade. The homework that they bring home indicates that the kids have been seeing the same basic definitions and shapes from at least the first grade, and the same formulas from at least the fourth. This all equates to me teaching the same thing to the same kids, again. Can you say Snooze-Fest?
I considered doing a short geometry review and then just diving into fun geometry problems! However, I have students from several different elementary schools. I have learned this year that I have to be careful not to generalize and assume that all of the students have been taught (and will remember) all of this previously taught information. I did not want to skip over the basic definitions that they will need for our more advanced geometry problems if they have not seen them in the past (or they were actually snoozing).
My solution was to have the students create their very own Geometry Booklets. They made them from folding copy paper in half. Each night, I assigned my students sections of their textbook to extract and copy down definitions and illustrations. What they needed to find each night was easy as all of the important definitions and terminology are either hi-lighted yellow or outlined in green boxes. I encouraged (but did not require) them to be creative and colorful at night! It told them that it was THEIR book!
The next day class we played games and did activities using the information that they scribed the night before. They were able to reference their booklets for these games and activities. To motivate them to get all of the required information into their booklets, I let them use the booklets on geometry unit quizzes and tests.
I felt that this was similar to “flipping” the class because they gathered the information from their textbooks at home and then worked on problems in class. Most of my students liked it because they got to be creative with their booklets and they felt like they were “getting out of” math homework. And, they LOVED using these booklets for tests and quizzes.
For the big geometry unit test I let them use their booklets. The test covered two chapters of geometry. Overall, my students scored higher on this assessment than they had scored on any other major assessment all year (and I usually only test on one chapter at a time). But, what amazed me, and them, the most is that many of the students didn’t really need to use their geometry booklets during the test. By writing it down each night, and then going over it each day, they had already processed the information.
To create the covers for their booklets, we integrated with Art and Gardening. Students studied cubism in art and then visited their garden to pick a subject for their covers. Their covers had to be modeled after cubism and include four different geometric shapes. In art they sketched their garden subject using geometric shapes. They then used a wide array of materials of various textures and colors to finish their covers. Our Art teacher did a fabulous job with this and their covers turned out beautifully!
To showcase their work, I made a slideshow of their books to the tune of “The Nonagon” by TMBG. We all really love that song! I included the cover and one page on the inside of each book. I collected their booklets and will return them to the students to use next year during the geometry unit. I may even have them add on to the books.
I taught the Pythagorean Theorem to my 7th graders earlier in the year using a variety of methods. I wanted them to not only see but experience and even touch the theorem. However, the activities did not go as well as planned. As easy as it seemed to show them how this beautiful theorem worked, it was much harder in practice. Middle school students are very visual. And, unless instructions are explicitly clear, they can easily veer off course. This is not their fault, and in fact is one of the most endearing things about middle school students. They are really just so excited about learning that they often dive right in and usually leap before they look!
When I tried to do this activity with my 7th grade instructions went awry, and my students were confused instead of enlightened. So, I learned from my mistakes, and decided to try again with 6th grade. But this time, I created a visually precise Powerpoint presentation for the 6th graders to follow. I let them draw, color, cut, and glue. They were engaged, they were able to follow along, and they understood! This activity gave me multitudes of the infamous “light bulb” gasps that I crave! Since I did this activity, I just remind them of the area of the squares when they incorrectly make the hypotenuse a leg length, and they get it.
Required Materials: Centimeter graph paper and scissors. I cut the graph paper in half (hamburger) to conserve paper.
Suggested: Colored pencils or markers and a glue stick*.
The night before the activity have them read about the Pythagorean Theorem in their book. Have them write down the definition, the diagram, and the formula in their notes. In class the next day, have one student read the definition from their book. Ask them what they think about it. When they say, “What in the world does that mean?” and “That sounds like Chinese!”, tell them, “No, it’s GREEK!” and then start the Powerpoint. Color and cut with them, then sit back and bask in the “light bulb” gasps!
You’ve got to love ANY game that gets kids JUMPING for math! This game does just that! I got the idea from Kate’s blog. I am a floating teacher, so taping the answers on the board wasn’t practical for me. Instead, I created a Powerpoint presentation that can move from class to class with me.
How it works:
First, split the students into two teams and arm them with flyswatters. I taped a line on the floor that they had to stan
d behind. Then, I put up a powerpoint slide that contains definitions in boxes. A question pops up at the top of the slide and the first person to “swat” it wins! In the case of a tie, the swatter on the bottom wins! This game can move FAST, so I added a pop-up yellow box to indicate the answer after they swat. This way it is quick. They love seeing the yellow box pop-up! You could also put answers to questions in the boxes and put the question at the top. At the end, I did a “Speed Round” where the answers in the boxes were short so kids could read them quick. The Speed Round was a blast!