Exam Time – Study Guide Assignment

It’s finals time!  I teach mostly freshmen, so I wanted to help them prepare for their Geometry final.  Many students have a tough time studying for a math test, and this one covers an entire semester plus of material.  Geometry is full of things to know as well, like properties of your favorite shapes, everything you never wanted to know about triangles and circles, and finding areas and volumes of anything and everything.

I created a Study Guide Assignment to help them.  I gave them an outline of the topics the exam would cover, and a rubric on how I would grade it.  I gave out the assignment a week before our two in-class review days, with the study guide being due at the beginning of class on the first review day.  I emphasized that they needed to create a study guide that would help THEM.  They did not have to do it any certain way.  They could take notes, use index cards, make a booklet, do it on their computer, any way they wanted!

IMG_3566
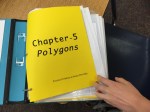
Today students shared their study guides with the class.  They were very creative!  A few students went all out and created a brand new binder for their study guides.  They created page dividers for each chapter.  On the page dividers, they attached note cards where they had written the notes from the chapter.  In each section they included the most important notes (foldables), study guides, problem sets and assessments for that chapter.  One student even put every page in a page protector!

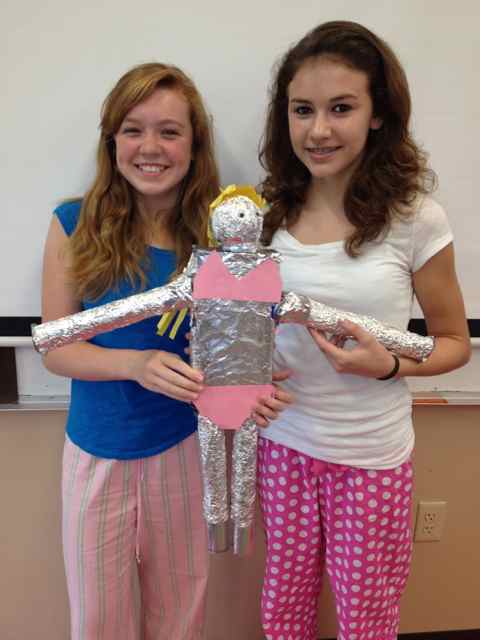
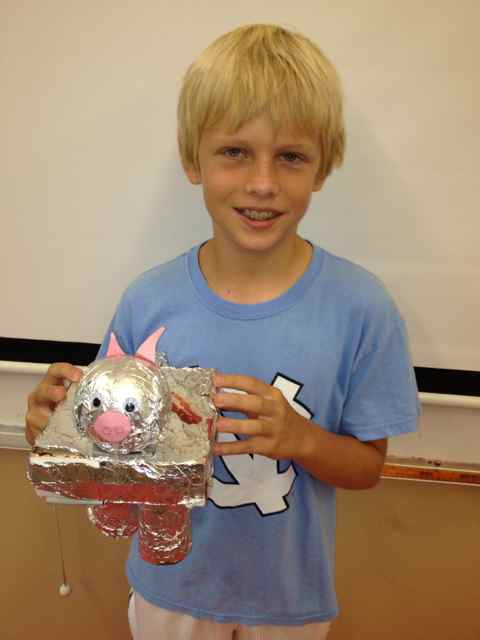
Here are some of the other things they created.  Below is a gallery of pictures I took today.

  • A binder with dividers, one for each chapter.  Notecards attached to the divider, then all quizzes, tests and problem sets from the chapter in the sections.
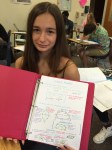
  • A section in their INB, so they would have their notes all together with their notes from the year.
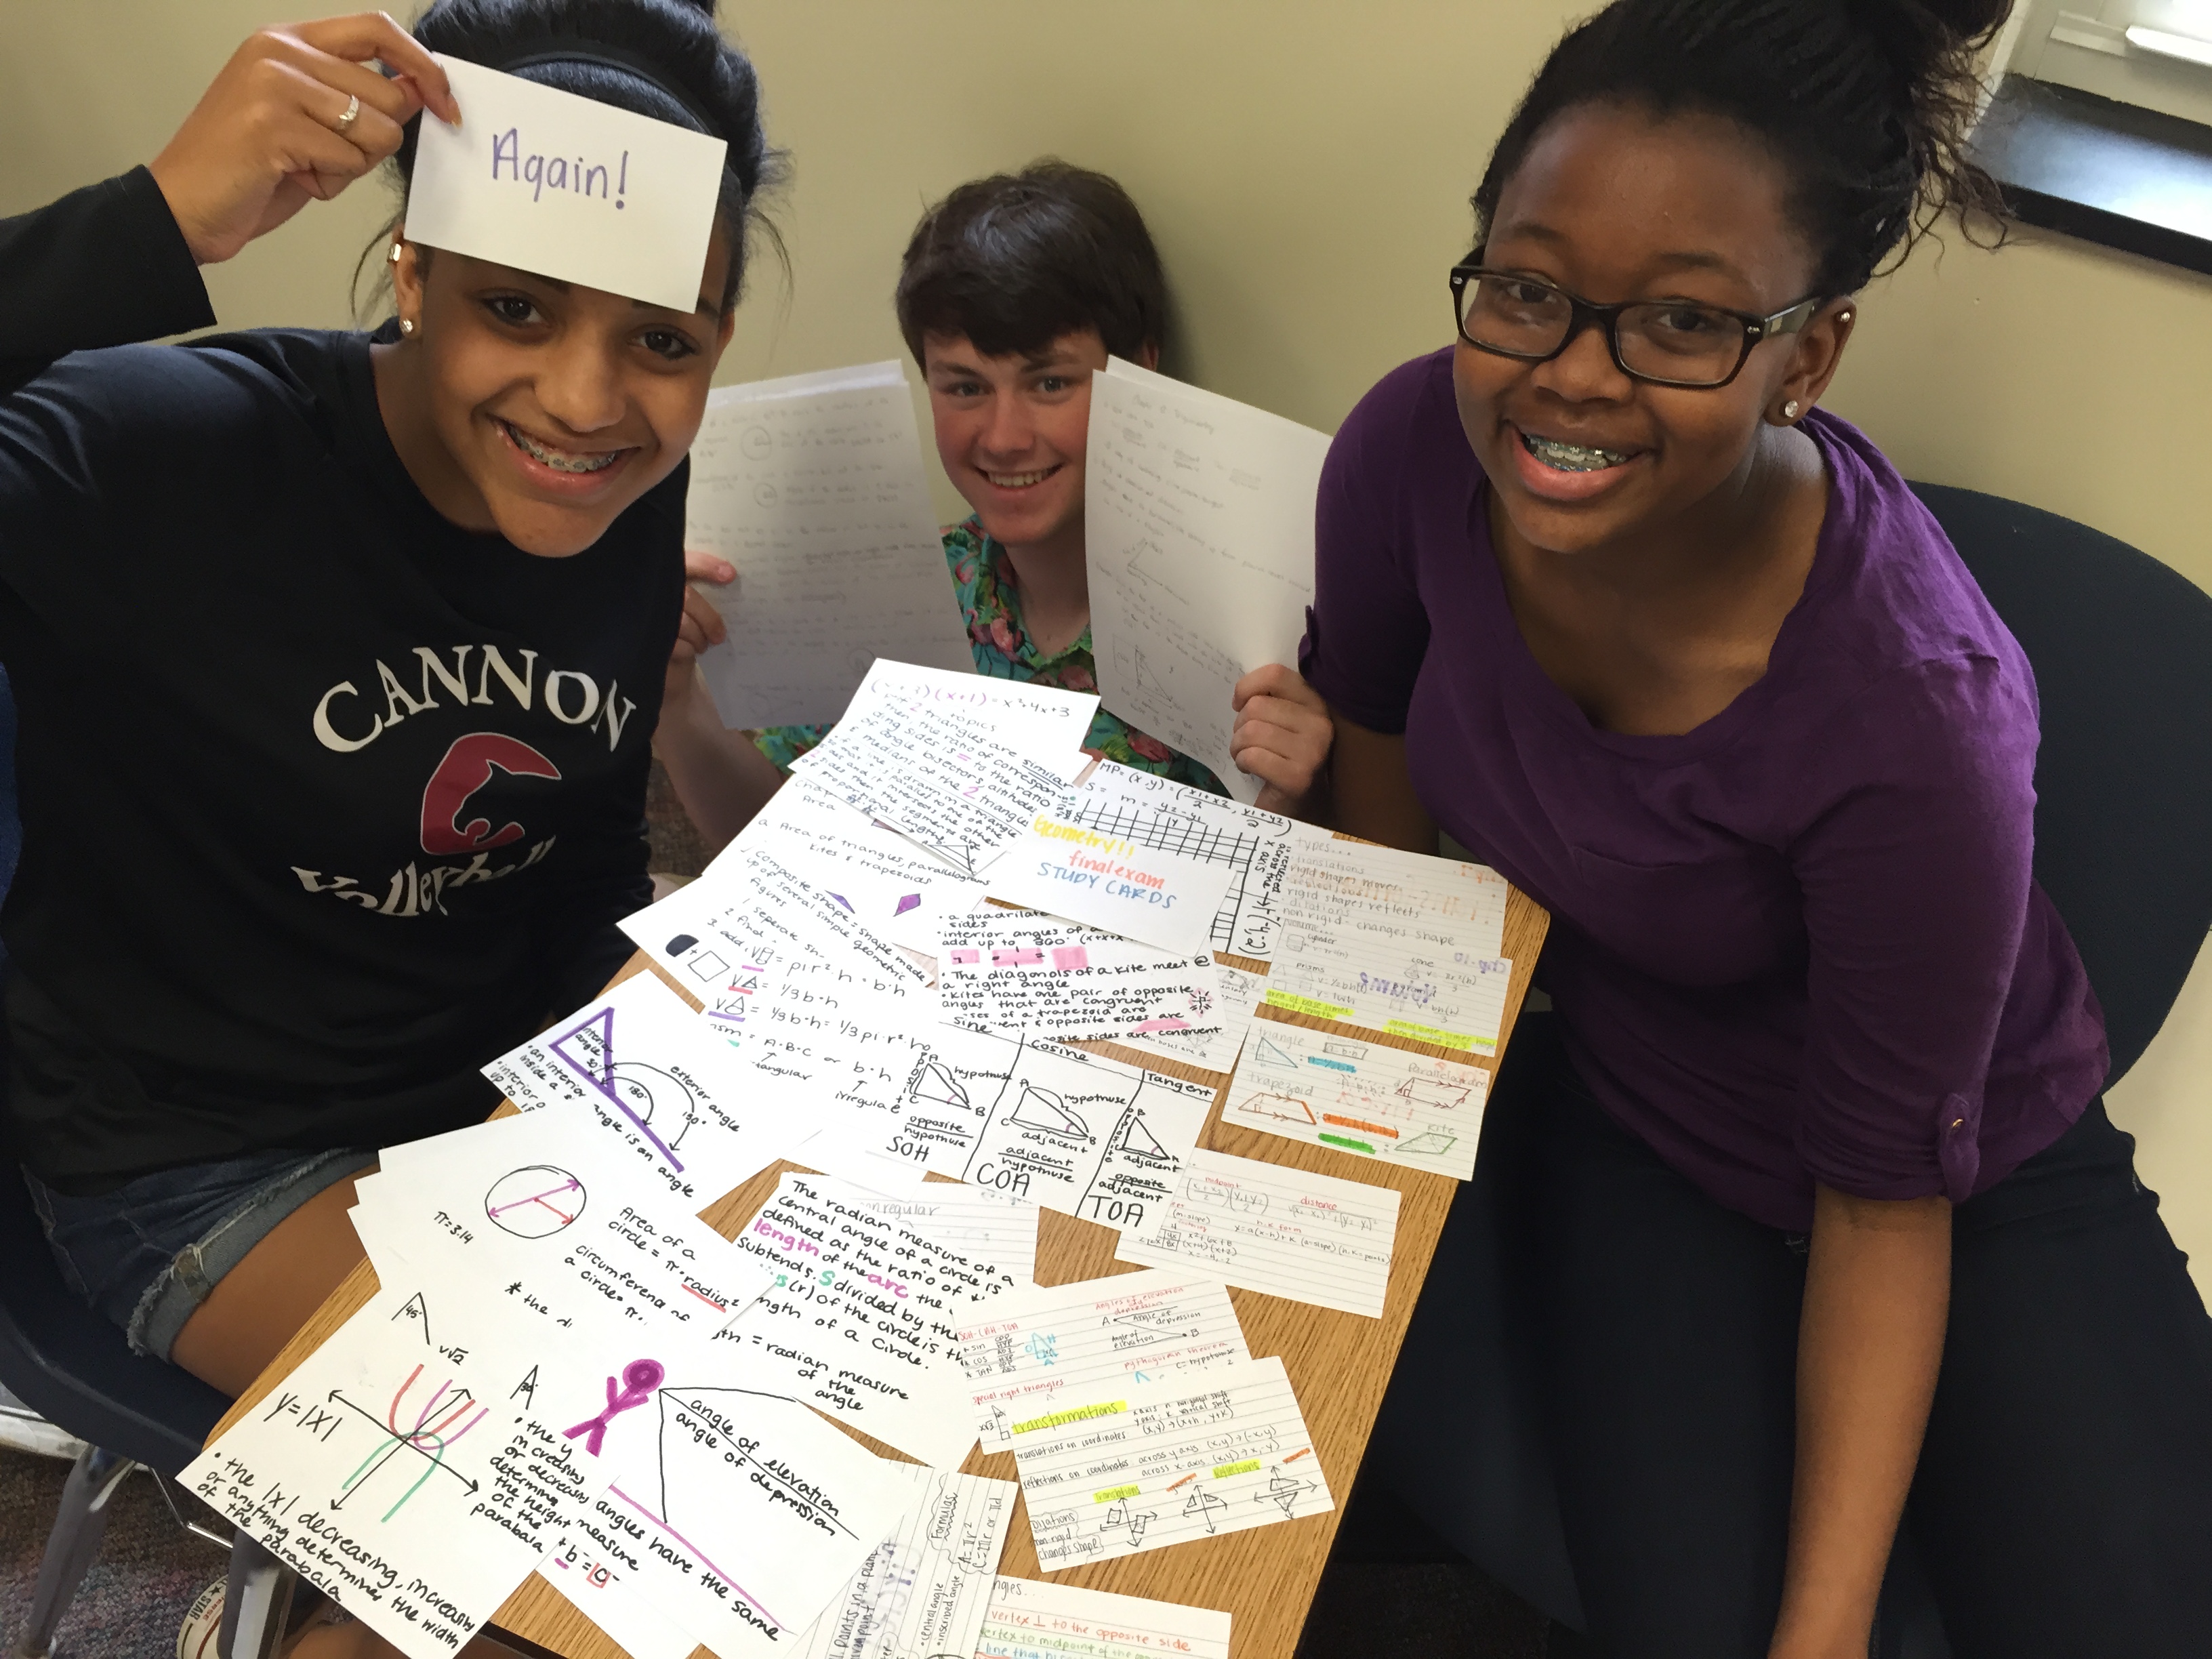
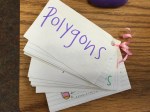
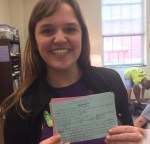
  • Index cards, love the “again” card one student created so she would go through them “again”.
  • LARGE index cards (from half sheets of paper)
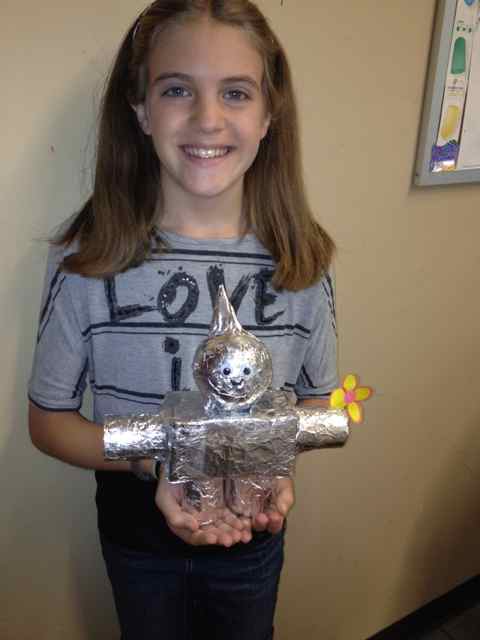
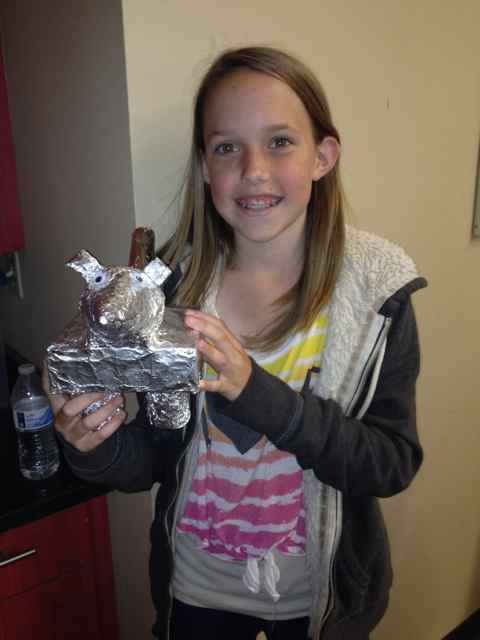
  • Booklets, like the ones we make in class to review
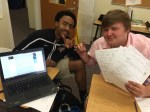
  • Quizlet
  • A word document (the student even learned to use equation editor – impressive)

The students did an amazing job and most students told me that it took them a couple of hours or more to do this assignment.   Yesterday many were mad at me (as they were finishing them up the assignment), but today they said, “Wow, this should really help me on the exam.”  Exams are still a week away, so hopefully getting this work “out of the way” should give them a huge head start on their studying.

IMG_3574I feel that their study guides are already effective and helping them.  Today, after they shared their study guides, I let them work with other students if they were missing sections on their study guides.  Afterwards, I gave them an exam review packet of problems and was happy to see many students flipping through their own study guides to get help on the problems instead of asking me immediately.  Seriously, I should do this before every test.  Success!

Grading Side Note – I didn’t want to have to grade ANOTHER project before exams, so I had them self score the rubric.  Then, I scored their rubric as they presented.  It counted as a small quiz grade so I graded it pretty easy.  The main point was that they were organizing and re-writing many of their notes.  And most of my students could use a small good grade this time of year.
https://app.box.com/embed/preview/kwubkat46ftutr9rjssqcsg16vpd2kzl?theme=dark

Barbie Proportions – Geometry

This was a fun and engaging activity that I think the students enjoyed as well.  They really seemed to like drawing on the butcher block paper.  Most of them were truly shocked at Barbie’s proportions.  As we have all heard, her waist was very tiny.  But we were surprised to see how short her arms were, how long her legs were, or how large her eyes were in her head!  One of the most surprising finding was how small her FEET were.  They were only about 5 inches long, which puts our life-sized, 5’7″ Barbie in a size 6 shoe – a CHILD’s 6 that is!

I got all of my inspiration and materials from Kathryn and Fawn.  I let the students pick one student in their group to measure for the height comparison.  Then the students used proportions to calculate Barbie’s scaled up measurements.  After that, they traced the student on the chart paper, then traced life-sized Barbie’s measurements inside the student tracing.

Warning – it took longer for my students to draw on the chart paper than I anticipated, so leave extra time for that.  But, I would definitely not skip this part.  Calculating proportions isn’t very exciting until they realize they get to draw on giant sheets of butcher block paper!  Also, they didn’t realize how small the proportions they calculated actually were until they compared it to their own traced figures.  It brought proportionality to life!

Here are pictures of my students working today.  I really enjoyed the activity, and I hope they did as well!

Edited:  I did not have as much success with one of my classes today as the groups did not work as well together.  If I repeat this activity, I will give a grade for it so each member is held accountable and works the entire time.  Sigh.  Days like these…

Transversals, Parallel Lines and Discovering Angle Properties

The #MTBoS is a wonderful place.  Sometimes the only problem is deciding which awesome activity I will do, since I don’t have time to do them all!  Luckily, I had a block day, so I was able to use two great activities that I found, and even add one of my own.

IMG_2108After reading Jessica’s post about “Dance, Dance, Transversal”, I knew I had to do it.  As I desperately miss the high energy of middle schoolers, I am often trying to infuse some fun and spirit into my HS student’s day. I couldn’t wait to have them dance, but didn’t want to spend more than about 10 minutes dancing because we had a lot of work to do.  However, since I was going to spend all of that time putting tape up the floor (and it turns out even more time taking it off – tip for you, use PAINTER’S TAPE, not regular masking tape), I wanted to see if I could use those lines for more than one activity.  The result?  A lighting round of Geometry Jeopardy!

Screen Shot 2014-10-24 at 7.42.33 AMWhen the students came in, I instructed them to find a partner and have a seat on a set of lines on the floor.  I gave each student the graphic organizer, and a post-it note.  I then projected a similar set of lines on the board and asked them questions.  They were to put their post-it note on the answer. Then we recorded the correct answer on the graphic organizer.  For example,…

I loved this because students had to work together, each with one post-it, to decide not only what an “alternate interior angle” was, but which set to put their post-its on.

After this activity, we did a short round of “Dance, Dance Transversal”.  After the partner post-it activity, the kids decided to dance with their partner first.  So for alternate exterior angles, each student would stand on one angle.  The game had been described as one person dancing while the other partner watched, but I think this worked out better because everyone was involved at the same time.  Plus, it took more talking to decide where to step when each angle was “called”.  Unfortunately, I was too involved in the action or I would have taken a video of this!  It was great fun!

After learning the names of all of the angles made by a transversal, it was time to move on to parallel lines.  I am trying to incorporate Geogebra, so I borrowed and adapted this lovely discovery activity from Tina Cardone.  Of course I made it into a foldable!  My instructions were adapted from the amazing Kate Nowak.  I especially love her “teacher checkpoints”, where the students have to call me over to approve their work before moving on to the next step.  This greatly helped to prevent students from going down the wrong path for too long, which sometimes happens with discovery lessons!  For instance, many students didn’t “construct” parallel lines, they merely drew two lines that looked parallel.  So, when students called me over I would move a line to ensure the other line moved parallel with it. Another checkpoint was measuring angles in Geogebra.  This can be tricky, and pretty frustrating to the students.  Seeing angles of 257 degrees are not going to help them understand which angles are congruent.

Screen Shot 2014-10-24 at 8.12.03 AM Screen Shot 2014-10-24 at 8.11.51 AM

These activities seemed to work well, as two days later in class they all knew not only what the angle pairs were, but which ones and even when they were congruent.  I did have to remind a few students that they are only congruent when the lines are parallel.  Next year, I will be careful to make sure the tape lines on the floor do NOT look like parallel lines.

Here are my advisee’s making sure there was room to dance on the lines.  They are so much fun.

Here are the files on Box.  Let me know if you make it better!  🙂

Creating Tin Men to Explore Surface Area Project

I read about the amazing Tin Man project on Elissa’s blog Misscalcul8.  Please go there and read all about it in more detail!   I had to duplicate it for my 6th grade students.  They love being creative and surface area is tricky.

At their request, I let them make a tin man or animal.  The students chose their materials (they had to have a cylinder, a rectangular prism, a sphere, and a cone).  They then had to measure their materials and find the surface area of each item.  (My Tin Man Project Worksheet).  After the surface areas were calculated, they added it all up to find the total surface area of their tin man and how much foil they would need to completely him.  I created a Google Spreadsheet to automatically check all of their answers according to the measurements they had recorded.  This was essential for grading ease since every student had different materials and thus different measurements.  Then, they taped their tin man together, measured and cut the foil, and covered their tin man/animal in tin!  After they finished, I had them do Elissa’s reflection as well.  To save paper (and printing issues that students always have), I uploaded the questions to Google Documents.  Students had to copy the document to answer the questions, and then share it with me for grading.

A best aspect of the project was applying the aluminum foil to their tin men.  The students had calculated how much foil they needed to cover their man using surface area.  Once cut, if the amount of foil was too little or too much, they had to meet with me to talk about why this happened.  It was math in action!

Another great piece of the project was coming up with how much foil to cut.  They had to take their total surface area and divide it by the width of the foil roll (30 cm) before cutting the foil.  I made them figure this out before cutting the foil to deepen their thinking about area.  They then had to talk about why they divided my 30 in their reflection.  It was great to see that every student did understand why they divided by 30.

This project took longer than I thought it would, but was worth it. On the unit test,  my students scored better on surface area than on volume, even with the Play-doh activity!  Their biggest challenge were actually applying the foil to the tin men.  Next year, I will have them apply the foil first, then tape their tin men together.  They also wanted more time to decorate their tin men, but I had too much I wanted to squeeze in at the end of the year to give them an extra day.  Next year I will try to build in one more day.

I can’t thank Elissa enough for this project idea OR all of the help and suggestions that she gave me via email.  I love all of the fabulous math teachers in my PLN and am such a better teacher because of them!  Reach out teachers and connect with each other on Twitter.  Read their blogs, try their ideas.  It makes teaching a blast, and the students love it.  Everybody wins!

** Edited 4/27/16:  I added the Google Spreadsheet to check the formulas.  

Volume of 3D Shapes with Play-doh

When my students are excited about what they are doing in class, they are engaged.  They will listen and best of all, learn.  The kids were ecstatic when they saw the Play-doh.  They couldn’t wait to get their hands on it!  The benefits for learning were amazing.  All I had to say was “Remember the Play-doh?” and they knew what to do for any volume problem.

Supplies per student:

  • One fun-sized Play-doh
  • Ruler
  • Plastic knife
  • Ruler

Instructions:
Many of my students had heard somewhere along the way that volume equaled length times width times height.  So, I started by having them make a rectangular prism out of their Play-Doh.

Once it was made, I had them draw a picture of it in their Geometry Booklets.  Then they measured and recorded the length, width, and height of their prism in centimeters.  Next, I had them cut their prism into 1 centimeter lengths.  They observed that the cross sections were squares.  I had them find the area of this square.  We talked about how many slices they had.  So if their area was 6 centimeters squared and they had four slices how could they find the volume of the box?  They quickly deduced that they needed to multiply the 6 by 4 to arrive at 24 cm cubed.

I repeated this for a cylinder and a triangular prism.  We observed what the cross sections were, found the areas of our cross sections, and then found the volume.  To sum it all up, we talked about how volume of a prism or cylinder is the area of the base (cross-section) times the height (number of slices).

It was so much fun!


ACK – Absences! Or BEST Pre-Spring Break Assignment – Ever

This year I have a plethora of students missing the two days before our spring break week.  This is so difficult for teachers as we do not want to waste two instructional days because a third of your students started their vacay early.  I was especially distressed this year because I wanted to jump into our geometry unit.

Last year my students made Geometry Booklets.  However, since it was my first year teaching 6th grade, I found that the students knew more about geometry that I had previously thought.  I do not want to skip the first geometry chapter in our textbook in case some students did not learn it as throughly as most (or have forgotten it).  But, I realized last year that I did not need to spend as much time on beginning geometry as I did.

This year, we are still doing the Geometry Booklets.  But this year I am not having them look up and write the definitions for all of the terms in their geometry chapters.  Instead  I typed up all of the terms with definitions.  I will print these out for the students to make their booklets.  Since I still want them to be involved and learn what the definitions are, I am going to have them illustrate each term.  They will find where the term in their booklet is located in their math text book and then illustrate the definition.  They may use the books illustration or they may make up their own using the book as a guideline.

This will make coverage of the basic geometry units go faster this year so that I have time to cover more in depth geometry material.  I still plan on having them write up and illustrate definitions, but only for the more advanced topics that come later in their textbook.

So, where does the “Ack – Absences!” come in?  We made the booklets in class today (Wednesday).  So, all of the students that are missing Thursday and Friday can take their colored pencils, textbook, and geometry booklet with them over spring break to finish the illustrating.  This way absent students will not fall behind AND present students can continue working productively in class.  Win, win!

Here are the Geometry Booklets that I typed up in Word and Pdf format (coming soon).  There are two errors on the circles page for Area and Circumference or a circle.  I will fix them and repost pdf when I return from spring break.  If you need it now, print out the word file and correct it.  So sorry!

Source:  I typed up all of the definitions from the Holt McDougal Mathematics Course 2 boo

Update:  This took the students about 1.5 hours to illustrate.  So, we did it in class and then they finished it for homework.  We played Around the World and Geometry Flyswatter game on Friday.  I let them use their books!  I am going to update the games to incorporate all of the geometry terms in the booklet.  Coming soon!  🙂