Proof Stations – Geometry

image-1

After a smashingly successful first day doing proofs in Geometry I was excited to prepare for day two!  Our Geometry classes are not tracked (leveled).  On day 1 I noticed that I had a wide range of proof writing ability.

I still wanted the students to have time to think and process the proofs as they did the day before, but I did not want to go too slowly for some students, or two quickly for others.  I wanted everyone to be able to think and to learn at their own pace.  Enter Stations.

I am a huge fan of stations for review, but I really haven’t done much at the beginning of a unit.  This worked beautifully!

image-3
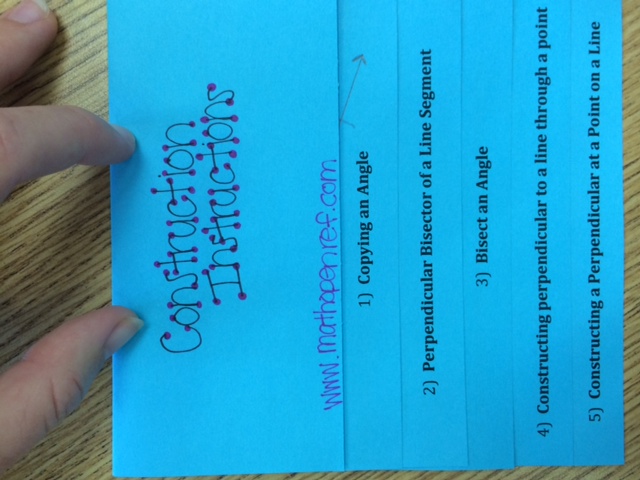
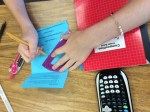
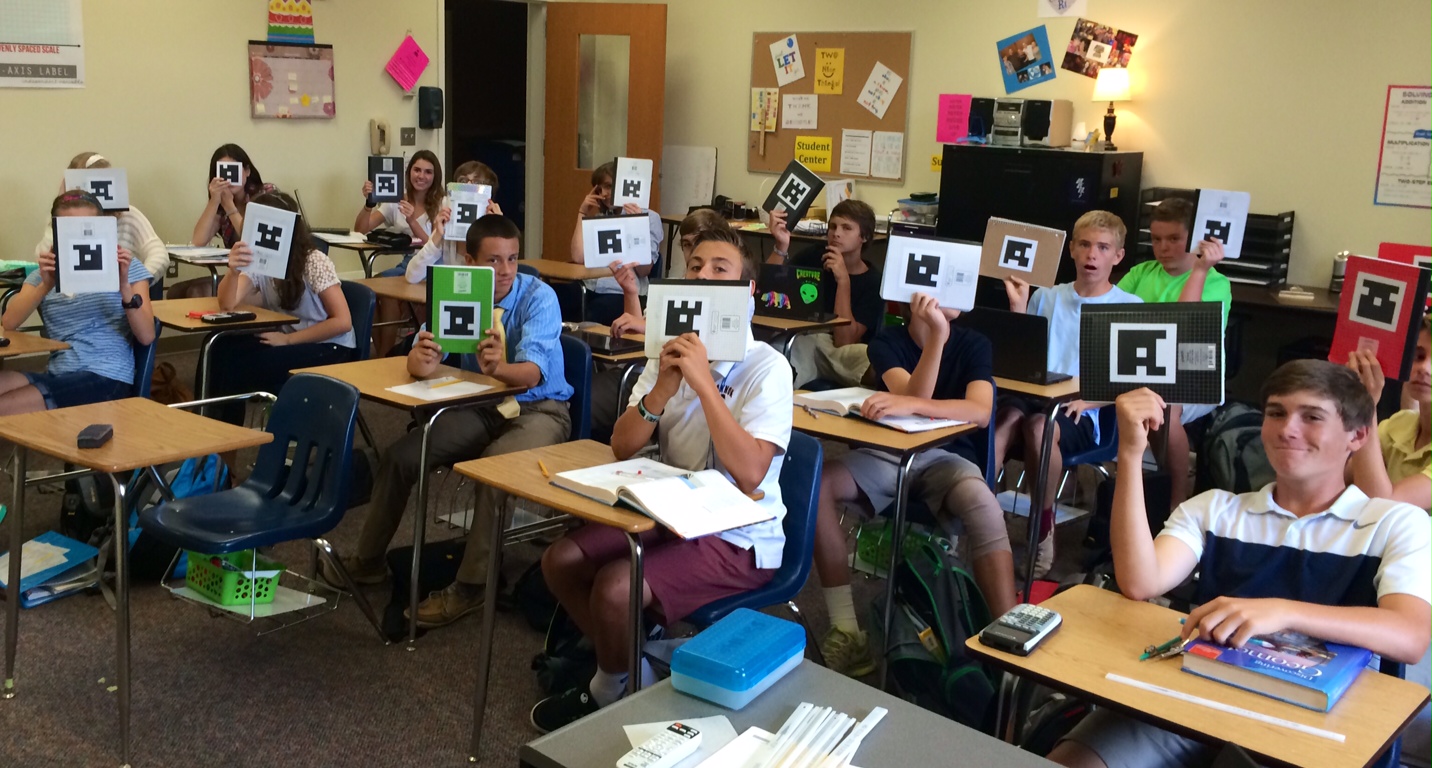
I gave my students six proofs in (of course) an INB foldable.  All they had were the givens and the prove.  I had them work on them silently for 10 minutes.  After the 10 minutes, they were able to work with a friend, and move around to the stations.

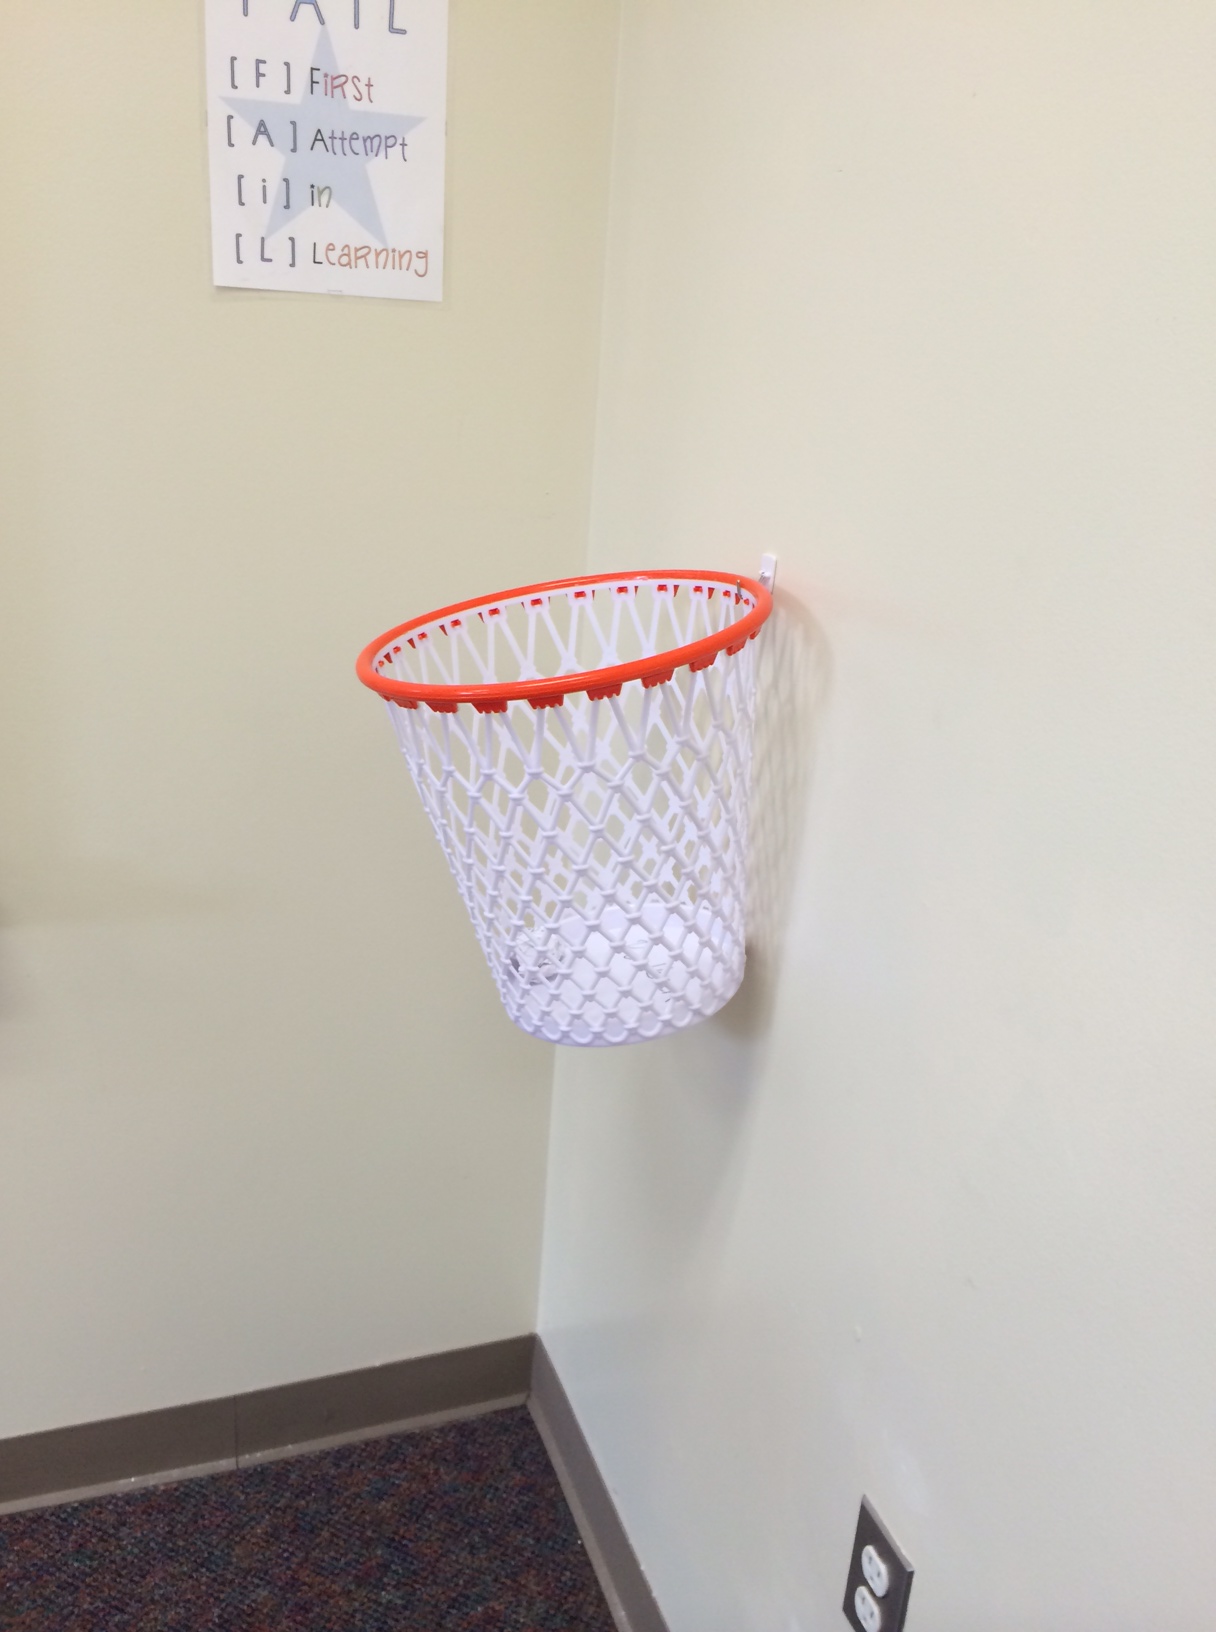
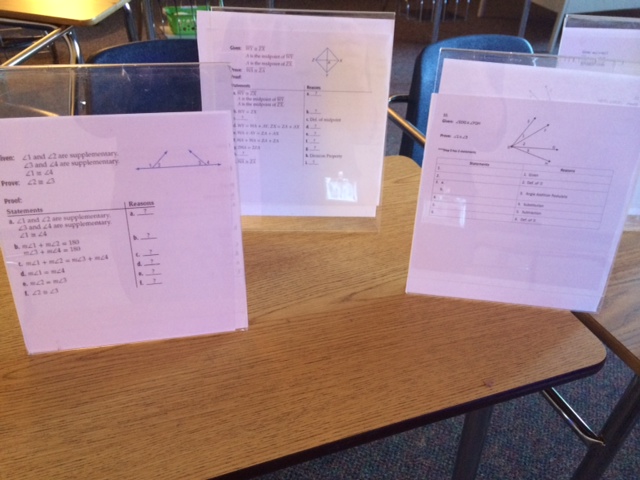
At each station, I had a copy of the same proofs that were on their papers, with some “hints” added.  The “hints” were the “fill in the blank” that can help students along if they get stuck.  On the back of the picture frame I had the proof fully worked out.

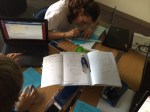
I encouraged the students to try the proofs FIRST, then if they got stuck or needed a hint they could go to the station.  Or, if they finished the proof they could check their answer with the proof answer on the back of the station frame.  Many students did not WANT the hints.  I agree with them, I really hate reading how someone else has solved a proof before I have time to think about it and try it on my own.  But, I did want students to check to make sure their proofs were similar to mine.  Since they are just beginning proofs, they often leave steps out.

image-6

This activity worked so well!  Students had time to think and try to work out the proofs on their own.  They were able to move around at their own pace.  They could get a hint if needed, and check their answers.  Another great thing came out of this as there are usually a few ways to solve each proof.  I loved it when a student proved something in a different way and came to ask me about it.

We still have a long way to go, but I feel this gave them a great foundation!

** I did not provide the proofs I used here as I “borrowed” them from many sources and am not sure where they all even came from.  🙂

image-1

Beginning Geometry Proofs

After a couple weeks of p, q logic proofs, we started proofs “for reals” in Geometry this week.  First, we did algebraic proofs.  The kids were not happy that they had to show all of their steps.  “But I can do this in my head!”  Yeah, right.  At least it was a pretty easy introduction to proofs.  Anywho…

After learning all about segment and angle addition postulates, we started beginning baby proofs.  The first day went really well.  I took a page from the amazing Fawn’s book and modeled my first proof lesson after her problem solving lessons.  After all, proofs are just giant problems you have to figure out.  I gave them a proof.  We wrote down our “given” and marked up our diagram.  Then, I had them “think” silently for a few minutes.  I encouraged them to write what they were thinking or to take notes, but they didn’t have to do any “work”.  I just wanted them to think about what they knew.

After those few minutes, I gave them a few minutes to talk to their group about their observations and what they were thinking.  I walked around and heard amazing things.  “Could we just add these up?”,  “Aren’t these equal?” and “I think we could use the segment addition postulate here.”  Then, we pulled it all together.  I let the students tell me (and each other) what I should do next.  The students explained their thinking to their peers and I also jumped in occasionally when needed.

Learning how to “do” proofs (how to prove something) is problem solving.  This takes time and effort.  This takes a person looking at something on their own and really trying to figure it out.  You can give a student strategies, but I don’t think you can “teach” someone how to do a proof.  They need time to figure it out on their own.  The time spent in class “thinking” and “talking” to each other before actually doing this together as a class was well worth the time.  First of all, I have freshmen, so a few of them are not doing their homework as consistently as I would like.  This means that the in-class time is the only dedicated time they will get.  Also, many of my students get frustrated on homework at home and will just quit.  I wanted them to have support when they were starting out.

The best part was when we worked as a class.  Since I gave them time to think silenty and work together, some of my students “figured” out the approach they would take.  They were excited to explain it to their peers.  Their peers are much tougher on them than I am!  Students often had to explain their reasoning in a couple of different ways.  The listeners wanted to know how and WHY their classmates are doing a certain step.  And voila, there are the proof “reasons”.

I was worried about teaching proofs, but it has been amazing so far!

Day 2 – Proof Stations!

Structured Group Work Webinar by Mimi Yang – Tonight on Global Math, EST 9:00pm

Join us tonight at Global Math to hear the fabulous Mimi Yang, writer of the blog, Until The  Next Stop, talk about structured group work.

I have been a huge fan of Mimi’s since I went back to teaching 5 years ago.  Her blog is smart and informative.  She is an expert at scaffolding lessons in a way that makes perfect sense to students.  My students love every lesson of hers that I try and always remember those concepts.  I can’t wait to hear how she structures group work.

Click here to attend the webinar tonight. 7 Oct: Structured Group Work.  I hope to see you there!

Plickers aka “Can We Do This All Period?”

If you want 100% of your students engaged and asking you to do an activity, you need to try Plickers.

photoThe amazing Pam Wilson introduced us to them at Twitter Math Camp.  We were ALL amazed and impressed!

Screen Shot 2014-10-04 at 12.55.49 PM

Screen Shot 2014-10-04 at 12.51.23 PM

A Plicker is a “paper clicker” with a bar code that the students hold up and then you scan with any smartphone or iPad.  Only one device needed, no batteries required!  The students can pick A, B, C, D or True/False.  The data immediately shows up on your phone AND on their website as a bar graph.  I assigned my students a number, so I can even see who missed the question as I am scanning the room.

From your computer, you can project their responses onto your overhead.  It only shows the correct responses in the “Live View”.

Screen Shot 2014-10-04 at 1.08.27 PM

It also stores the data on their website so you have a record of correct and incorrect answers.  I know you think that I must be lying, but I am not.  These things are AMAZING.

Screen Shot 2014-10-04 at 1.08.13 PM

I decided to affix my students Plickers to the back of their INB with clear contact paper.  That way, they should always have them handy during class, and hopefully they won’t get destroyed!  I oriented them all differently (either A, B, C, or D facing up) on their notebooks so they couldn’t see how other students were holding up their notebooks to get a hint.  It’s so much fun for the students and for me!

I have been using it as a warm-up, to asses prior knowledge or expose them to a new topic that we will begin that day.  I think it would also be a great “Pre-Assessment” or “Exit Ticket” tool.

You can see below how other teachers are using them in class as well.  If you have an idea about how Plickers could be used, please put it in the comments.  Also, if you have blogged about Plickers, please post your link in the comments so that we can all get great new ideas!

Function Transformation Discoveries using Desmos

Calling all teachers to help me make these better!

Screen Shot 2014-10-04 at 11.40.52 AMThis summer at Twitter Math Camp, Glenn (@gwaddellnvhs) and Jonathan (@rawrdimus) showed us how they lead students through all of the functions in Algebra 2.  Basically, they put all of the equations into (h,k) form.  Fortunately, the book I am using this year, “Discovering Advanced Algebra” does basically the same thing.  Since it is a “discovery” book, they have some good ideas that I have been able to modify and made into INB (Interactive Notebook) form.  Never fear, this just means it’s a worksheet that you fold in half.

Screen Shot 2014-10-04 at 11.58.29 AM
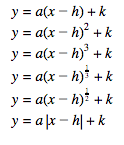
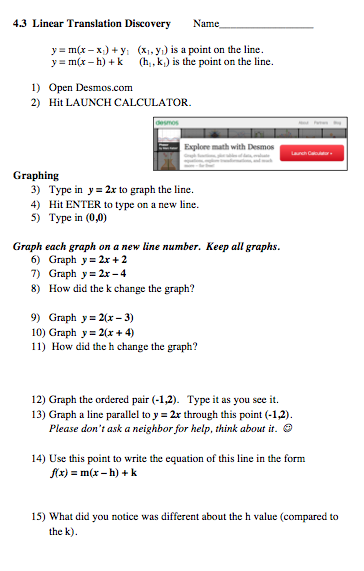
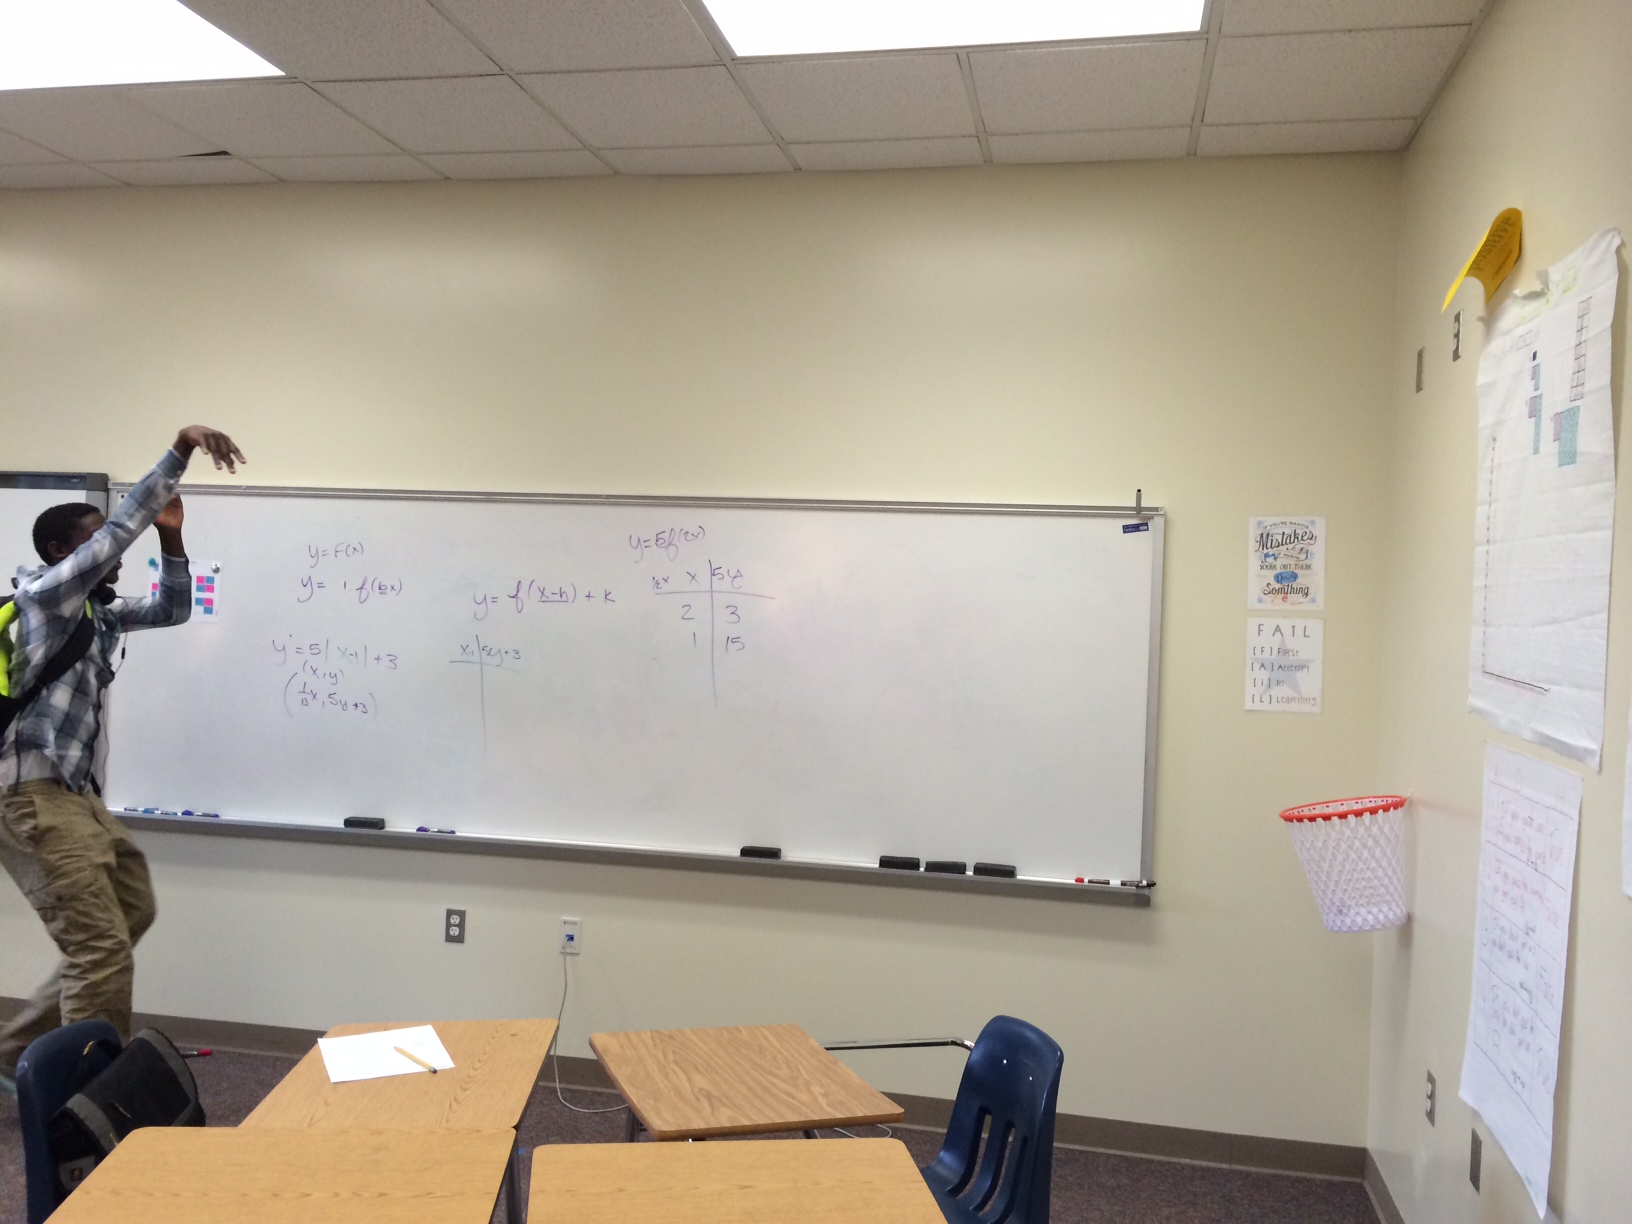
The first discovery was also my students first introduction to graphing with Desmos on their own.  Of course they have seen me use Desmos multiple times by now since Desmos has all of those great example graphs in their side bar!

Here is how I progressed through discovery for linears, quadratics, square root, and absolute value.  The Box files with the word docs are at the end.

  • Horizontal and Vertical Shifts
    • Linear Equations (first time with Desmos)
    • Screen Shot 2014-10-04 at 12.15.08 PM
    • Quadratic Equations
    • Screen Shot 2014-10-04 at 12.14.30 PM
  • Reflections with the square root function
  • Dilations with the absolute value function – these last two are combined into one.  I would love any suggestions on this – before Monday.  I know, I’m asking for too much here! 🙂
  • Screen Shot 2014-10-04 at 12.11.32 PM

Also included is a “Transformations Parent Graph” foldable that I made to sum it up.  I kind of hate this one, and would love suggestions here for sure!  Should I add dilations?  Why is it so ugly?  What else do I need to add?  I need help here for sure.

Screen Shot 2014-10-04 at 12.10.56 PM

Algebra 2 Function Transformation Discoveries

Please note:  I did not make all of these discoveries from “scratch”.  I created some of them.  But some were inspired by the textbook I am using this year, “Discovering Advanced Algebra” and some were created by my amazing co-teacher.  I then adapted all of them for INB (Interactive Notebook) form.

Trashketball is AMAZING

It took me FOUR YEARS to get these Trashketball directions down to a science.  My kids can just read them and we are ready to go.  Plus, I have never seen my afternoon class of freshmen boys work so hard, on FRIDAY.  It almost made me cry from joy.  I seriously wish I could play Trashketball everyday.  Every. Day.

photo 1 photo 4

I have included my Trashketball Powerpoint instructions for you to show your students.  It is crucial that they all pick a letter, M A T H or O, and that you randomly call them up by this letter to show you their answer and thus get to shoot.  This way ALL students are actively working out the problem on their own paper.  Then they work as a team to make sure everyone understands and gets the same answer.  It is amazing.  I use popsicle sticks to call out the letter.  They get one point for the correct answer.  If they get the correct answer, they get to shoot from the 2-pt or 3-pt line.  Also, I hung it from the wall with a Command hook, but the students want it higher.  lol!

photo 3 photo 2

Screen Shot 2014-10-03 at 7.44.16 PM

Screen Shot 2014-10-03 at 7.40.56 PMFun stuff:  I play “Are You Ready To Rumble” from Jock Jams while they are reading the directions.  I have this COOL trashket I found a couple of years ago.  I have a 2-pt line and a 3-pt line.  It is a blast!  But best of all, they are so focused and work so hard!  Games for the win again!  I made dry-erase index card necklaces to write their letter on for middle schoolers, but my high school students wanted to wear them as well.  I really love freshmen.

I bought the Trashketball online at Bed, Bath, and Beyond for only $10!!

Geometry Chat on Proof Tonight

Join us tonight at 9 PM EST on Twitter to talk about proofs in geometry. Geometry chats are now the first Thursday of the month.

To follow and participate in the chat, use the hashtag, #geomchat.

Michael Pershan suggested a reading assignment and found a great short article about proof by Michael Serra. If you can’t read it before tonight, please come anyway! We would love all advice, opinions, and links about proofs in Geometry.

See you there!

Reality Bites

After teaching the same grades and the same subjects for the past four years I felt I was finally becoming a much better teacher.  I still had terrible teaching days.  And never did a day go by that I did not plan to make my lessons better for next year. 

But now I am new again.  New school, new subjects, new colleagues, new kids, new everything.  Subjects I’ve never taught.  And I feel pretty sucky again.  I am back at the beginning.  But it is worse now.  Because when I was sucky before, I didn’t realize how sucky I was.  But, after working so hard for the past four years to get better, and then actually having moments when I WAS better, I now know just how bad I am.  And it is killing me.  I am working non-stop to make it better.  But there are not enough hours in the day.  You don’t become better instantly just by knowing what it feels like and wanting it.  It takes time.  It takes time to truly know your subject and to curate your resources.  It takes time to develop an amazing lesson, much less an amazing curriculum.

I have to develop the lessons because I CANNOT with a straight face go in and teach this example for histograms.  I know it would make my life so much easier, but I CAN NOT DO IT.  I mean, I doubt any of my students even know what an MP3 player IS.  

Screen Shot 2014-09-07 at 9.14.17 PM

Also, middle school students give you their souls on day 1.  They are still little kids and they just trust you from the start.  But I quickly remembered that high school students do not.  You have to earn their trust.  You have to prove to them that you do care about them and that you will work hard for them.  Then they will trust you and work hard for you.  To earn their trust I work hard on my lessons for them.  I try to make it engaging so they will know that I care, I try to make it about them so they will be interested in the math.  So I do this instead, but it takes time. 

Screen Shot 2014-09-07 at 9.20.18 PM

Thankfully, I have a wonderful community of people that have been there before, and are willing to help me.  I don’t have to recreate the wheel.  (How did people even TEACH before blogs and Twitter?!?)  However, it still takes time finding all of these wheels and then tailoring them to my needs.  But I can’t even do this for every lesson for every day, and it’s killing me.  I need to sleep.  I need to be a Mom.  I hate being a perfectionist.  Reality Bites. 

Construction Instruction Booklet (Foldable)

image-11

Yikes!  Constructions!  There are many steps to follow.  My students are working really hard but I felt that they (and I) could use a little reminder / reference guide for the most basic constructions.  I made a layered booklet foldable.  Each each page contained instructions for one construction with an example for them to construct.

image-12

I love the layered book because of the way the information can be organized.  I made it half sized so it would fit in their composition booklets.  I made a ppt to show the students with folding instructions so I wouldn’t have to fold all of them myself.  Cutting and sorting them was enough work!

image-5

I copied the instructions from the Math Open Ref site as it is what I have shown my students as we have done each construction.  My students and I have really enjoyed the videos on the Math Open Ref site.  The most ingenious part is the fact that you can select “auto repeat” so that the video plays over and over again.  I loop this video while I walk around helping students.  It’s a game changer.

Screen Shot 2014-09-05 at 3.35.45 PM

After the students used their notes (and the Math Open Ref site or me if needed) to finish all of the examples in the foldable, I glued or stapled it in the center, then they glued them into their INB’s.

I have included the Word and pdf versions of the file on Box, as well as the in class ppt I used to help them fold it.  Enjoy!


Crappy Fiskars Compass Fix

Thank you Fiskars for mass producing a truly CRAPPY compass and distributing it in big box stores.  

Compass-and-Protractor-Set1_product_main

Most of my students came in with this compass.  Right out of the package it is not tight and will not hold a measure.  Constructions are hard enough for beginners without this hurdle, and has kept me much busier helping poor students gently draw arcs than I should be.  I haven’t had time to even look at the compass to see if it could be improved.  I just assumed it was a plastic piece of junk (btw, it IS).  But today, one of my students said, “All you have to do is tighten the screw.”  Eureka.  And yes, I gave her a lollipop.  Bless you Jordan.

photo 1-1 photo 2-1

First of all, you shouldn’t have to tighten the screw on EVERY LAST COMPASS right out of the package.  Second, I know it won’t stay tight for long, if at all.  Shame on you Fiskars.

But if you are stuck with this compass, at least you have a temporary fix.