I loved new blogger Bruce’s post “My Name is 6 x 7” where each student wears a multiplication fact (say 12 x 6) on a name tag. Then, everyone calls that person 72 for the whole time they are wearing their multiplication name tag. As soon as I read this, I knew I had to try it with my 6th graders! Most of them are still having trouble with 9’s and 12’s facts. My problem is they are only in math for 1 hour a day, so for this to be effective, they would need to wear their facts for a few days in a row in my class. Since I didn’t want to use up 32 name tags a day (labels can get expensive), I came up with a dry-erase nametag solution.
Nora gave me the great idea in a comment on my Math Stations post about making necklaces out of index cards. I laminated index cards, punched two holes in them, and then put string in them to make dry-erase index card necklaces. When the students come in, they can write their fact on their necklace and wear it. Whenever they speak, they must introduce themselves (ie – 12×6 would be called 72! And whenever anyone speaks to them, they must call them by their multiplication name (72).
These necklaces are so cool that I am trying to think of other fun ways to use them! Bruce said a teacher in his building puts longer problems on them. I am thinking:
10 x 10 x 10 on a card, their name is 10 cubed (or the other way around).
Turn the cards around so they are on their backs.
Put a vocab word on it and then 5 kids have to write an example on your card. Turn it around and then see which ones are correct.
Write vocab words they don’t know so they can play, “Who Am I?”
That’s all I have for now. But if you have a brilliant idea (and I’m sure that you do!), please leave it in the comments!
I couldn’t believe my luck when I spotted these beauties in Target’s dollar bin today! Yes, you are seeing it right, they are DRY ERASE bins! AND, you can write on all four sides! Each side is a different color.
I have five tables, so I bought one for each table. I was so tempted to buy 16, one for each student, but thought that may be overkill (or just crazy).
The possibilities for this are endless. I had a conversation with @druinok about paint chips yesterday. Kid can hold up a green, yellow, or red one to indicate their current level of understanding. But, we felt bad taking paint chips from Lowes, and also doubted they would have enough for a class set! Then, @MsKLaster then mentioned having, “Need Help” on the side facing the teacher while the side facing them said, “Keep Working” to remind them to keep trying until the teacher gets to you. Since I have 5 buckets, I figured this would be great for tables during group work.
I just spent five of the most amazing days of my life at “Twitter Math Camp 2012” or #TMC12. I have been anxious to blog about it since I came home. However, I have also been simply overwhelmed with all that it was. I doubt that I can convey to any reader the enormity of this experience, or how much it has changed me and help me grow as a teacher. I feel like the best way for interested teachers to get a true sense of what #TMC12 really was about, is to read all of our posted experiences and quilt them together (links to other blogs at end).
When trying to explain this conference to my non-teaching friends, I tell them. “Think about the best teachers that you ever had. Put them all in one room. Ask them to all tell you their best ideas and strategies. Listen in awe. Take tons of notes. Learn from the best.” This was a meeting of the most creative, innovative, and inspired educators that I have ever been privileged enough to know. Everything said this week was important, and relevant, and will directly help me with my students this year. In fact, I will be lucky if I can even try out a fourth of the things that I leaned about at Twitter Math Camp. These teachers are doing amazing things in the classroom.
How was I lucky enough to be part of this? I am an impassioned educator who loves to talk about teaching math, all the time. Just ask my family, I drive them crazy. Thankfully, I found a bevy of great folks on Twitter to talk about teaching math, 24/7. Since I found them a couple of years ago, we have talked practically non-stop about teaching math, planned lessons together, given each other great ideas, participated in book studies, and generally just supported each other through the thick and thin of teaching. I love to talk to them because they love to teach as much, if not more, than I do. They are always working, planning, wondering, and thinking up new ideas for their students and their classrooms. They are all brilliant, and fun to talk to as well! So much fun in fact, that we all started talking about getting together, to meet, in real life. It started out almost like a joke, and I pushed hard for a cruise. I even made a wiki page for the cruise! But, time passed and we went back to our crazy, hectic, teacher lives. At least until two amazing teachers, Lisa and Shelli, actually decided to do something about it. Thus, #TMC12 was born.
I have been to multiple conferences in my many years of teaching. This was by far the best PD (professional development) that I have ever attended. What made #TMC12 so much different, so much better? The key was that this was a teacher’s conference, by us, for us. We knew what we needed. We cut straight to the point in our presentations. There was no wasted time. I appreciated that and really felt like these amazing teachers are my people. They understand me and knew what I needed. They don’t think I am weird for wanting to talk about teaching all the time. They can’t wait to discuss a great idea as well. And we never stopped talking about teaching. We talked about it over breakfast, all day long, at lunch, dinner, and even when we were hanging out at night. And we had so much fun at night! After a whole day of cramming our brains full or math and teaching ideas, we loved hanging out together even more at night. But we never tired of talking about teaching! We could be in the middle of a song, have an idea, and stop singing to talk about it immediately. One verse later, we would jump right back in to singing (or dancing) again. We even talked about education up until the very last minute, when we waited, together, for our departing flights in the airport. Education was our undercurrent.
I learned more in these 5 days that I have in a year of reading blogs. At the end of each session, poor Lisa had to cut us off. We were so excited about each presenters ideas that we would have talked for hours. My educational highlights for the week included:
Talking about how students learn, developing new lesson ideas, and learning new ways to present slope with the Math 1 folks.
Learning about many more uses for whiteboards. (Mistake camp).
Daily Favorite Things sessions (which will continue through the year via blogs – YEAH!)
Developing ideas for how video can be used to improve the classroom instead of just “flipping” it.
Collaborating post-session with multiple teachers about the best way to represent integer subtraction.
Many side conversations about homework
Giving ownership back to the students including numerous ways to get students talking about math and working together in math class.
Interactive Notebook Nirvana
Meeting people (not related to me), that had actually read my blog.
Discovering (in the airport) that even teachers I greatly admire wonder if they are good teachers. It made me feel so much better about my teaching and my failures.
Technology, technology, technology. I may never even have a chance to try all of the amazing new websites that I learned about! I wish I had taken better notes (thanks Rachel).
Math club collaboration
Marshmallow guns shoot much harder (and farther) than you think.
Having FUN in presentations with the presenters (even if it was off topic or off color sometimes)
Jinx Tweets! When people would think about the same thing, at the same time, and tweet it. It was unreal how much this happened. Our brains work alike.
My personal highlights:
Bonding with people immediately even though I was so nervous about going and talking to people I had never met IRL.
Finally meeting everyone that I had been tweeting for years with and discovering that they were all exactly like their tweets!
Just that feeling that you have when you are surrounded by people that totally get you, and still like you, for who you REALLY are.
Doing “The Squirm” with my math class song mentor, Sean. He even offered to write me a song for my class (love).
Finding several other teachers that wear their purse cross body, on the right side.
Making stupid jokes that people laughed at bc they have my same weird sense of humor.
Feeling comfortable being as loud as I wanted to be. (Thank you all for putting up with me).
Having an enormous group of people who also sing at random just because they hear two words that makes them think of a song. (Actually, having tons of people who would just sing with me, at random, whenever I started singing. I didn’t even have to ASK!)
Going around in a giant group – EVERYWHERE.
Square dancing on the sidewalk in the middle of lunch just because we thought of it.
Teaching a movie theater full of people to dance before a movie – and everyone did since my friends were all into it.
A whole world of people that are as obsessed with office supply stores as I am!
Dressing up like Sam
Getting less sleep than I did in college because I never wanted to stop talking to these amazing people about math and teaching!
Generally just being around people that are CRAZY fun, more crazy fun than I ever thought people could be.
TWEET ME MAYBE! (thanks for the extra credit Sean)
My only regret was that even though I stretched every day to the limit, I did not have enough time to talk in depth with all of the people that I wanted to talk to. Everywhere I looked fascinating conversations were happening all around me. It was almost impossible not to get completely immersed and remember to move around. I’ll definitely be coming back to #TMC13 to pick up where I left off.
I felt like I was with people that “got me”. And I loved that many of the Twitter Math Campers even thought the way that I did. In fact, if I said (rather sang) this blog post title out loud (TMC – People Just LIke Me!), I now know a few people, IN REAL LIFE, who would sing, “You’re down with OPP, Ya you know me!” in their heads, if not OUT LOUD, with me. They are smart, fun, quirky, real, and down to earth people who truly care about other people and are willing to sacrifice fame and fortune to change the world. They care about education, they are serious about their jobs, and they love their students. They are an amazing group of math teachers.
If you are a math teacher out there who wants MORE, then I implore you to explore Twitter and start reading blogs. We will help (Twitter/Blog newbie website coming soon)! In fact, if you don’t tweet, you should definitely read the words to this song that Sean, Rachel, Sam, Dave, and Bowman wrote at #TMC12. It should resonate with you. We want to help you! So, “Tweet Me Maybe” at @jreulbach!
Tweet Me Maybe
by Rachel Kernodle, Sean Sweeney, Sam Shah, David Peterson and Bowman Dickson
I sat alone in my class,
Hoping my students would pass,
Prepping was kicking my ass
But help was on the way
I started searching the net,
To find a way to connect
Found teachers I’d never met
and I was on my way
Dan’s blog was poppin’,
G-Reader, feed not stoppin’
Each day, I would drop-in
Guess it’s time for hop in!
Hey, I just found you, And this is crazy,
But here’s my ID, So tweet me, maybe?
It’s hard to reach out, Please don’t flame me,
But here’s my ID, So tweet me, maybe?
Hey, I just found you, And this is crazy
But here’s my ID, So tweet me, maybe?
It’s hard to reach out, Please don’t flame me,
But here’s my ID, So tweet me, maybe?
Oh holy crap can it be,
Nowak responded to me,
Blogging math celebrity,
She’s twitter royalty
I beg, and borrow and steal
No reinventing the wheel,
What are these urges I feel?
Nerdy math sex appeal
Hal-lo-ween was awesome
Dull worksheets, I could toss ‘em
My, i-deas could blossom
Now it’s time for Math Camp, baby!
Hey, I just met you, all in person.
Twitter Math Camp, this was the first one
It’s hard to teach right, in i-so-laaaaaation,
So here’s some PD, just like va-ca-tion
Hey, I just met you, all in person.
Twitter Math Camp, this was the first one
It’s hard to teach right, in i-so-laaaaaaation,
So here’s some PD, just like va-ca-tion
Before I came onto your sites,
I must’ve taught so bad,
I must’ve taught so bad,
I must’ve taught so so bad
Before I came onto your sites
I must’ve taught so bad
and you should know that
It was so, so sad
I loved free pizza, and the brew-ry.
You know my ID, So tweet me, maybe?
Ci-ty Muse-um, or the Card’s game,
So tweet me sometime, I won’t be too lame
So, thank you Shelli, thank you Li-sa.
Don’t want to go home – so glad to meet ya
Now that it’s coming to an end
we’ll miss you so bad
we’ll miss you so bad
we’ll miss you so, so bad
Before you came into our lives
We must’ve taught so bad
And you should know that.
So tweet me, maybe?
Other Blog Posts About TMC12 – These are the blogs that have been written as of today. If you have written a blog about TMC12, please put the link in the comments so I won’t miss you!
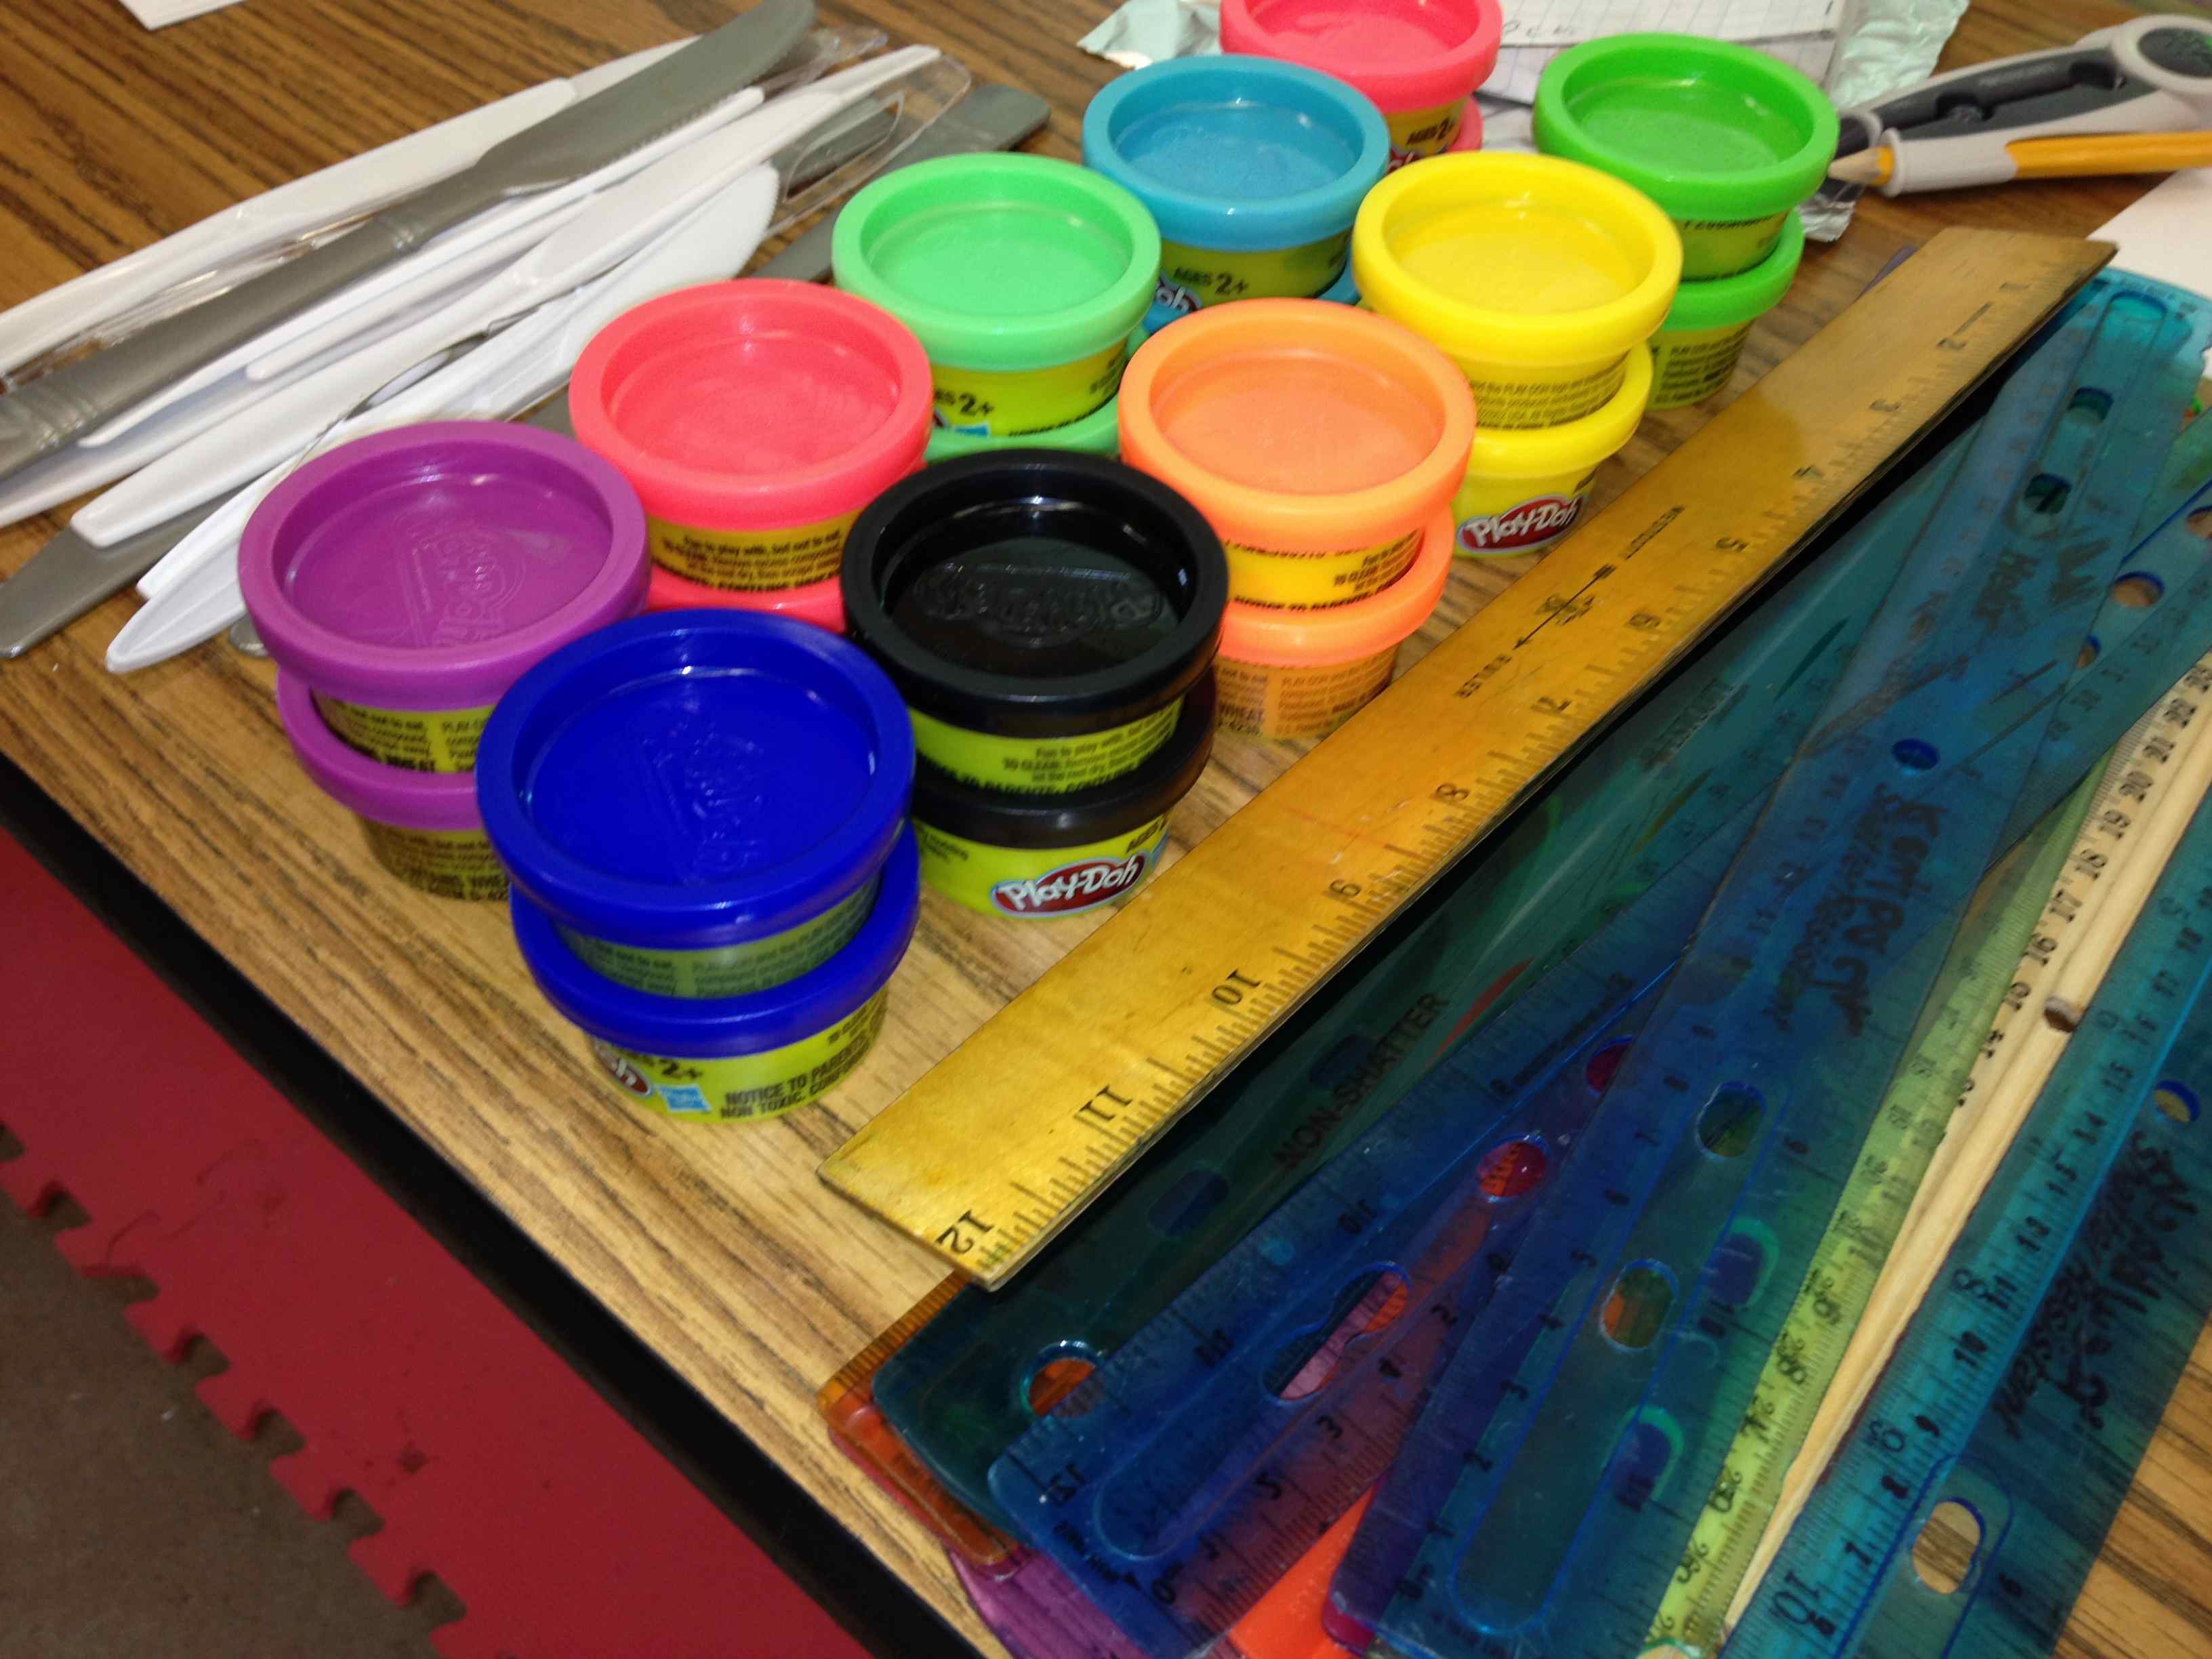
When my students are excited about what they are doing in class, they are engaged. They will listen and best of all, learn. The kids were ecstatic when they saw the Play-doh. They couldn’t wait to get their hands on it! The benefits for learning were amazing. All I had to say was “Remember the Play-doh?” and they knew what to do for any volume problem.
Supplies per student:
One fun-sized Play-doh
Ruler
Plastic knife
Ruler
Instructions:
Many of my students had heard somewhere along the way that volume equaled length times width times height. So, I started by having them make a rectangular prism out of their Play-Doh.
Once it was made, I had them draw a picture of it in their Geometry Booklets. Then they measured and recorded the length, width, and height of their prism in centimeters. Next, I had them cut their prism into 1 centimeter lengths. They observed that the cross sections were squares. I had them find the area of this square. We talked about how many slices they had. So if their area was 6 centimeters squared and they had four slices how could they find the volume of the box? They quickly deduced that they needed to multiply the 6 by 4 to arrive at 24 cm cubed.
I repeated this for a cylinder and a triangular prism. We observed what the cross sections were, found the areas of our cross sections, and then found the volume. To sum it all up, we talked about how volume of a prism or cylinder is the area of the base (cross-section) times the height (number of slices).
I saw a cute picture on Pinterest using Cheez-It’s to practice area and perimeter. My first thought was, “Pefect Squares!” and could not wait to develop a Square Roots Cheez-It lesson.
I made a graphic organizer to go into their Geometry Booklets so that they could more effectively take notes. It is half-sheet sized so it will also fit into composition books.
I used one box of Cheez-It’s per class. What I loved the most about this activity was that it was very visual for my students (and they remembered it well because of the food addition). Each time we did a square root, I would ask them, “Do 6 cheez-it’s make a square?” And they remember it is a rectangle.
The kids loved making perfect squares with their Cheez-It’s and I even had a few groups combine their Cheez-It’s at the end to see who could make the largest perfect square!
The Numberline: The number line is one of the most important aspects of this lesson. I have them label it (see pictures) so that they can quickly estimate what a square root SHOULD be before they blindly punch it into their calculators. This also helps when simplifying square roots using the radical sign instead of decimals. I challenge them to see how close they come when estimating square roots with decimals. They estimate, and then check it with their calculators. The next day I played “Around the World” with perfects squares and estimating square roots in their heads. Here is the Around the World PPT. Square Roots – Around the World
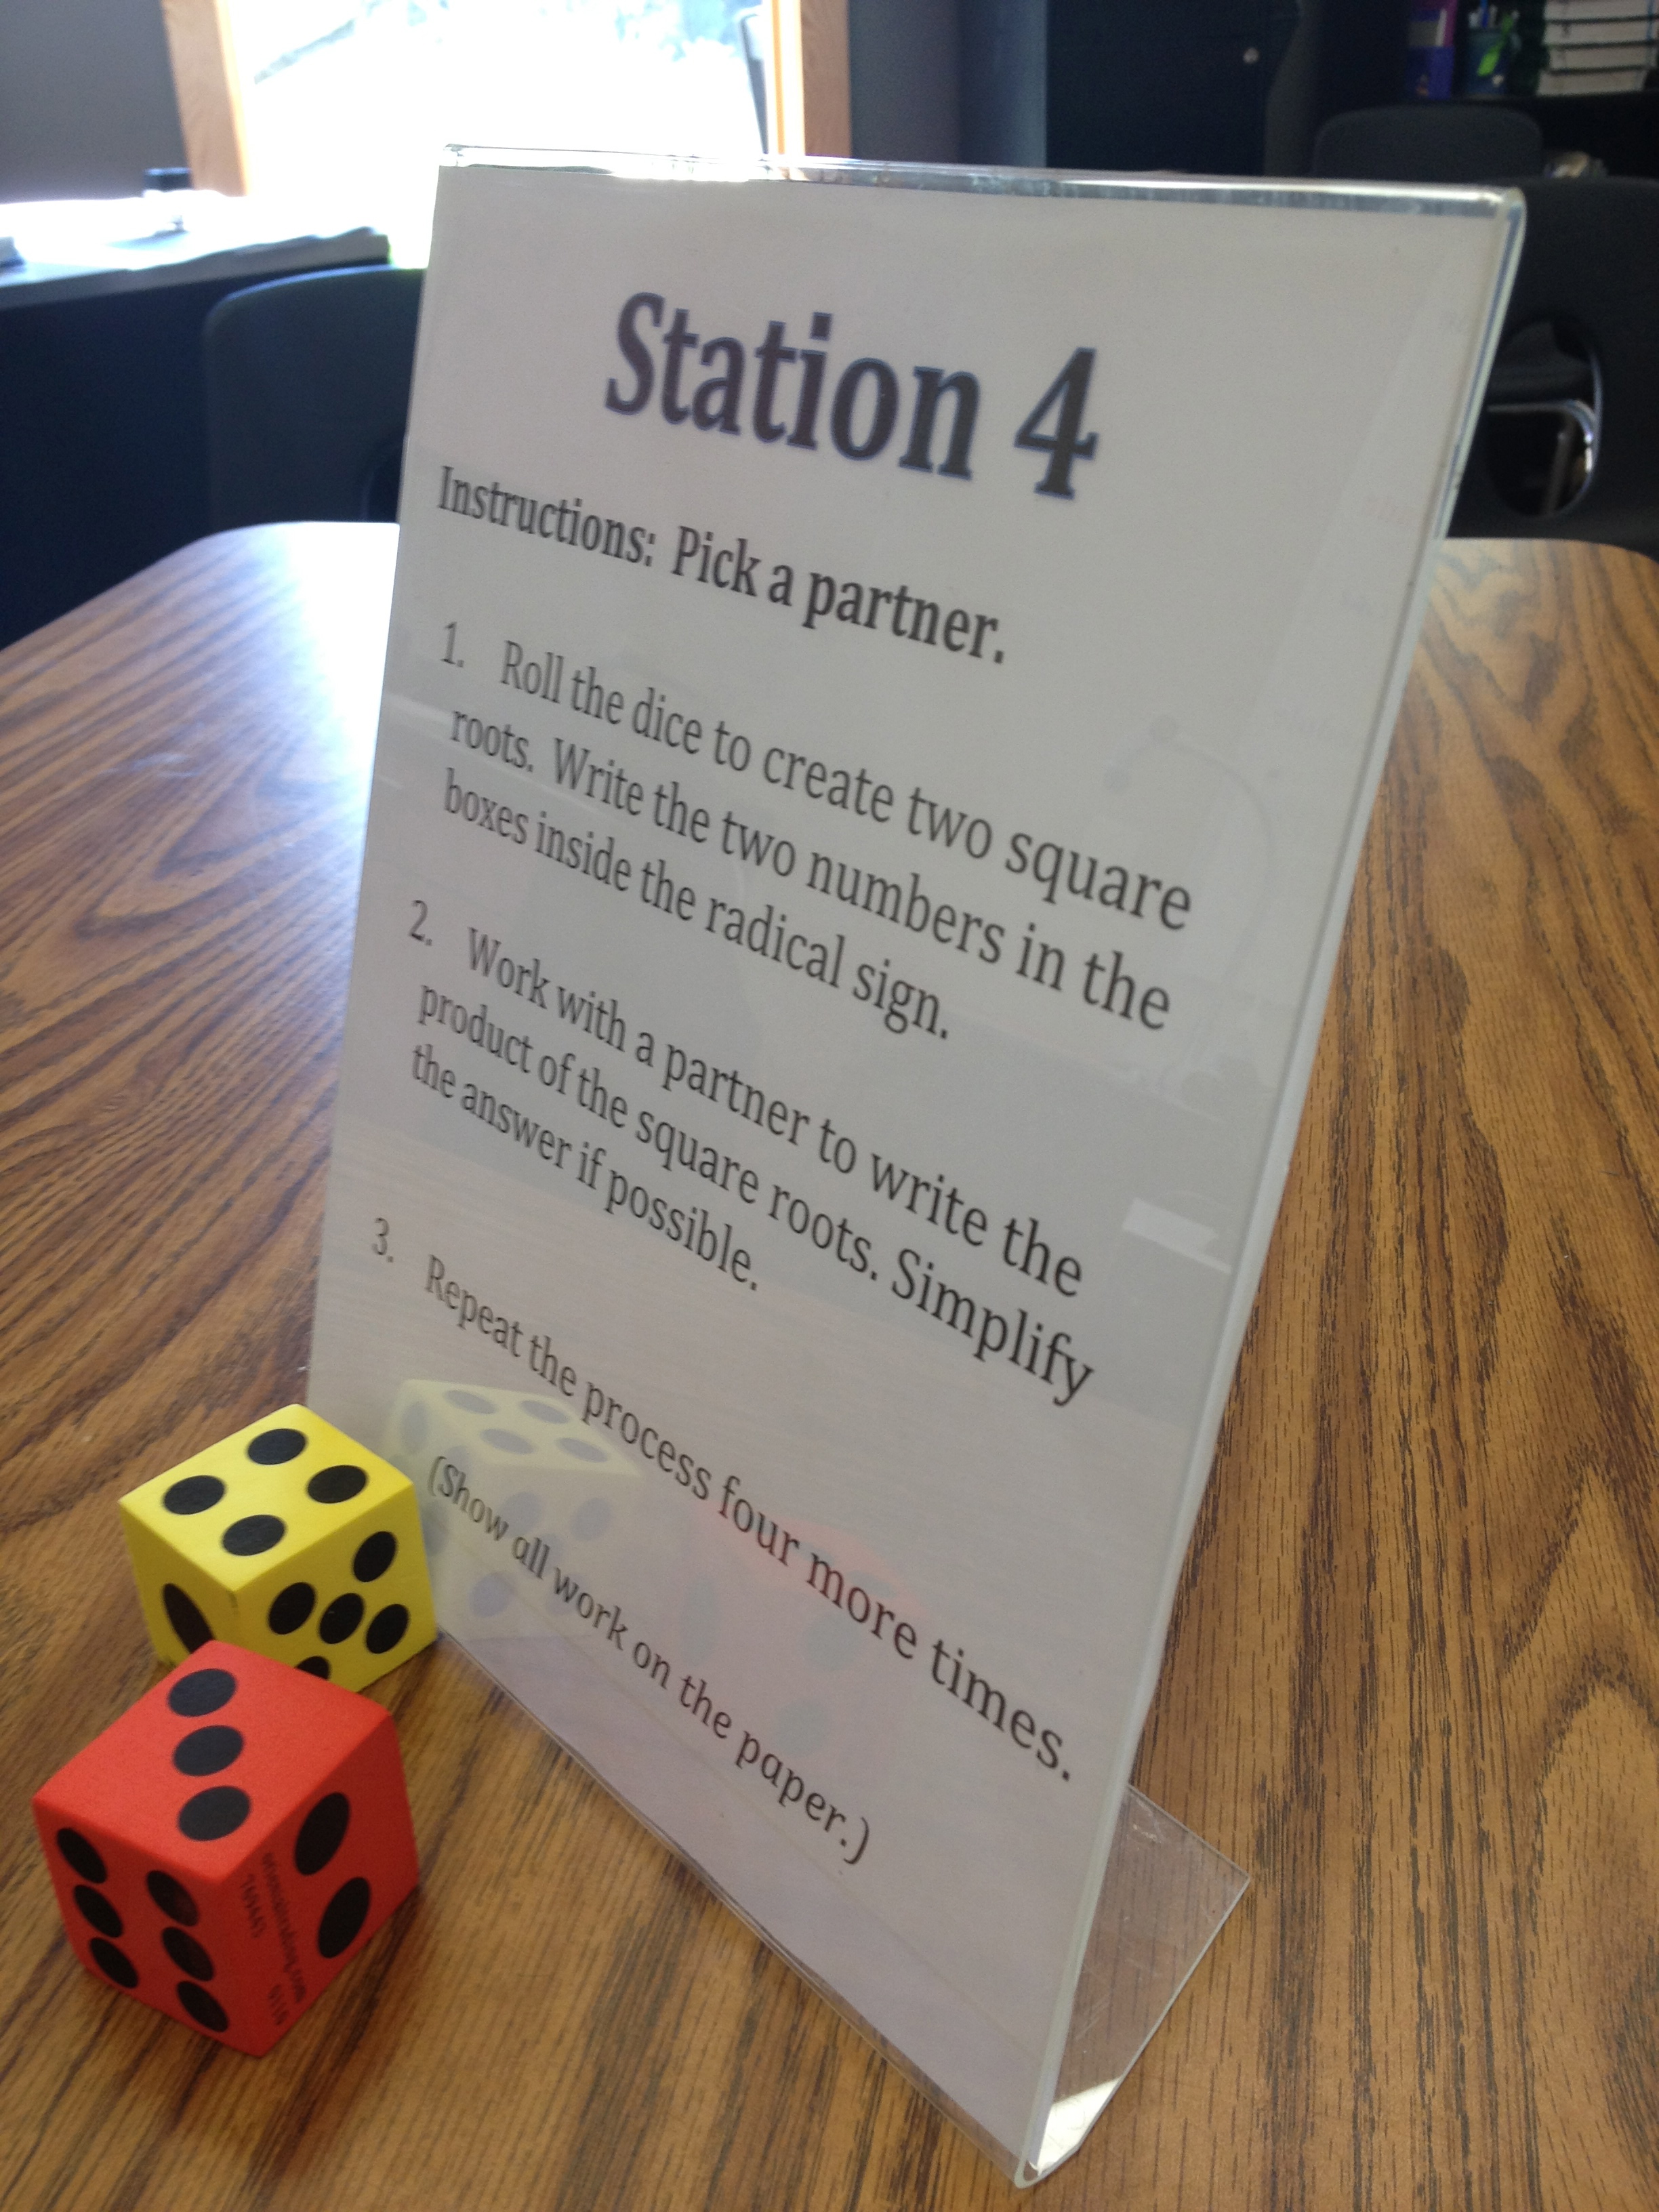
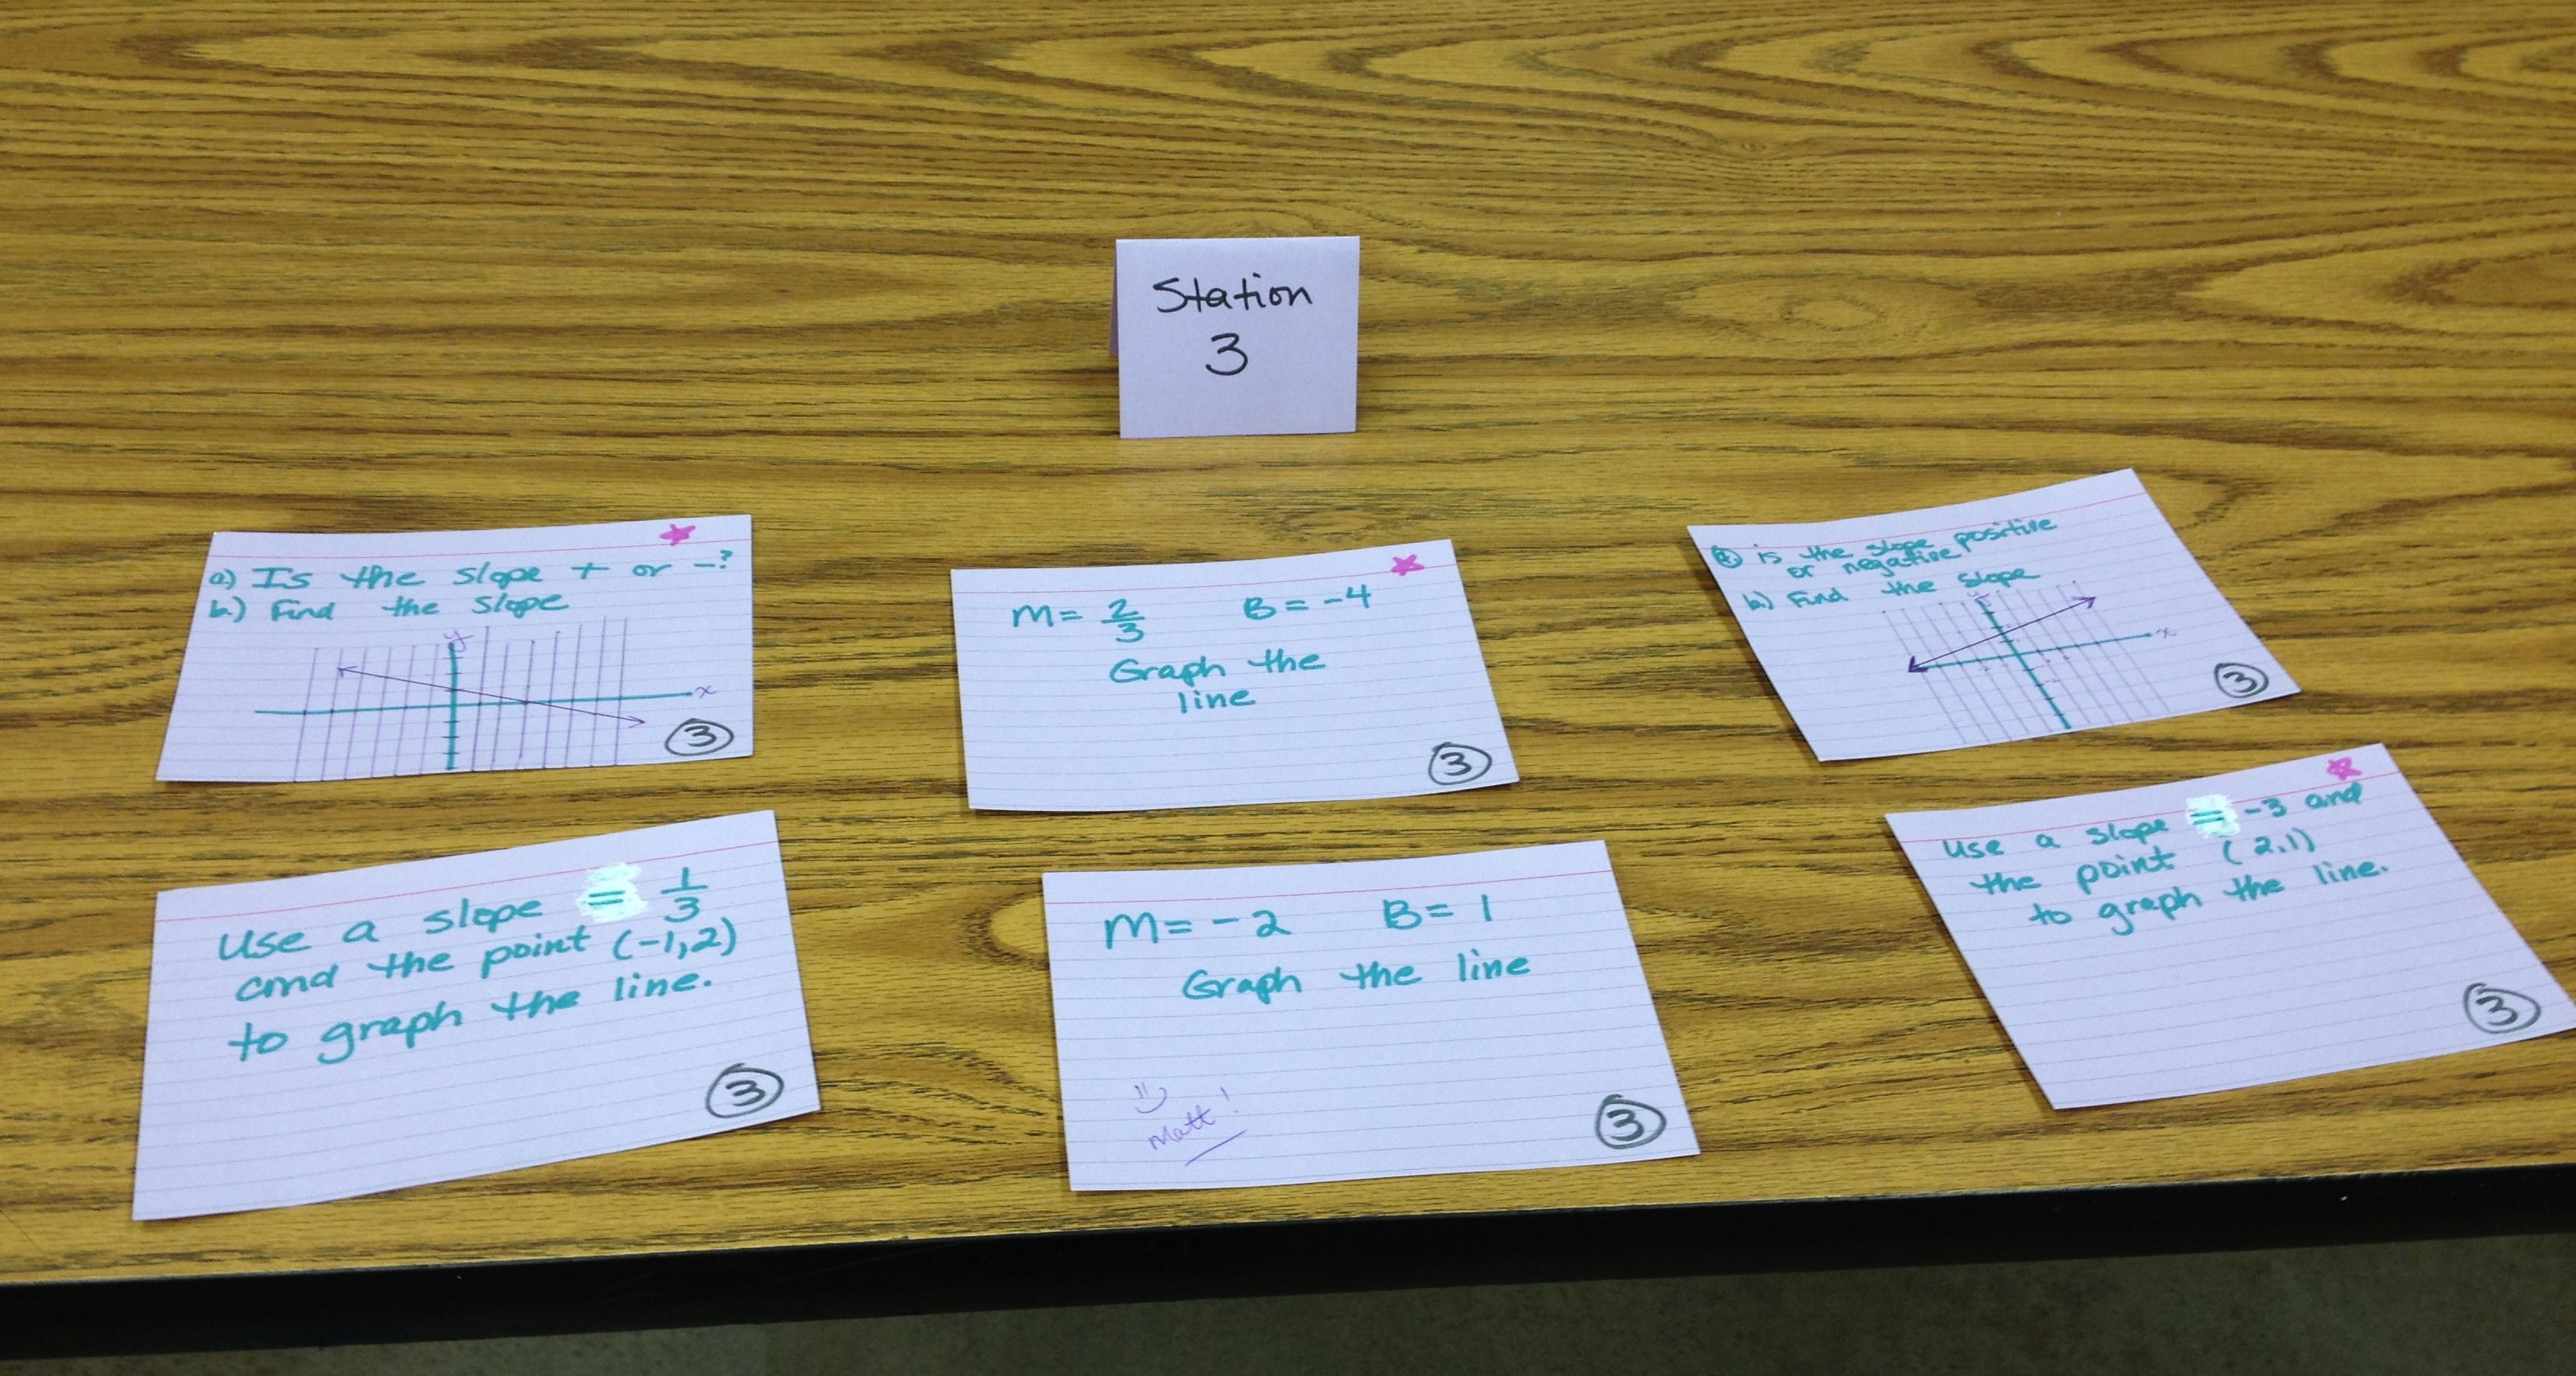
I can’t believe that I didn’t think of this before. I used inexpensive, plastic picture frames to display instructions for each math station today. They worked very well because they were so large. Students could easily find the next station they were supposed to go to. Also, the instructions were high up on the table so that everyone in the group could read them at the same time without leaning over and crowding. Students actually sat down in their seats and then read the instructions. The location also kept the instructions right in front of their eyes for easy reference. Plus, it preserved my handouts which can get ratty pretty fast after a couple of classes of kids use them.
The kids were so funny as I heard comments like, “Wow, this looks so professional!” I love them.
Tips:
I color coded my station names to match my index card colors so I wouldn’t them mixed up. And of course, giant foam dice make even ordinary math problems more fun!
I made 5 stations but only assigned students to 4 of the stations. Having an empty station really helped avoid any station overlap. As soon as one group was finished, there was always an empty station to go to. I like this better than timing stations and having everyone move at once because students can work at their own pace.
This station activity came from the book “Station Activities for Mathematics, Grade 8” by Walsch Publishing. I have included a document that contains the Station signs I made as well as a one page hand-out for the students (to conserve paper). I also combined two stations so that I had 5 stations instead of four.
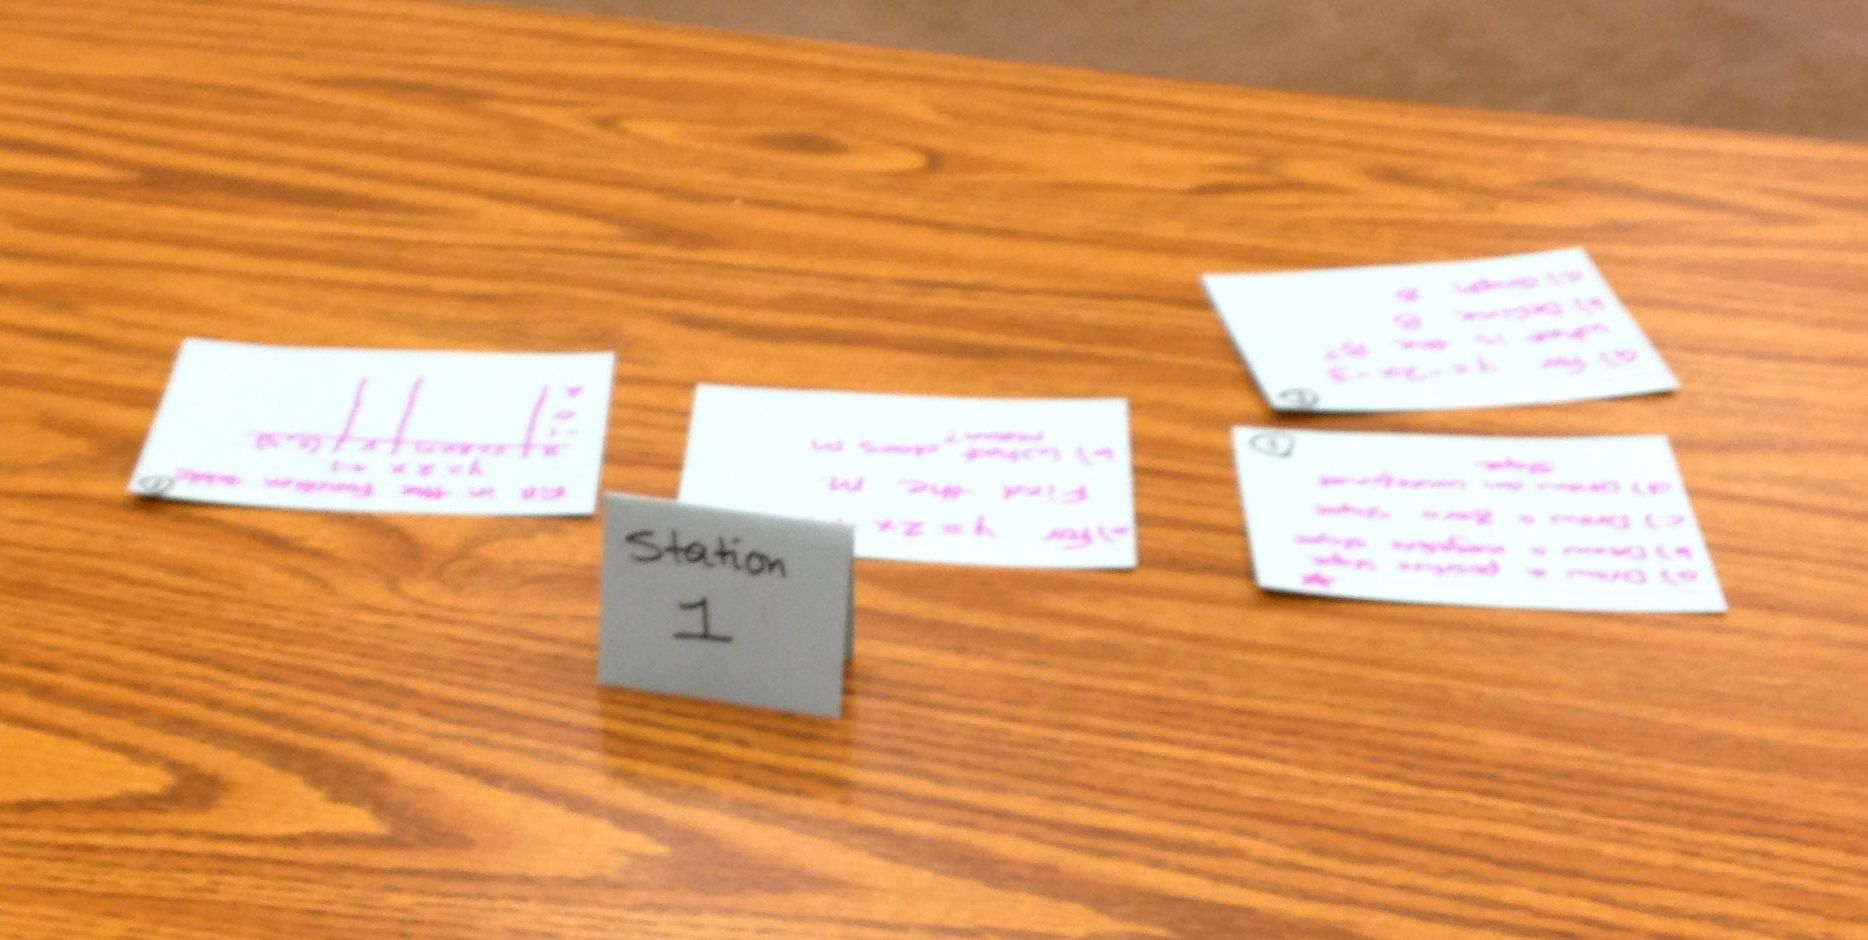
Since I wrote my Marvelous Math Stations post last year, I have made a few improvements, taking Math Stations to the next level!
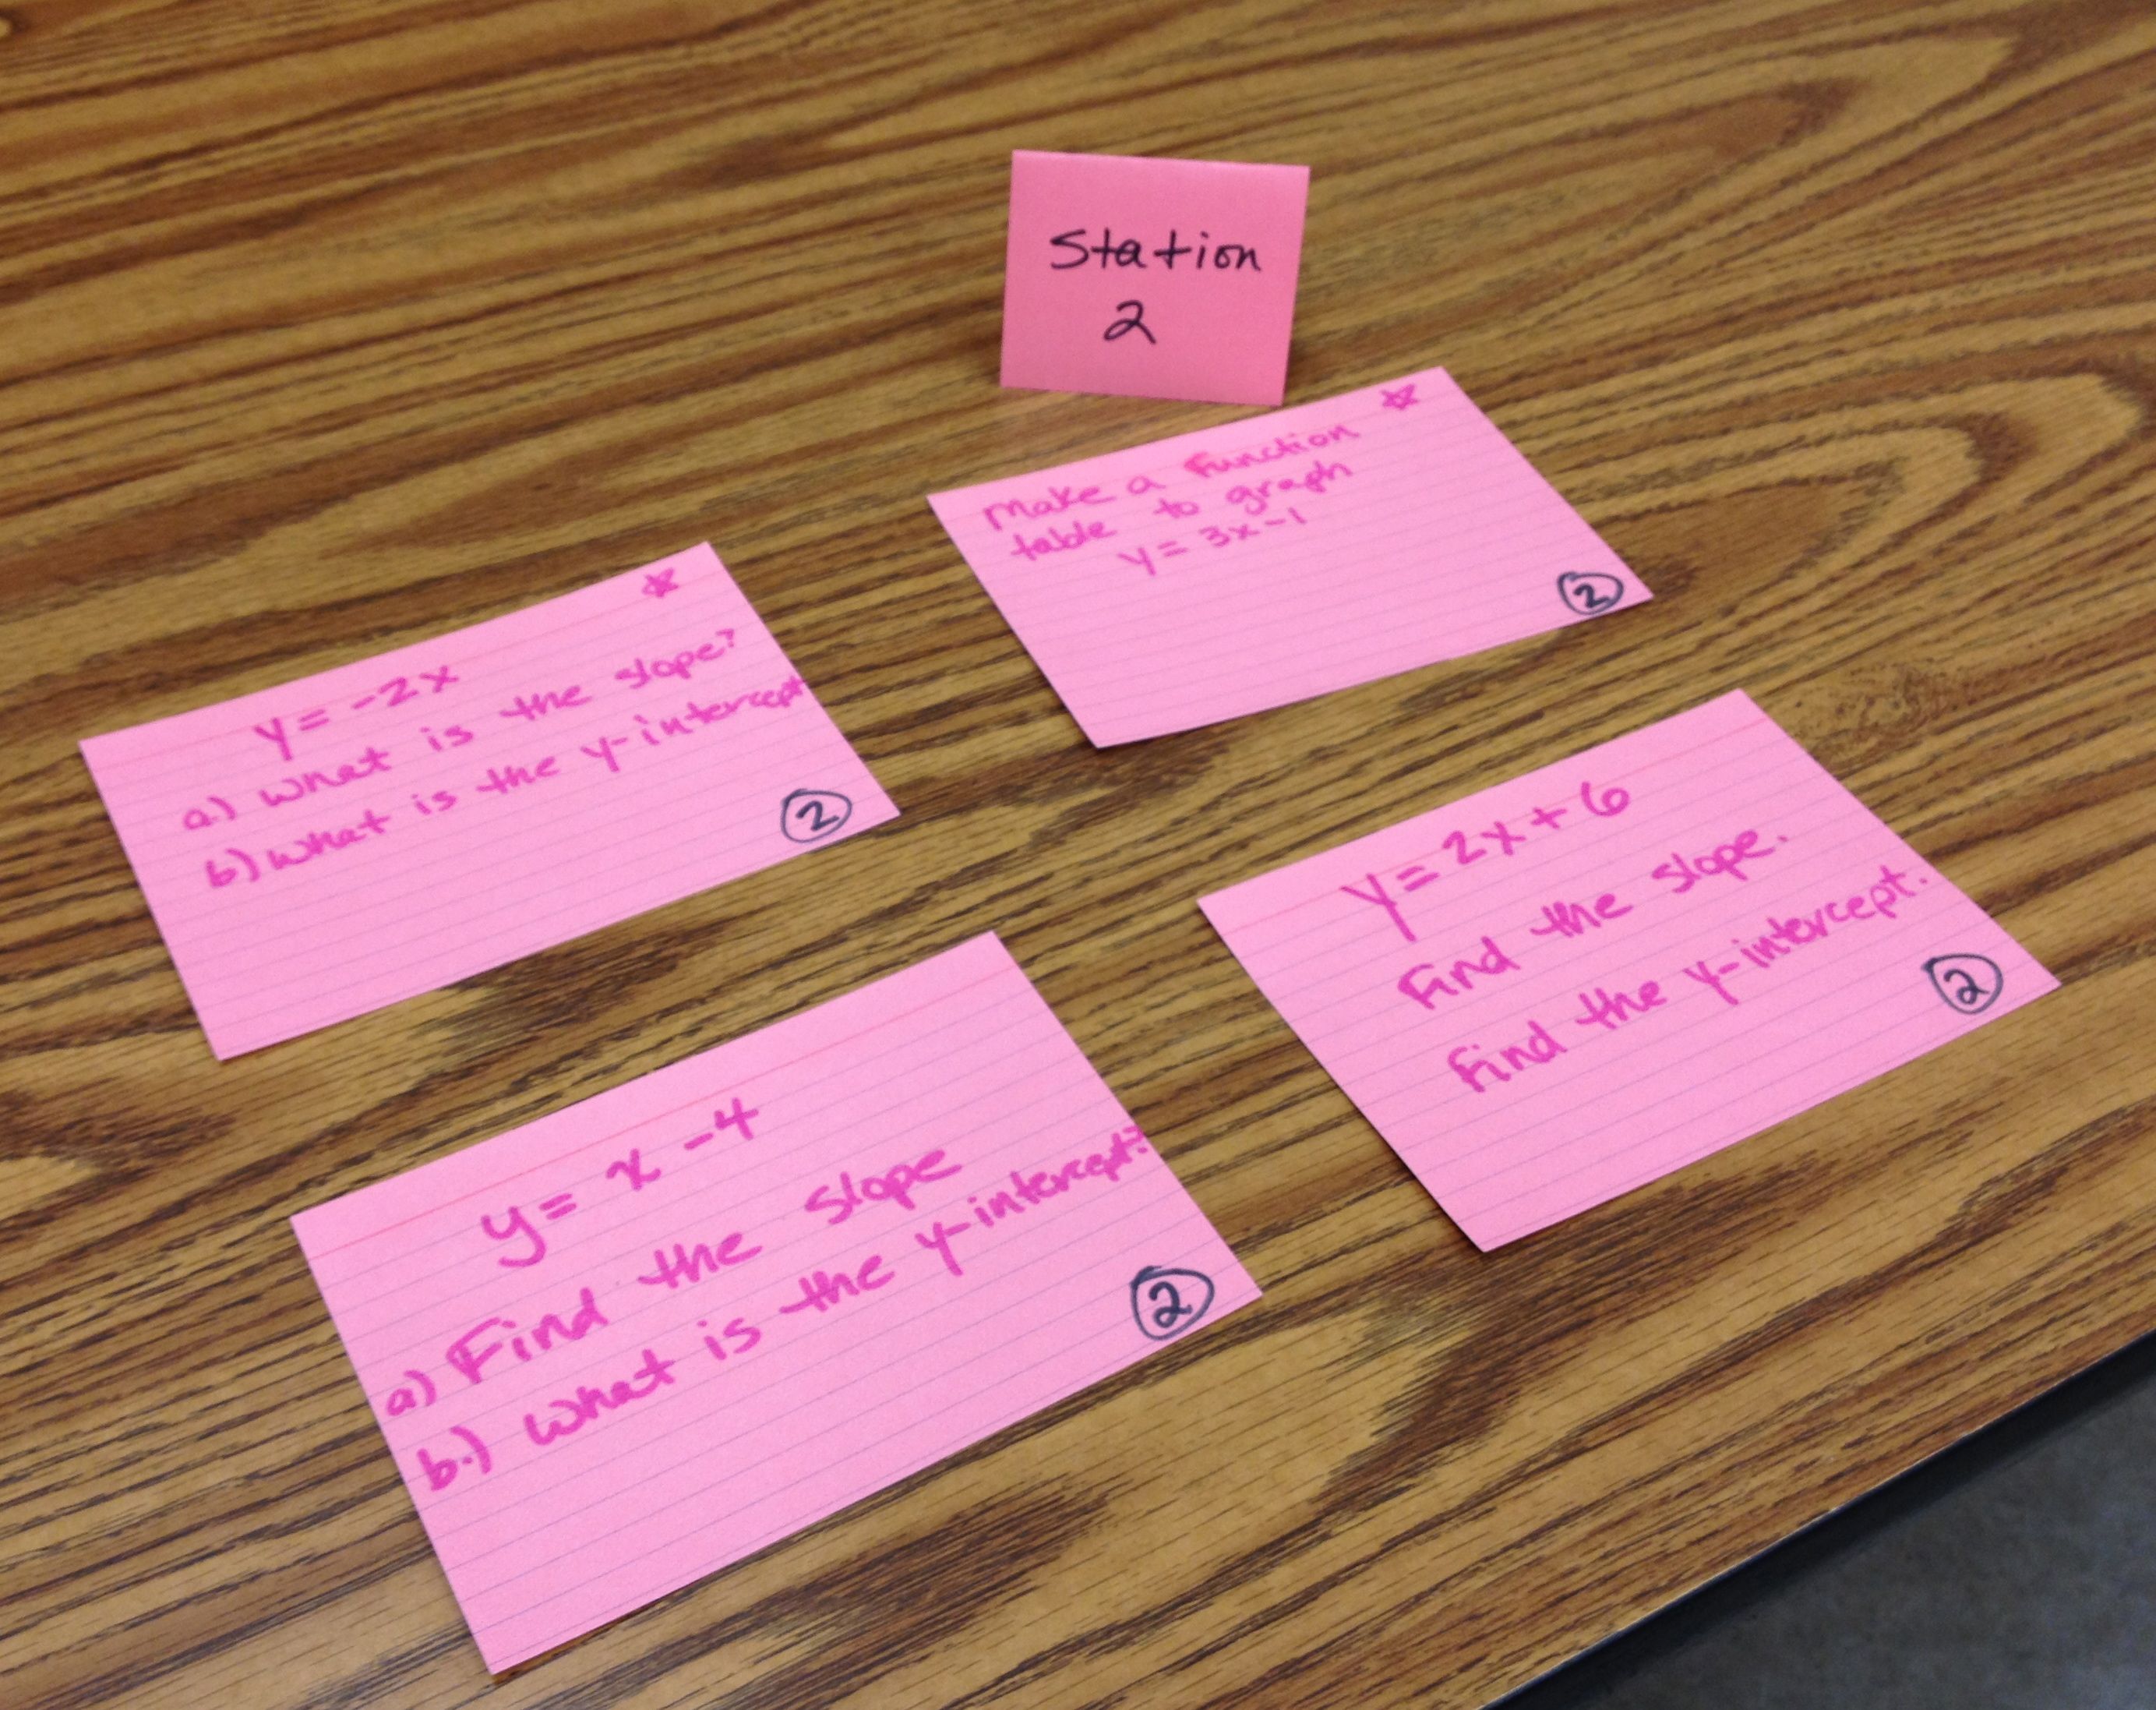
I differentiate learning by color coding. I use color index cards, one color per station, and then number the stations 1 – 5. Each station gets progressively more difficult that the one before. I assign students that need more review to the lower stations, and more proficient students to the higher stations. I usually assign them to stations 1 – 3 so they all have the chance to progress to more difficult stations. Station 5, the last one, is always a “challenge” station. I added more cards per station (about 6 cards) so there are more problems for the students to work.
I put a STAR on all problems that students are required to work at each station. The other ones are optional as time allows or if they feel they need more work with a topic.
I put the answers on the back of the index card. This way student can more easily check their answers.
I have them write down all of the problems, work, and answers in their notebooks. As they work the problems in their notebooks, they highlight ones they miss so they can focus on that type of problem when studying. I got rid of the math station handout because they had trouble keeping up with an index card or a tracking sheet.
I post the rules on a Powerpoint at the front of the room so that the students can read them as often as they need to.
My biggest advice is to make SURE they are writing down the questions and not just the answers in their notebooks. Also, keep encouraging them to highlight the ones they are unsure of.
Yes, I am loving some foldables right now! The kids love them too. They get to cut, glue, hi-light, and write in little boxes. Plus, when they are studying, they can just flip up and look at one concept at a time so they are not overwhelmed with an entire worksheet. Nirvana.
I am coming up with them for review now, but next year I would like to introduce them when we initially take notes. Then, the students could take the notes right on the foldable and not have to recreate (read – waste time) writing everything again in review. This will leave more time for working on math problems in class – using the foldable as a guide of course!
Again, printing is the only tricky part to make sure it lines up well. I also had the students put a small strip of glue behind the words “I can find Slope from” so it would have a sturdy header and flip better.
I emphasized that there are 5 syllables so you need 5 points. I had the students hold up their fists and then count off with their fingers while saying, Box and Whis-kers Plot over and over, and over.
After going over vocabulary and doing some easy examples, I had the students access their own measurement data located in our Google Spreadsheet. My students always care more (and remember more) about anything if it has something to do with them.
We have two sections of 6th grade. For homework I assigned the students to make TWO box and whiskers, one for each section of the class.
The next day in class I put students plots up on the Elmo to compare the heights of each class. They love showcasing their work and comparing the two sections.
We then did a kinesthetic activity by making a human box and whiskers plot.
I had all of the students line up from shortest to tallest.
I asked then what points we plotted first (extremes) and had those student step forward.
Then, we found the median and had that student step forward.
I asked the shorter end, “Who are you?” and they yelled, “The lower set of data!” and then we found the lower quartile and had that student step forward. I did the same thing with the upper quartile.
In one class the numbers worked out and we did not have to average any two students to find the quartiles. In the other class, it did not, so we had two students stand in a line. We joked that we added them up and split them into two. (“I’ll stand on your head. No, you can stand on my head!”) It was fun!
Students enjoyed the human box and whiskers plot. They got to move around plus it was very visual. With the numbers taken out, I feel like some students really understood what was going on instead of just marking off numbers looking for the median.
Next year… I am going to use something (yarn maybe?) so we can actually “box” the students into their quartiles and make the whiskers. I could also cut out construction paper “dots” for the students who step forward to hold. This would also be a cute instructional iMovie starring the students.
We are so excited! My students’ answers to a “Solve It!” were published in the November edition of Mathematics Teaching in the Middle School. This is a national publication produced by the National Council of Teachers of Mathematics. The students collected data about the number of jeans owned by every student in their class. Working in groups of three or four, they used Google Spreadsheets to compare their class average to the national average and to do further analysis of the data. They created graphs to visually present their findings. They also worked collaboratively on a Google word document to write their analysis of the data. After they came up with conclusions, they created wiki pages to present their findings. Their wiki pages were creative and beautifully formatted. They contained uploaded graphs of their data, detailed analyses, and even some pictures they took with their cameras or computers.
We had already covered the unit on averages when the “Solve It!” question came about. Therefore, I gave few instructions to the students for this project. I showed them the question in the article and let them work independently in their groups. I encouraged them to be creative. They loved this project and they reported that much of their enthusiasm was due to the freedom they were given.

 I loved new blogger Bruce’s post “My Name is 6 x 7” where each student wears a multiplication fact (say 12 x 6) on a name tag. Then, everyone calls that person 72 for the whole time they are wearing their multiplication name tag. As soon as I read this, I knew I had to try it with my 6th graders! Most of them are still having trouble with 9’s and 12’s facts. My problem is they are only in math for 1 hour a day, so for this to be effective, they would need to wear their facts for a few days in a row in my class. Since I didn’t want to use up 32 name tags a day (labels can get expensive), I came up with a dry-erase nametag solution.